Dalian Eastern Display Co., Ltd.
Dalian Eastern Display Co., Ltd.


Choosing the right display is crucial for any Arduino project. A 0.96 OLED display offers a compact, high-contrast solution ideal for a wide range of applications. This guide helps you navigate the options and select the best fit for your needs.
0.96 OLED displays are known for their vibrant colors, sharp text, and low power consumption. They are self-emissive, meaning each pixel generates its own light, resulting in excellent contrast and deep blacks. This makes them perfect for projects where readability in various lighting conditions is important. The smaller size makes them ideal for portable devices or applications with limited space.
When selecting a 0.96 OLED display for your Arduino project, consider these key features:
Several excellent 0.96 OLED displays are readily available for use with Arduino. Here are a few examples:
| Display Model | Resolution | Interface | Features | Notes |
|---|---|---|---|---|
| SSD1306 based display (common) | 128x64 pixels | I2C or SPI | Widely supported, low cost | Many variations exist; check the datasheet |
| SH1106 based display | 128x64 pixels | I2C or SPI | Similar to SSD1306, often cheaper | Library support might vary slightly |
Note: Specific model numbers and availability vary depending on your supplier. Always check the datasheet for exact specifications.
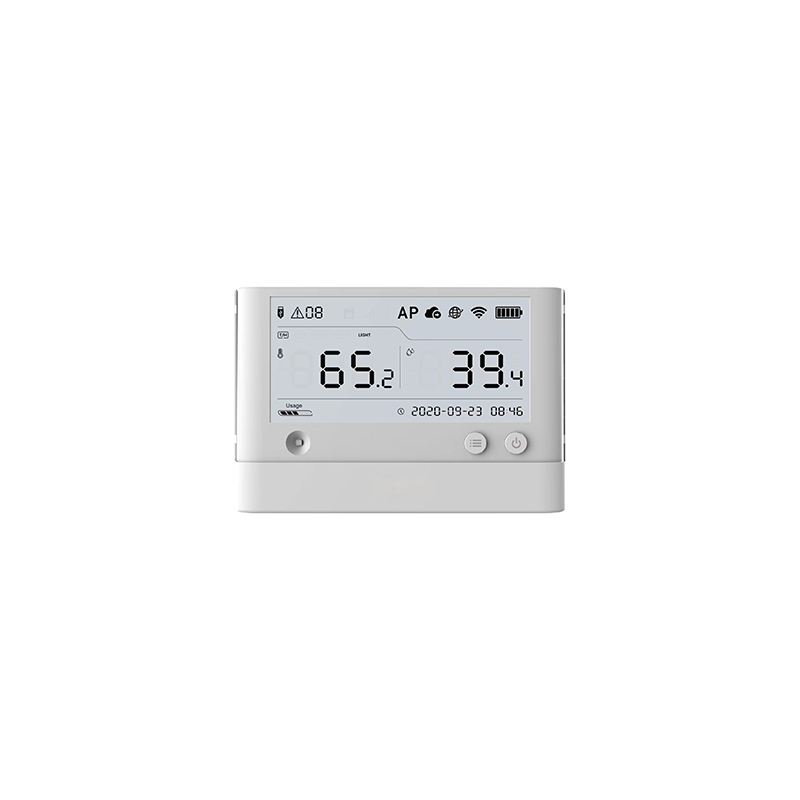
Integrating a 0.96 OLED display with Arduino is relatively straightforward. You'll need the appropriate Arduino library, typically Adafruit_SSD1306 or a similar library depending on your display's controller chip. Dalian Eastern Display Co., Ltd. (https://www.ed-lcd.com/) offers a wide variety of LCD and OLED displays, potentially including compatible options for your Arduino project. Remember to consult the specific library's documentation for wiring diagrams and example code.
#include <Wire.h>#include <Adafruit_SSD1306.h>#define SCREEN_WIDTH 128 // OLED display width, in pixels#define SCREEN_HEIGHT 64 // OLED display height, in pixels#define OLED_RESET 4 // Reset pin # (or -1 if sharing reset)Adafruit_SSD1306 display(SCREEN_WIDTH, SCREEN_HEIGHT, &Wire, OLED_RESET);void setup() { display.begin(SSD1306_SWITCHCAPVCC, 0x3C); display.clearDisplay(); display.setTextSize(2); display.setTextColor(WHITE); display.setCursor(0,0); display.println(Hello, OLED!); display.display();}void loop() { // Add your code here to update the display}Remember to adjust the pin definitions and library inclusion according to your specific hardware and display controller.
If you encounter problems, check:
By carefully selecting the right 0.96 OLED display and following the steps outlined above, you can successfully integrate this versatile component into your next Arduino project. Remember to always consult the datasheets for your specific hardware components.