Dalian Eastern Display Co., Ltd.
Dalian Eastern Display Co., Ltd.


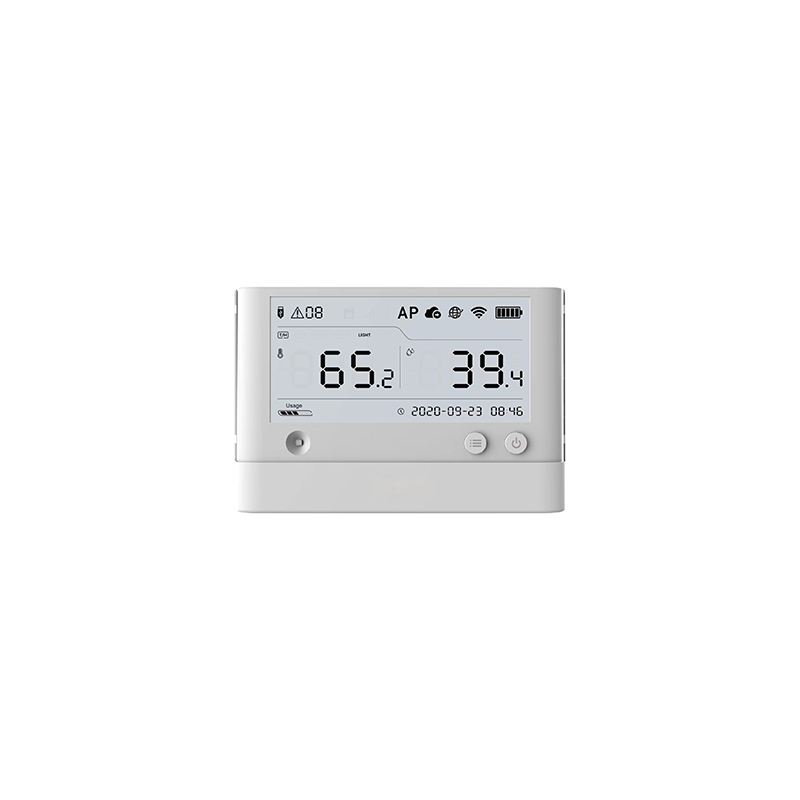
Selecting the ideal 162 LCD display Arduino factory is crucial for any Arduino project involving data visualization. With numerous options available, understanding the key features and specifications can greatly simplify your decision-making process. This guide will delve into the essential aspects to consider, ensuring you choose the perfect display for your specific needs.
The standard 16x2 LCD offers a resolution of 16 characters by 2 lines, providing sufficient space for displaying basic information. However, variations exist in the physical dimensions of the displays. Ensure the chosen display fits your project's physical constraints.
Most Best 162 LCD display Arduino factory options utilize either an I2C or a parallel interface. I2C simplifies wiring by requiring fewer connections, making it ideal for beginners. Parallel interfaces offer higher data transfer speeds but require more complex wiring.
Backlights enhance readability, especially in low-light conditions. Common options include white, blue, green, and yellow backlights. Consider the aesthetic appeal and ambient lighting conditions of your project when choosing a backlight color.
Power consumption is an important factor, especially for battery-powered projects. Check the specifications for current draw to ensure it aligns with your power budget.
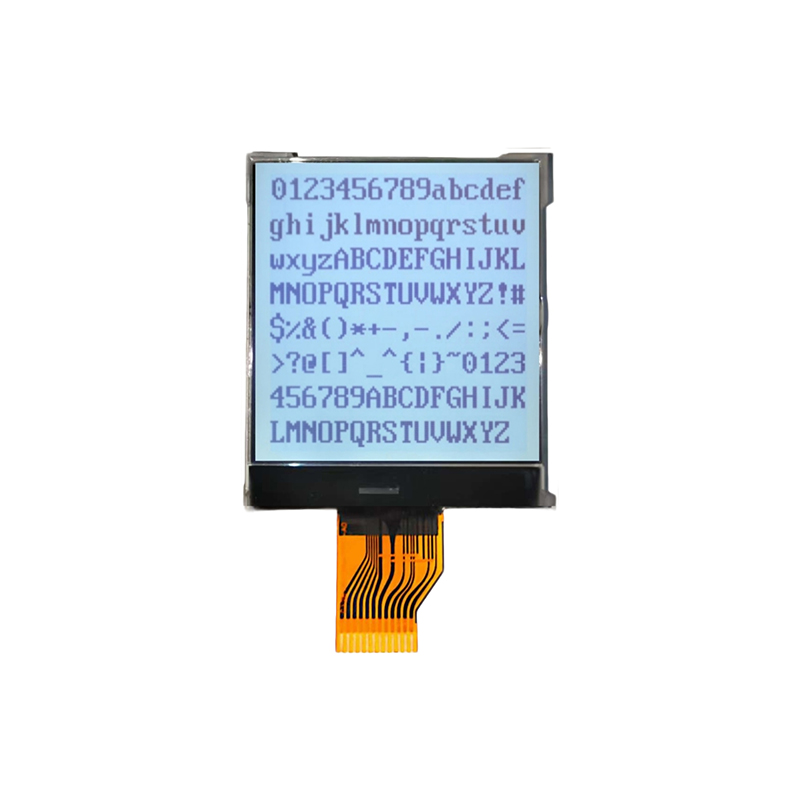
While the standard 5x8 pixel character font is widely used, some displays may offer alternative fonts with different character sizes and styles. This can impact the visual appearance of your displayed information.
The market offers a wide array of Best 162 LCD display Arduino factory. While exhaustive listing is impossible, here are a few popular choices, highlighting their key differences.
| Feature | Option A | Option B | Option C |
|---|---|---|---|
| Interface | I2C | Parallel | I2C |
| Backlight | White | Blue | Green |
| Power Consumption | 20mA | 25mA | 15mA |
(Note: Replace Option A, Option B, and Option C with actual product names and specifications from reputable suppliers. Always verify specifications with the manufacturer's datasheet.)
Connecting your chosen display to your Arduino involves following the manufacturer's instructions, which typically include connecting power, ground, data lines, and control pins. Libraries like LiquidCrystal simplify the process of writing code to control the display. Numerous tutorials and examples are available online for various interface types (I2C and parallel).
Selecting the appropriate Best 162 LCD display Arduino factory hinges on understanding your project's specific requirements. By considering factors like interface type, backlight options, and power consumption, you can confidently choose a display that perfectly suits your needs. Remember to always consult the manufacturer's documentation for detailed specifications and connection instructions. For a wide selection of high-quality LCD displays, consider exploring the options available at Dalian Eastern Display Co., Ltd. They offer a diverse range of LCD modules, potentially including the perfect solution for your project.