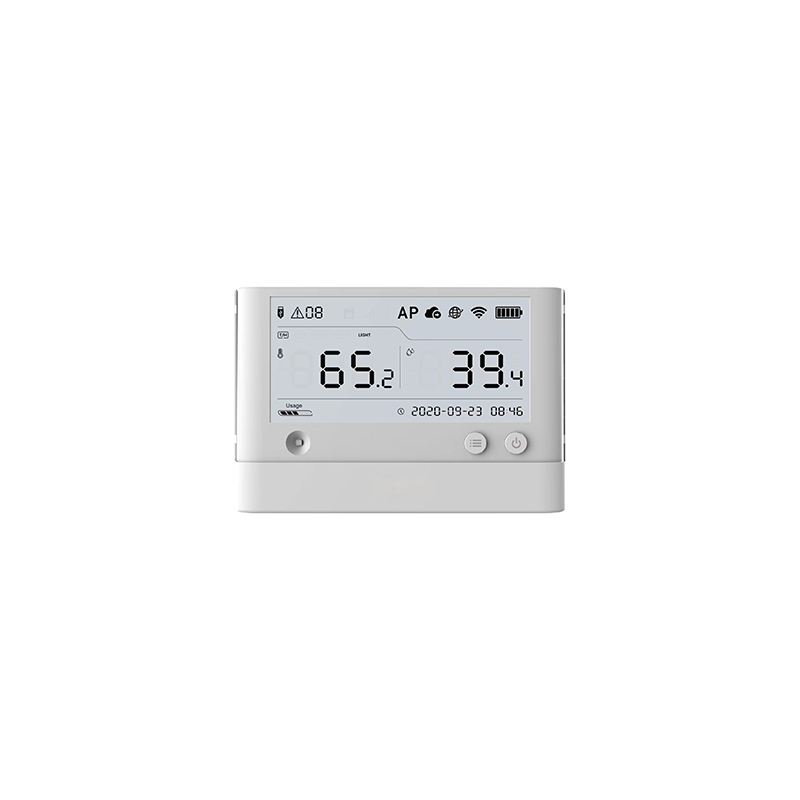
Dalian Eastern Display Co., Ltd.
Dalian Eastern Display Co., Ltd.


This comprehensive guide reviews the top 16x2 LCD displays compatible with Arduino, helping you choose the perfect display for your next project. We'll explore key features, specifications, and considerations to ensure you select a display that meets your needs and budget. We'll also cover setup and troubleshooting tips.
A 162 LCD display is a common component in many Arduino projects. It's a small, inexpensive display capable of showing 16 characters across two lines. These displays are perfect for showing simple messages, sensor readings, or menu options. Understanding the various types and features available is crucial for making an informed purchase. Key features to consider include backlight color (usually blue, green, or white), character size, contrast adjustment, and interface type (typically I2C or parallel).
Choosing the right Best 16 2 lcd display arduino product depends on your project's specific requirements. Below, we've compiled a list of popular and reliable options, highlighting their strengths and weaknesses:
The vast majority of 162 LCD displays are based on the HD44780 controller. This controller is widely supported by Arduino libraries, making it easy to interface with. Many manufacturers produce HD44780-based displays, offering varying levels of quality and features. Look for displays with good contrast adjustment and a reliable backlight.
162 LCD displays come with either an I2C or a parallel interface. I2C interfaces require fewer Arduino pins (typically just two for data and clock), making them ideal for projects with limited pin availability. Parallel interface displays typically use 6-8 pins, offering greater control but consuming more resources. The choice depends on your Arduino board and project complexity.
Many 162 LCD displays offer adjustable backlight intensity. This feature allows you to customize the brightness of your display, enhancing readability in various lighting conditions. Some even offer different backlight colors to match your project's aesthetics.
Before purchasing your Best 16 2 lcd display arduino product, consider the following:
Connecting a 162 LCD display to your Arduino involves connecting the display's pins to the corresponding Arduino pins according to the display's datasheet. This usually includes power (VCC and GND), data pins, control pins (RS, R/W, E), and potentially I2C address pins. The specific connections will vary depending on whether you use an I2C or parallel interface. Numerous tutorials and examples are available online.
If your 162 LCD display isn't working correctly, check the connections, power supply, and Arduino code. Ensure the correct library is installed and that your code accurately reflects the display's wiring. Common issues include incorrect pin assignments, power supply problems, and faulty connections. Refer to the datasheet and online resources for troubleshooting guidance.
Selecting the Best 16 2 lcd display arduino product for your project requires careful consideration of its features and specifications. By understanding the different types of displays and their capabilities, you can choose the perfect one to bring your project to life. Remember to always consult the datasheet for detailed specifications and connection diagrams. For high-quality LCD displays, consider exploring options from reputable manufacturers like Dalian Eastern Display Co., Ltd.