Dalian Eastern Display Co., Ltd.
Dalian Eastern Display Co., Ltd.


This guide provides a comprehensive overview of using a 1602 LCD with I2C communication on an Arduino, focusing on various scenarios and potential issues, including managing exits and data flow. We'll explore practical applications and troubleshooting techniques to ensure a smooth user experience.
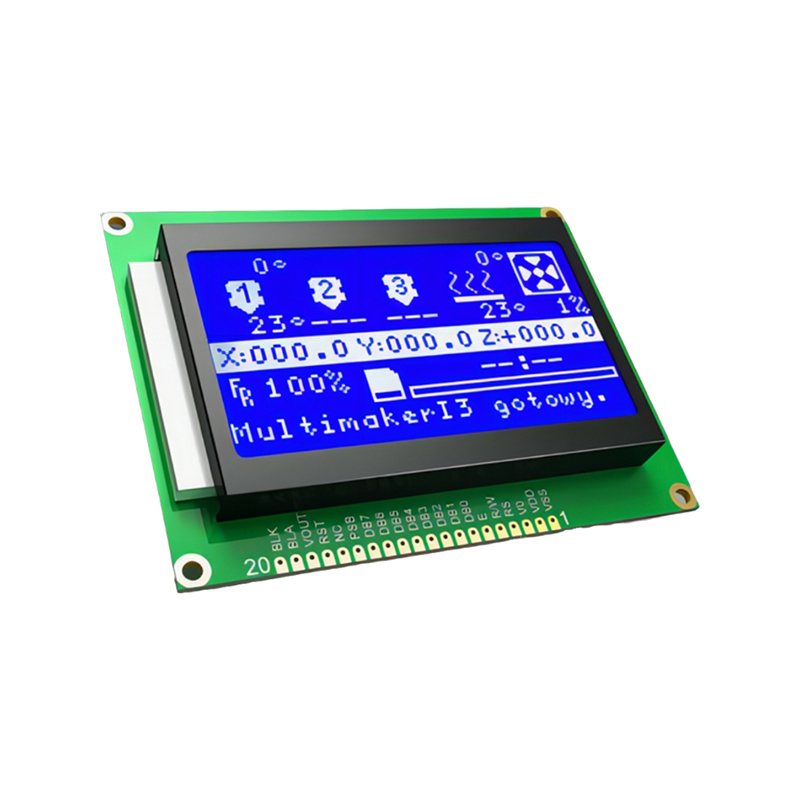
The 1602 LCD is a common alphanumeric liquid crystal display module used extensively in embedded systems. The I2C interface simplifies its connection to microcontrollers like the Arduino, eliminating the need for complex wiring. This module boasts 16 characters per line and 2 lines in total, making it ideal for displaying basic text information. Learning to effectively use this module is a foundational skill for Arduino enthusiasts and embedded systems developers. For a wider selection of LCD modules, consider exploring options from reputable suppliers like Dalian Eastern Display Co., Ltd. Their expertise in display technology offers a range of choices to fit diverse projects. Choosing the correct LCD is often the first step in a successful project.
Connecting a 1602 LCD I2C to your Arduino is straightforward. You'll typically need just four wires: VCC (5V), GND, SDA, and SCL. These connect directly to the corresponding pins on your Arduino. Remember to check your specific module's documentation as pin assignments might vary slightly. A clean and correctly wired setup is crucial for avoiding errors. Proper grounding is essential for reliable operation. Incorrect wiring can lead to damage to your components.
To interact with the 1602 LCD I2C from your Arduino, you'll need the LiquidCrystal_I2C library. This library provides a set of functions for controlling the LCD’s display. Ensure you install it through the Arduino IDE library manager before proceeding.
Here's a sample code snippet demonstrating basic text display on the 1602 LCD I2C:
cpp#includeBeyond basic text display, you can implement scrolling text and dynamic data updates. This requires a deeper understanding of the library functions and Arduino programming. You can leverage the `lcd.scrollDisplayLeft()`, `lcd.scrollDisplayRight()`, and `lcd.setCursor()` functions to achieve this.
If your LCD isn't displaying anything, double-check the I2C address (often 0x27 but can vary). Incorrect addressing is a common source of problems. Refer to your LCD's datasheet to verify the correct address.
Insufficient power can also prevent proper functionality. Ensure your Arduino can provide enough power for both itself and the LCD module. Using a separate power supply for the LCD, particularly for larger displays, is often a good practice.
Carefully review your code for errors. Even minor typos can prevent your code from working correctly. A methodical approach to debugging, perhaps using `Serial.print()` statements to track variable values, can be invaluable.
Successfully integrating a 1602 LCD I2C with your Arduino project unlocks numerous possibilities for creating interactive and informative embedded systems. Mastering the techniques outlined in this guide will significantly enhance your capabilities. Remember to always consult the datasheets of your specific hardware for detailed information.