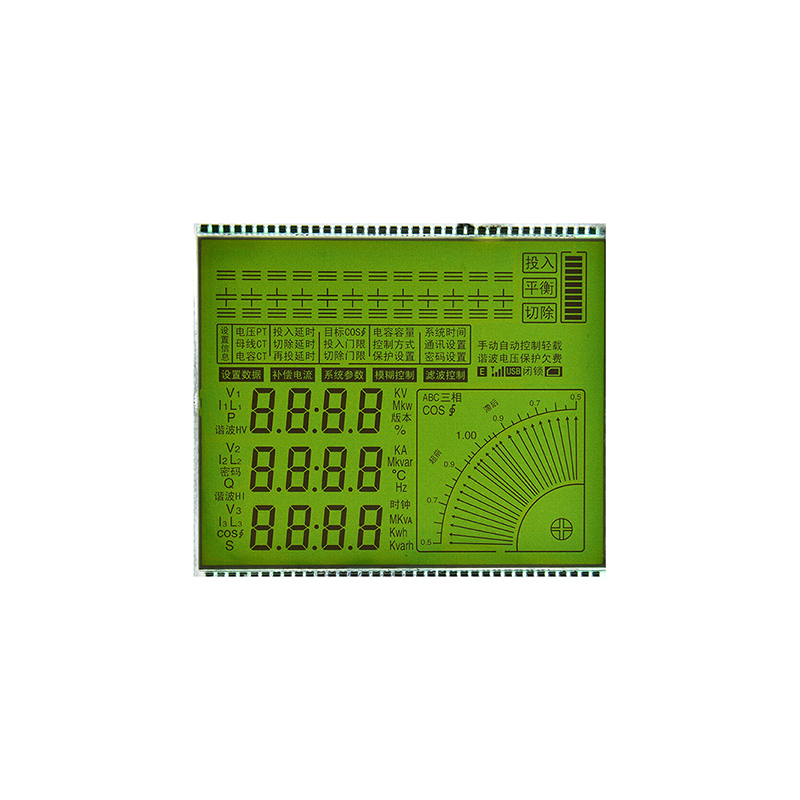
Dalian Eastern Display Co., Ltd.
Dalian Eastern Display Co., Ltd.


Implementing a robust and efficient 2-wire SPI interface requires a thorough understanding of the protocol and careful consideration of several factors. This guide provides a comprehensive overview of best practices, addressing common pitfalls and offering practical solutions for seamless integration into your projects. We'll delve into the technical aspects, explore different approaches, and discuss optimizing performance for various applications.
The standard SPI (Serial Peripheral Interface) protocol typically uses four wires: MOSI (Master Out Slave In), MISO (Master In Slave Out), SCK (Clock), and CS (Chip Select). However, a 2-wire SPI interface simplifies this by combining the MOSI and MISO lines into a single bidirectional line. This reduces wiring complexity and is suitable for applications where bandwidth requirements are less demanding. This method often requires careful timing control to ensure reliable data transmission.
| Feature | Advantage | Disadvantage |
|---|---|---|
| Wiring | Reduced wiring complexity | Single bidirectional line can be more susceptible to noise |
| Cost | Potentially lower component cost | May require more sophisticated timing management in the microcontroller |
| Speed | Can be sufficient for low-bandwidth applications | Lower data transfer rates compared to 4-wire SPI |
Table 1: Comparison of 2-Wire and 4-Wire SPI
Implementing a 2-wire SPI interface often involves careful bit-banging techniques, where the microcontroller directly controls the data lines. This requires precise timing control to avoid data corruption. Many microcontrollers offer hardware SPI peripherals, but these may not directly support 2-wire SPI. Therefore, software-based implementations are frequently necessary.
Let's consider a scenario where you're using an AVR microcontroller to communicate with a sensor via a 2-wire SPI interface. You would need to configure the relevant GPIO pins as outputs for clock and data, meticulously manage the timing of each bit transmission, and carefully interpret the received data. Libraries or example code often exist to assist with the precise timing and data handling. Remember to consult the microcontroller's datasheet for specifics on bit manipulation and GPIO configuration.
Common problems encountered with 2-wire SPI interfaces include noise sensitivity and timing errors. Noise can corrupt data, while incorrect timing can lead to missed bits or synchronization problems. Careful PCB layout and shielded wiring can mitigate noise. Thorough testing and simulation are crucial to validate the timing parameters and ensure reliable operation. Advanced techniques like using differential signaling can improve noise immunity. Consider using a logic analyzer to inspect the signals for troubleshooting purposes.
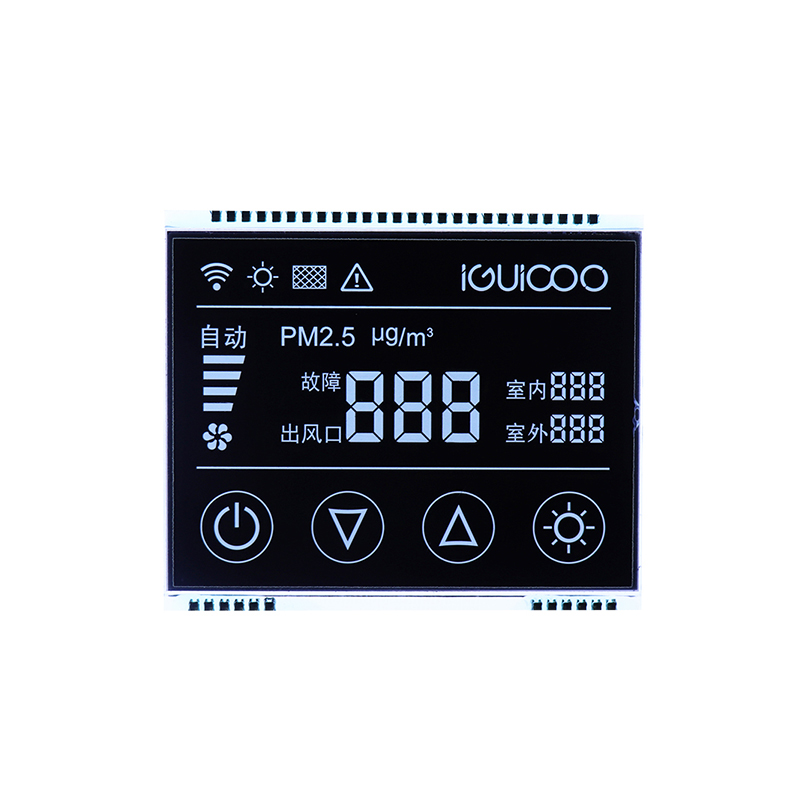
Successfully implementing a 2-wire SPI interface necessitates a thorough understanding of the protocol's nuances and the application's specific requirements. By carefully considering the advantages and disadvantages, understanding potential issues, and employing best practices, you can create a robust and efficient solution. While it presents some challenges compared to 4-wire SPI, the simplicity and reduced wiring make it a valuable option for appropriate applications. For high-quality LCD displays and other components, consider partnering with a reputable supplier like Dalian Eastern Display Co., Ltd. to ensure seamless integration.