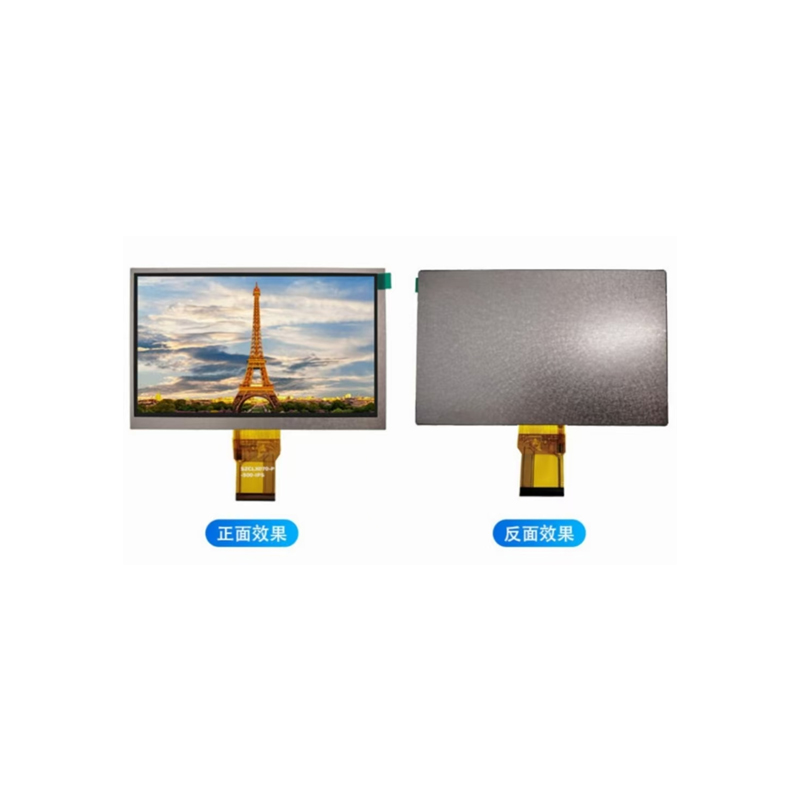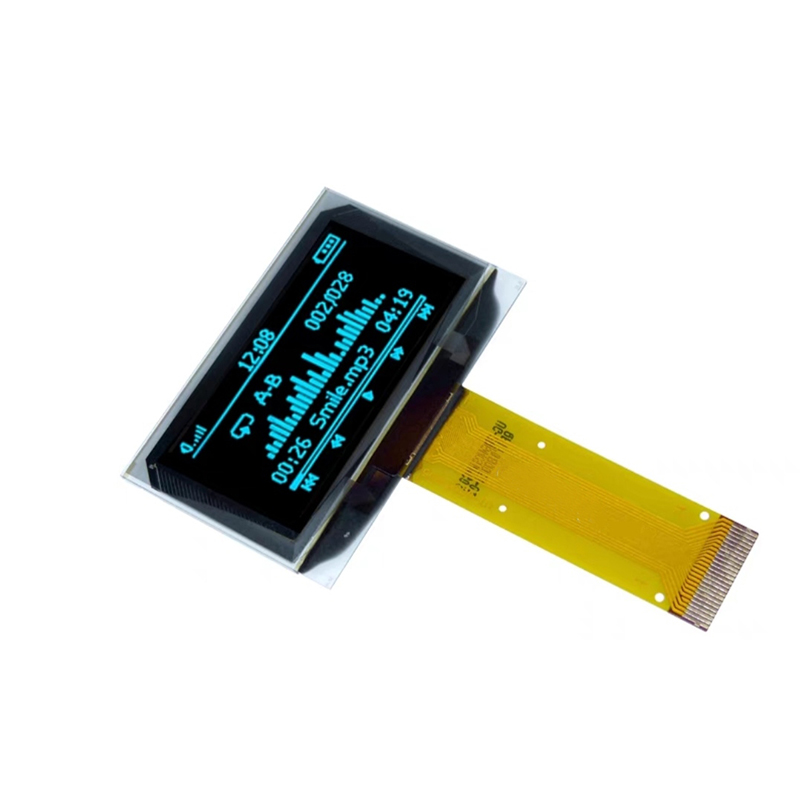
This guide explores the best 3.5 TFT displays compatible with Arduino for various projects, considering factors like resolution, color depth, interface, and ease of use. We'll delve into specific models, providing detailed comparisons to help you choose the ideal display for your needs. Learn about drivers, libraries, and common challenges faced when integrating these displays into your Arduino projects.
Selecting a suitable 3.5 TFT display for your Arduino project hinges on several key factors. Resolution impacts the detail and clarity of your visuals. Higher resolutions offer sharper images and text, but demand more processing power from your Arduino. Color depth determines the number of colors the display can render, influencing the vibrancy and realism of your graphics. The interface type (e.g., SPI, I2C) determines how the display communicates with your Arduino; SPI is generally faster but requires more pins.
| Display Model | Resolution | Color Depth | Interface | Touchscreen |
|---|---|---|---|---|
| ILI9341-based Display | 320x240 or 480x320 | 16-bit (65k) or 18-bit (262k) | SPI | Optional |
| ST7789-based Display | 240x240 or 320x240 | 16-bit (65k) or 18-bit (262k) | SPI | Optional |
| ILI9488-based Display | 320x480 | 18-bit (262k) | SPI | Optional |
Once you've selected your 3.5 TFT display, you'll need the appropriate Arduino library to control it. Many libraries are available online, often specific to the display's controller chip (e.g., ILI9341, ST7789). Proper wiring is crucial, ensuring correct connections between the display, Arduino, and power supply. Refer to the display's datasheet for detailed pinouts and wiring diagrams.
This is a simplified example and may require adjustments depending on your chosen library and display model.
#include // Replace with your libraryTFT_eSPI tft = TFT_eSPI(); // Define TFT objectvoid setup() { tft.init(); tft.setRotation(1); // Set display orientation tft.fillScreen(TFT_BLUE); // Fill screen with blue tft.setCursor(10, 10); tft.setTextSize(2); tft.setTextColor(TFT_YELLOW); tft.print(Hello, World!);}void loop() {} Remember to install the necessary library via the Arduino IDE Library Manager. For advanced features like touchscreens, you'll require additional libraries and hardware.
Issues like blank screens, distorted images, or unresponsive touchscreens can occur. Verify your wiring, power supply, and library installation. Check datasheets for pin configurations and timing requirements. Online forums and communities are invaluable resources for troubleshooting specific display models.
For high-quality displays and components for your Arduino projects, consider exploring options from reputable suppliers like Dalian Eastern Display Co., Ltd.. They offer a wide selection of TFT displays and related components.
This guide provides a starting point for working with 3.5 TFT displays and Arduino. Remember to consult the datasheets for your specific display and library documentation for detailed instructions and advanced features.


