Dalian Eastern Display Co., Ltd.
Dalian Eastern Display Co., Ltd.


Choosing the right Adafruit TFT display for your Arduino project can be overwhelming with so many options available. This guide helps you select the perfect display based on your specific needs, covering resolution, size, color depth, and interface considerations. We'll explore popular choices, compare features, and provide practical tips for successful integration.
Adafruit offers a wide variety of TFT displays compatible with Arduino. These displays range from small, low-resolution screens ideal for simple projects to large, high-resolution displays suitable for complex applications. The key factors to consider when selecting a Best Adafruit TFT display Arduino include:
Resolution determines the sharpness and detail of the displayed image. Higher resolutions offer more pixels, resulting in crisper text and graphics. Size is another crucial factor depending on your project's needs. Adafruit offers displays ranging from tiny 1.8 screens to larger 3.5 and even 5 options. Consider the physical space available and the desired viewing distance when making your choice.
Color depth refers to the number of bits used to represent each pixel's color. Higher color depths (e.g., 16-bit) result in a wider range of colors and smoother gradients. Lower color depths (e.g., 18-bit) might be sufficient for simpler applications, offering a balance between color accuracy and memory usage.
Adafruit TFT displays typically utilize SPI or parallel interfaces to communicate with the Arduino. SPI is generally preferred for its simplicity and ease of use, especially for beginners. Understanding your Arduino's capabilities and the display's interface is critical for successful integration.
Here are some of the most popular Adafruit TFT displays used with Arduino:
| Display Model | Size | Resolution | Color Depth | Interface |
|---|---|---|---|---|
| Adafruit 2.4 TFT LCD - 320x240 | 2.4 | 320x240 | 18-bit | SPI |
| Adafruit 3.5 TFT Touch Screen Display | 3.5 | 480x320 | 18-bit | SPI |
| Adafruit 1.8 Color TFT Display | 1.8 | 128x160 | 16-bit | SPI |
Specifications may vary; refer to Adafruit's website for the most up-to-date information.
Consider your project's requirements carefully. A small, low-resolution display might suffice for a simple data logger, while a larger, high-resolution display is essential for a complex graphical user interface. Factor in budget, available space, and desired features to make an informed decision. Always refer to the Adafruit website for detailed specifications and documentation before purchasing.
Ensure you have the necessary libraries installed and correctly configured. Consult Adafruit's detailed tutorials and examples for guidance. Start with simple tests to verify communication and functionality before integrating the display into your complex project. Remember to check for power requirements and supply sufficient voltage. For advanced projects requiring high refresh rates or complex graphics, consider displays with dedicated graphics controllers for optimized performance.
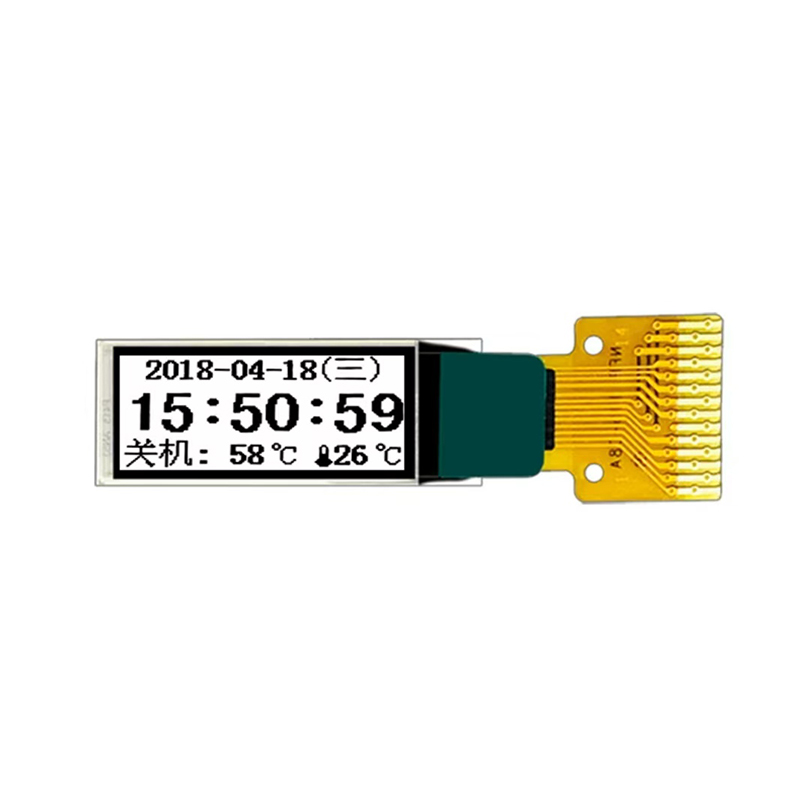
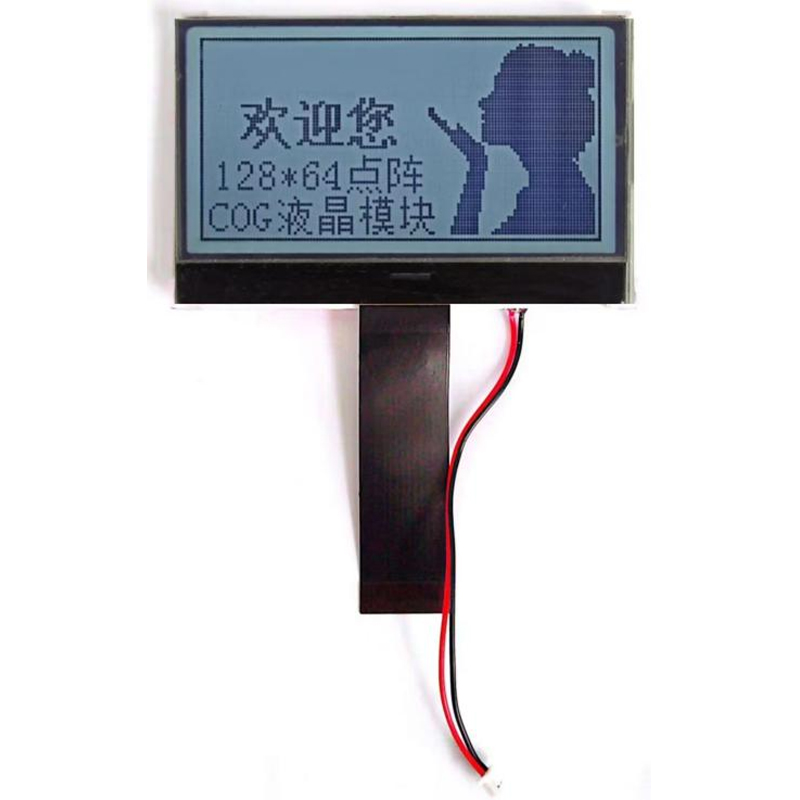
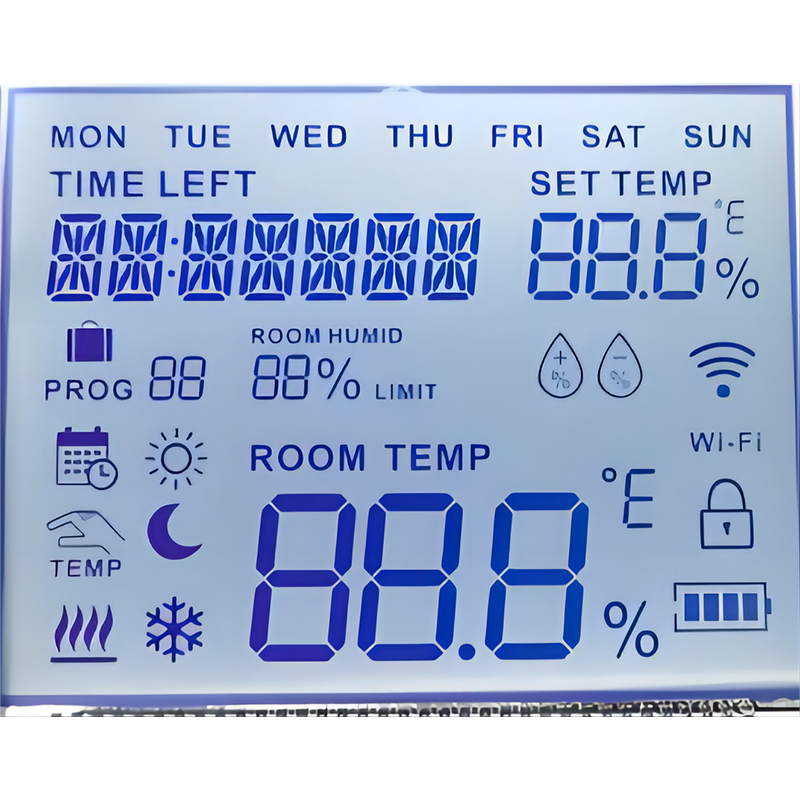
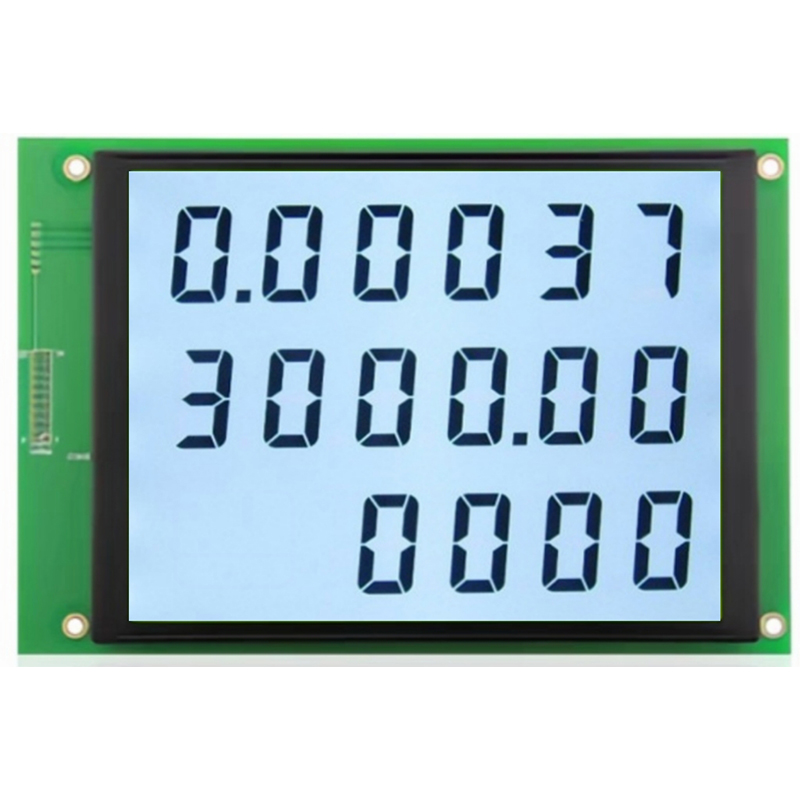
For high-quality LCD screens for your projects, consider exploring options from Dalian Eastern Display Co., Ltd.. They offer a wide variety of LCD solutions for various applications.
Remember to always consult the official Adafruit documentation for the most accurate and up-to-date information on specific Adafruit TFT display models and their compatibility with Arduino. Happy creating!