Dalian Eastern Display Co., Ltd.
Dalian Eastern Display Co., Ltd.


This guide provides a comprehensive overview of the best Arduino I2C interfaces, comparing various options and helping you choose the right one for your project. We'll cover key features, functionalities, and practical considerations to ensure you make an informed decision. Learn about different I2C devices, troubleshooting common issues, and maximizing your project's potential.
I2C (Inter-Integrated Circuit) is a widely used communication protocol allowing microcontrollers like the Arduino to interact with various peripheral devices. Its simplicity and ease of implementation make it a popular choice for many embedded systems. A key advantage of I2C is its ability to use only two wires (SDA and SCL) for data and clock signals, minimizing the number of pins required on your Arduino board. This is especially valuable when working with resource-constrained projects.
Employing an Arduino I2C interface offers several benefits: reduced wiring complexity, simplified communication, and efficient data transfer. It allows you to connect numerous devices to your Arduino without overwhelming your microcontroller's pin count. This versatility is crucial in building complex projects involving sensors, actuators, and displays.
The best Arduino I2C interface depends on your specific needs. Consider factors like the number of devices you'll be connecting, the data transfer rate required, and the level of integration you need.
Many devices support I2C communication, expanding your project possibilities. Some common examples include:
Arduino offers excellent support for I2C communication through its Wire library. This library simplifies the process of reading from and writing to I2C devices. Understanding this library is critical for successful I2C integration.
Each I2C device has a unique address. Address conflicts can occur if multiple devices share the same address. Properly configuring the device addresses is crucial for avoiding these conflicts.
While I2C is generally efficient, there are ways to optimize communication speed. Factors such as clock speed and data transfer techniques can impact overall performance.
Troubleshooting I2C issues involves checking connections, verifying addresses, and examining the communication timing. Common issues include incorrect wiring, address conflicts, and improper initialization.
To solidify your understanding, here are some practical example projects utilizing Arduino I2C interfaces:
These projects showcase the versatility and practical applications of Arduino I2C interfaces in various real-world scenarios.
Selecting the optimal Arduino I2C interface hinges upon a careful consideration of your project's specific requirements. Understanding I2C fundamentals, device compatibility, and troubleshooting techniques are essential for successful implementation. Remember to consult datasheets for specific devices and utilize the Arduino Wire library effectively. By following these guidelines, you can efficiently integrate I2C devices into your Arduino projects and unlock a world of possibilities.
| Device | Data Rate | Advantages | Disadvantages |
|---|---|---|---|
| DS1307 RTC | 100 kbps | Low cost, readily available | Relatively low data rate |
| MPU6050 IMU | 400 kbps | High accuracy, versatile | More complex setup |
| PCF8574 I/O Expander | 100 kbps | Expands I/O capabilities | Requires additional components |
Note: Data rates may vary based on specific configurations and hardware. Consult individual datasheets for detailed specifications.
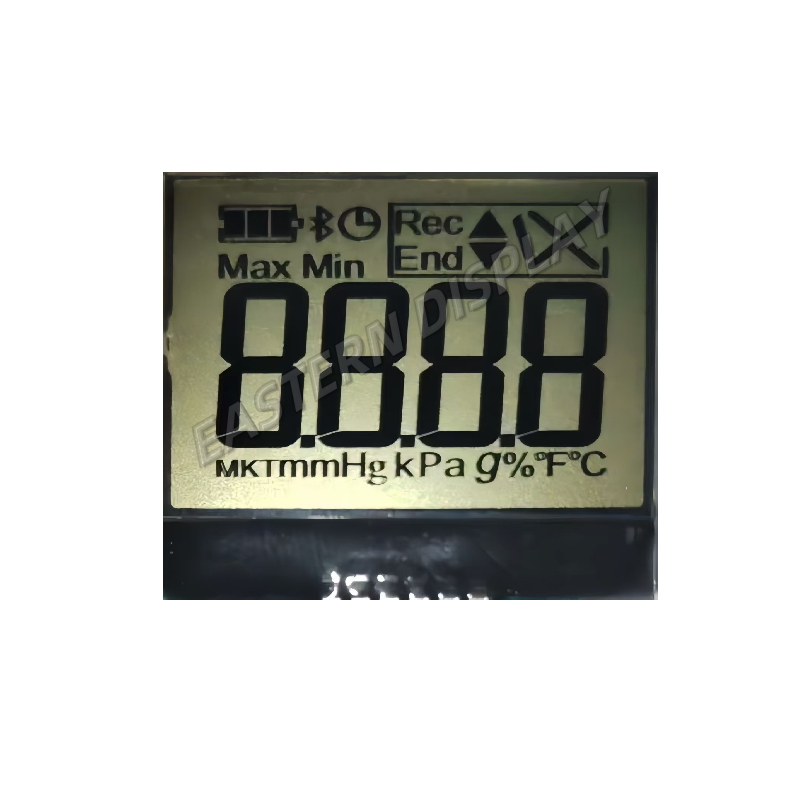
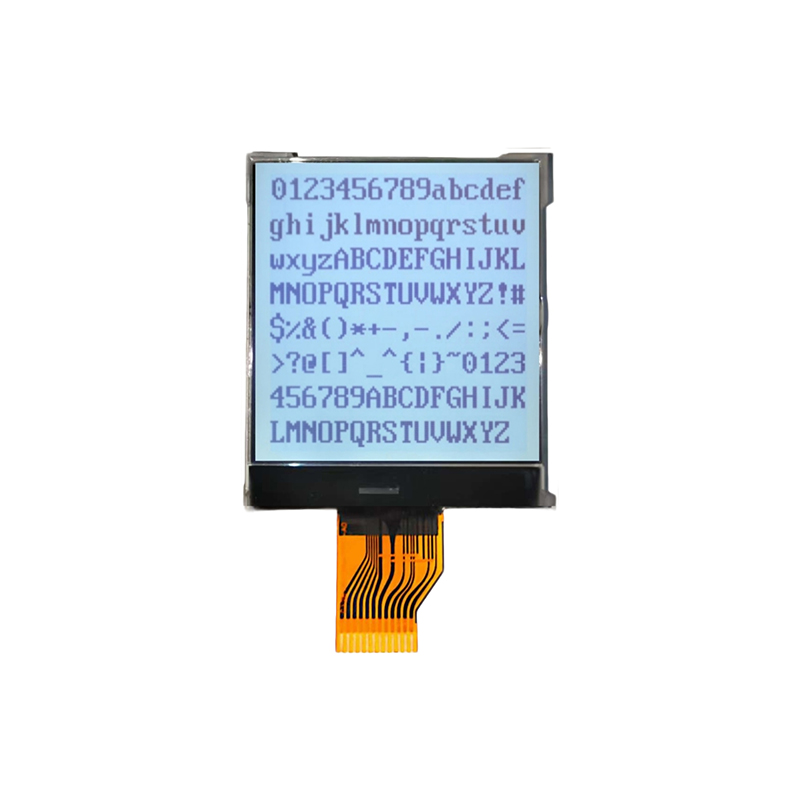
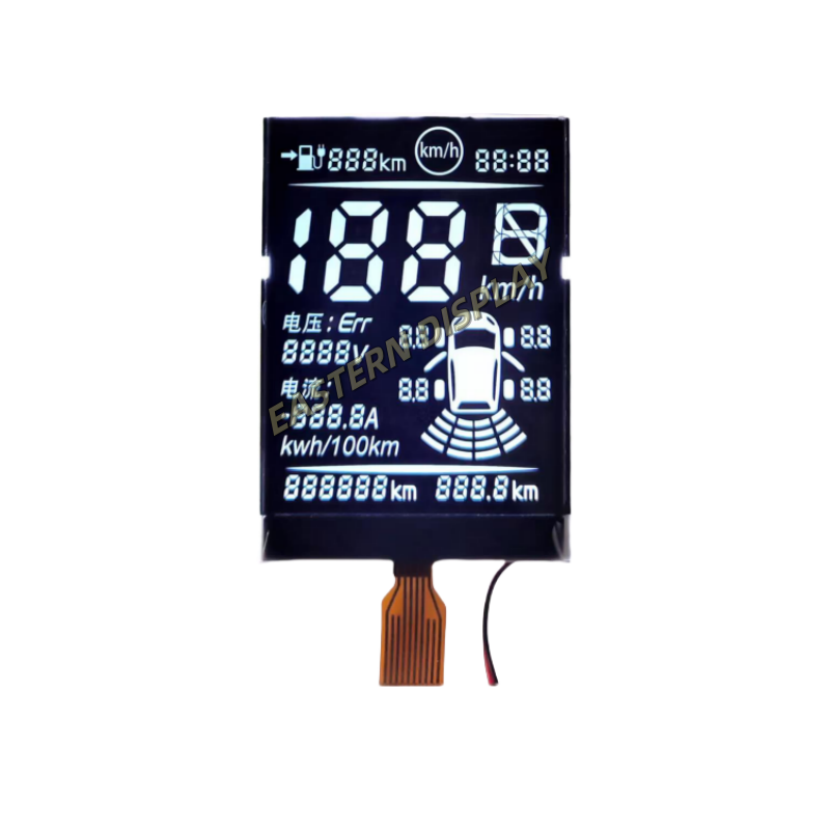
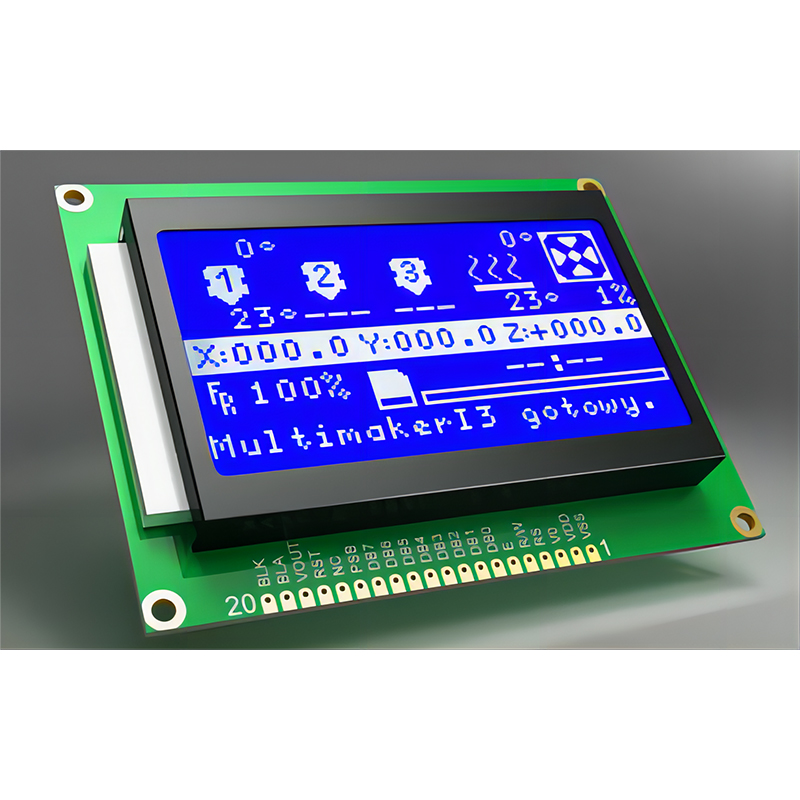
For high-quality LCD screens to complement your Arduino I2C projects, consider exploring the offerings of Dalian Eastern Display Co., Ltd. They provide a wide range of displays suitable for various applications.