Best Arduino I2C LCD Displays: A Comprehensive GuideChoosing the right Best Arduino I2C LCD display can significantly enhance your project. This guide provides in-depth information to help you select the perfect display for your needs, covering key features, popular models, and considerations for successful integration. We'll explore different screen sizes, resolutions, and functionalities to empower you to make an informed decision.
Understanding I2C LCD Displays for Arduino
What is an I2C LCD Display?
An I2C (Inter-Integrated Circuit) LCD display is a compact screen that connects to your Arduino board using the I2C communication protocol. Unlike other display interfaces, I2C requires fewer pins, simplifying wiring and making it ideal for projects with limited pin availability. This streamlined connection makes it a favorite for many Arduino projects. The I2C protocol handles address assignments, allowing multiple I2C devices to share the same two data lines (SDA and SCL). This is a key advantage over parallel displays.
Why Choose I2C for your Arduino Project?
The benefits of using an I2C Best Arduino I2C LCD display are compelling. The reduced pin count simplifies the wiring process considerably, making prototyping and breadboarding much easier. Furthermore, the I2C protocol manages addressing automatically, simplifying the addition of other I2C devices to your project.
Key Features to Consider When Choosing a Best Arduino I2C LCD Display
Selecting the right Best Arduino I2C LCD display involves considering several key aspects to ensure compatibility and functionality with your project.
Screen Size and Resolution
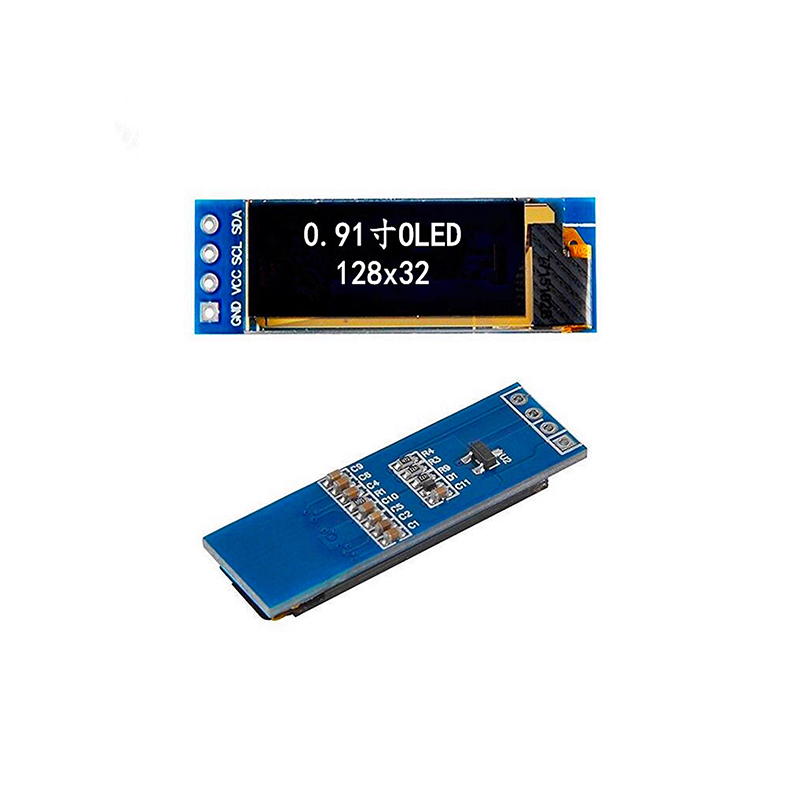
The first consideration is the screen size and resolution. Smaller displays (e.g., 16x2 characters) are ideal for compact projects, offering a simple interface. Larger displays (e.g., 20x4 or even graphical LCDs) are more suitable for projects needing to display more complex information. Resolution affects the clarity and detail of the displayed text and images. Higher resolution equates to sharper visuals.
Backlight Type and Color
Displays typically feature either a white or blue backlight. Some offer color screens. The backlight impacts the visibility and aesthetics of your project. Consider the ambient light conditions where your project will operate.
Power Consumption
Power consumption is critical, especially for battery-powered projects. Check the display's datasheet for its typical current draw to ensure it meets your power budget.
Interface and Libraries
Confirm that the display is compatible with the I2C protocol and that readily available Arduino libraries exist for easy integration. A well-documented library simplifies the coding process.
Popular Best Arduino I2C LCD Display Models
Numerous manufacturers produce excellent I2C LCD displays for Arduino. Here are a few examples (note: specific availability and pricing can vary):| Model | Size | Resolution | Backlight | Key Features | Pros | Cons ||-------------------------|----------|-------------|------------|-------------------------------------------|--------------------------------------------|---------------------------------------------|| Adafruit 16x2 I2C LCD | 16x2 | 16x2 | White | Easy to use, readily available library | Simple, reliable, widely supported | Limited screen real estate || Newhaven NHD-0216KZW-ASW | 16x2 | 16x2 | White | Compact, low power consumption | Energy efficient, compact form factor | May require more complex setup for some users || Waveshare 2.2 TFT LCD | 2.2 | 240x320 | White | Graphical display, supports color images | Highly versatile, color support | Higher power consumption than smaller displays |(Datasheets available on individual manufacturer websites. Check for the most up-to-date information.)
Integrating Your Best Arduino I2C LCD Display
Connecting and programming your Best Arduino I2C LCD display is a straightforward process.
Wiring
Typically, you will need to connect the LCD's SDA, SCL, VCC, and GND pins to the corresponding pins on your Arduino board. Consult the display's datasheet for specific pin assignments. Avoid exceeding the maximum voltage ratings.
Libraries and Code
Most I2C LCD displays come with readily available Arduino libraries. These libraries simplify the process of sending data to the display, avoiding the complexities of low-level I2C communication. These libraries are often available through the Arduino Library Manager.
Example Code Snippet (using a hypothetical library):
cpp#include
//Replace with your actual libraryI2CLCD lcd;void setup() { lcd.init(); lcd.backlight(); lcd.setCursor(0,0); lcd.print(Hello, world!);}void loop() { // Your code here}Troubleshooting and Common Issues
If you encounter problems integrating your Best Arduino I2C LCD display, consider these common issues: Incorrect Wiring: Double-check your wiring connections carefully. One incorrectly wired connection can prevent the LCD from functioning. Address Conflicts: Ensure that the I2C address of your display is correctly set and doesn't conflict with other I2C devices in your project. Library Issues: Ensure you have installed the correct library for your specific display model and version. Power Supply: Verify your power supply is sufficient and providing the correct voltage.By carefully considering these factors and selecting the appropriate Best Arduino I2C LCD display, you can enhance your Arduino projects with clear, user-friendly interfaces. Remember to always consult the manufacturer's documentation for detailed specifications and instructions. For high-quality LCD displays for your projects, consider exploring the options available at [Dalian Eastern Display Co., Ltd.](https://www.ed-lcd.com/) rel=nofollow. Their diverse range of products offers excellent solutions for various applications.