Dalian Eastern Display Co., Ltd.
Dalian Eastern Display Co., Ltd.


This guide explores exciting Best Arduino LCD display project exit ideas, covering various skill levels and applications. We'll delve into practical examples, offering insights into choosing the right LCD, coding techniques, and troubleshooting common issues. Learn how to bring your creative projects to life with stunning visual displays.
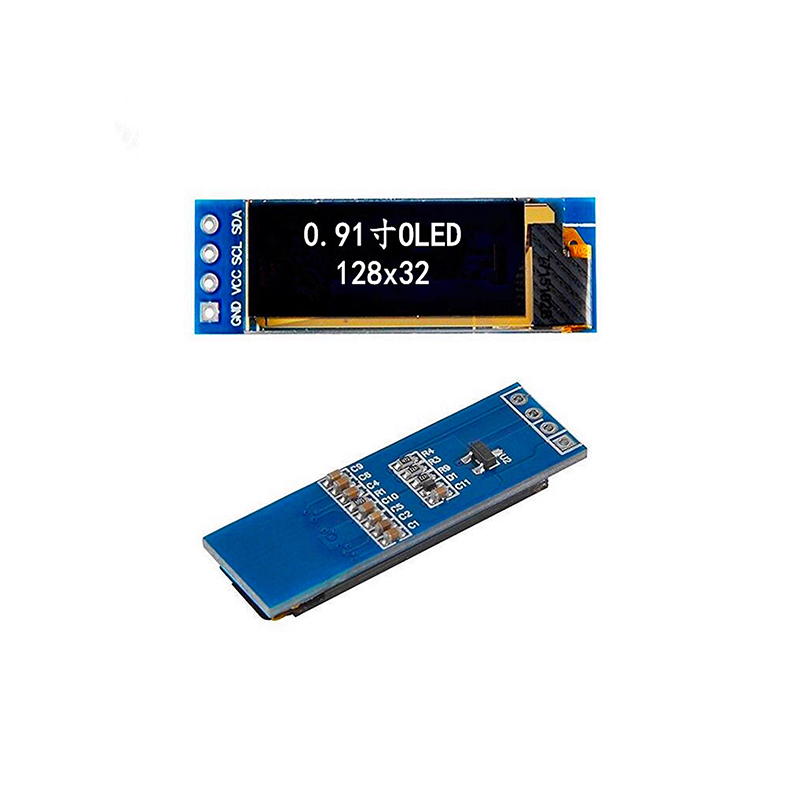
Selecting the appropriate LCD for your Arduino LCD display project exit is crucial. Key factors include screen size (character vs. graphic), resolution, interface type (I2C, SPI, parallel), and power requirements. Consider your project's complexity and display needs. For simple projects, a 16x2 character LCD might suffice, while more complex applications may demand a graphic LCD with higher resolution. The interface type will impact your wiring and coding simplicity; I2C is generally easier to work with.
Several reputable manufacturers produce high-quality Arduino-compatible LCDs. You can find a wide range on online retailers. Look for displays with clear documentation and readily available libraries to simplify integration.
A classic beginner project, building a digital clock with an Arduino and LCD is a great way to learn the fundamentals. You'll learn to manipulate time data and display it on the LCD, gaining valuable experience with basic Arduino programming and LCD control.
Combine an Arduino with a temperature and humidity sensor (like DHT11 or DHT22) and an LCD to create a useful environmental monitor. This project expands on the clock project, integrating sensor readings and data processing.
This project involves creating a data logger that records sensor data (temperature, light, pressure, etc.) and displays it on the LCD. You can enhance it by incorporating data storage on an SD card for later analysis.
Challenge yourself with an interactive game displayed on the LCD. Consider a simple text-based game like Snake or a number guessing game. This project requires more advanced programming techniques to handle user input and game logic.
For advanced users, building a system that visualizes real-time data from various sensors on a graphic LCD is a challenging yet rewarding project. Consider using libraries that provide graphing capabilities. This project often requires efficient data handling and potentially external memory.
Combine your Arduino LCD display with a wireless communication module (like nRF24L01 or ESP8266) to create a remotely controlled display system. You can use a smartphone or computer to send data and control the displayed information.
Troubleshooting is an important aspect of any project. Common issues include incorrect wiring, power supply problems, and software errors. Ensure proper connections, sufficient power, and accurate code before proceeding to more complex troubleshooting steps. Online forums and communities are valuable resources.
Numerous online resources provide tutorials, code examples, and support for Arduino LCD projects. Explore sites like Arduino.cc and online forums for assistance. Remember to always check the documentation for your specific LCD model. The right components and proper coding are essential for a successful project. For high-quality LCD displays, consider exploring the options available at Dalian Eastern Display Co., Ltd.