Dalian Eastern Display Co., Ltd.
Dalian Eastern Display Co., Ltd.


Selecting the right LCD display for your Arduino project is crucial for a successful outcome. This comprehensive guide helps you navigate the world of Arduino LCD display project products, offering insights into different display types, crucial selection factors, and inspiring project examples. We’ll delve into the specifics of screen size, resolution, interfaces, and functionalities to help you choose the perfect display for your application.
The market offers a wide variety of LCD displays compatible with Arduino. Understanding the key differences is essential for choosing the right one for your project. Here are some of the most common types:
Character LCD displays are simpler and less expensive. They display text characters only, typically in a 16x2 or 20x4 format. They are ideal for basic projects requiring text-based output like simple displays of sensor readings or basic menus. They often use a simple I2C or parallel interface, making integration with Arduino relatively easy.
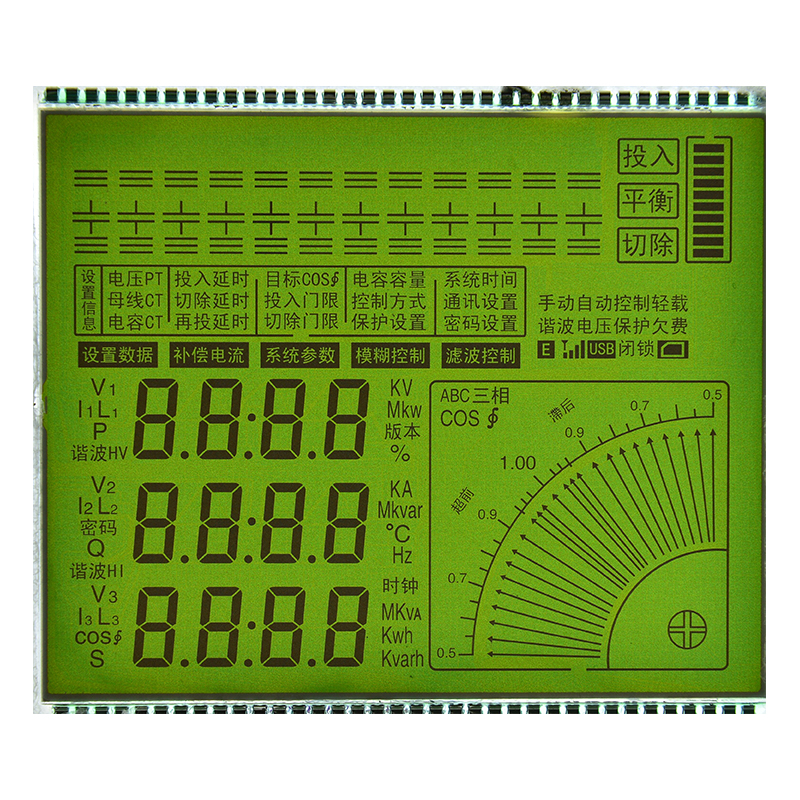
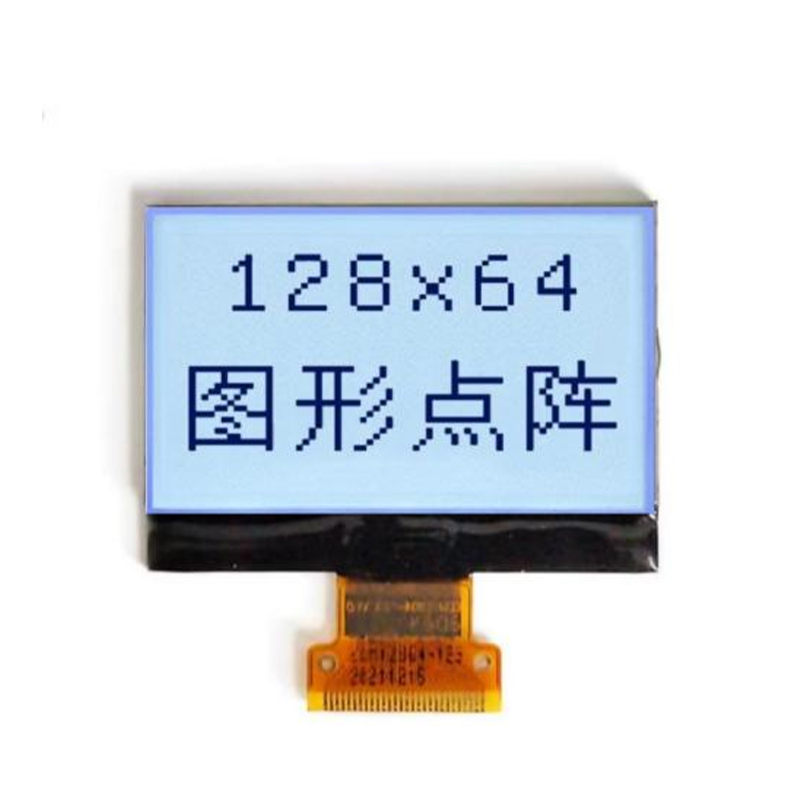
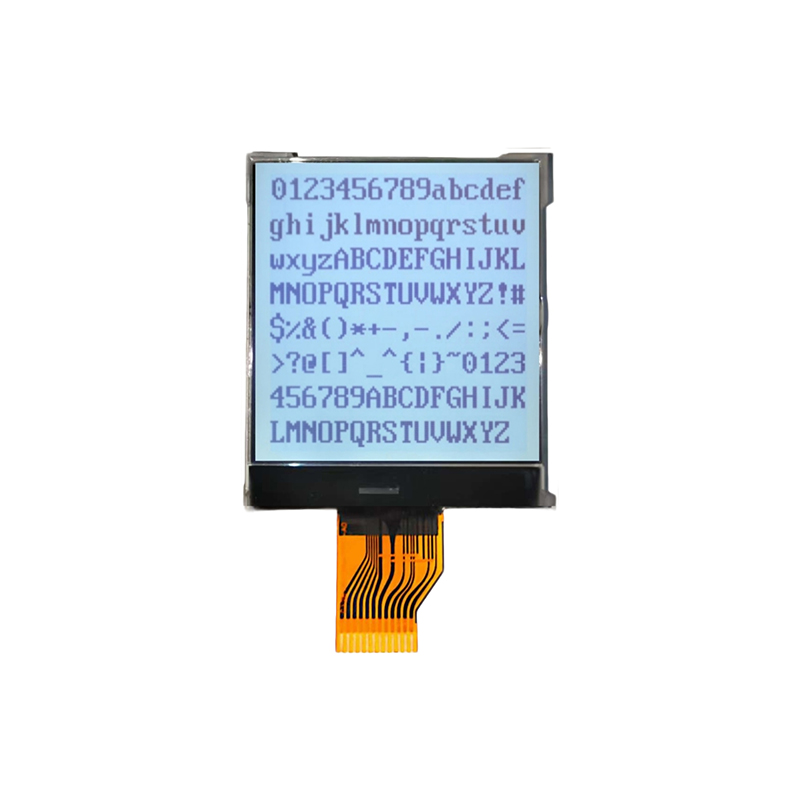
Graphic LCD displays offer significantly greater flexibility. They allow for the display of both text and graphics, enabling more complex and visually appealing interfaces. These displays come in various sizes and resolutions, providing options for detailed visualizations and user interfaces. Common interfaces include SPI and I2C. The choice of interface depends on your project’s needs and the capabilities of your Arduino board.
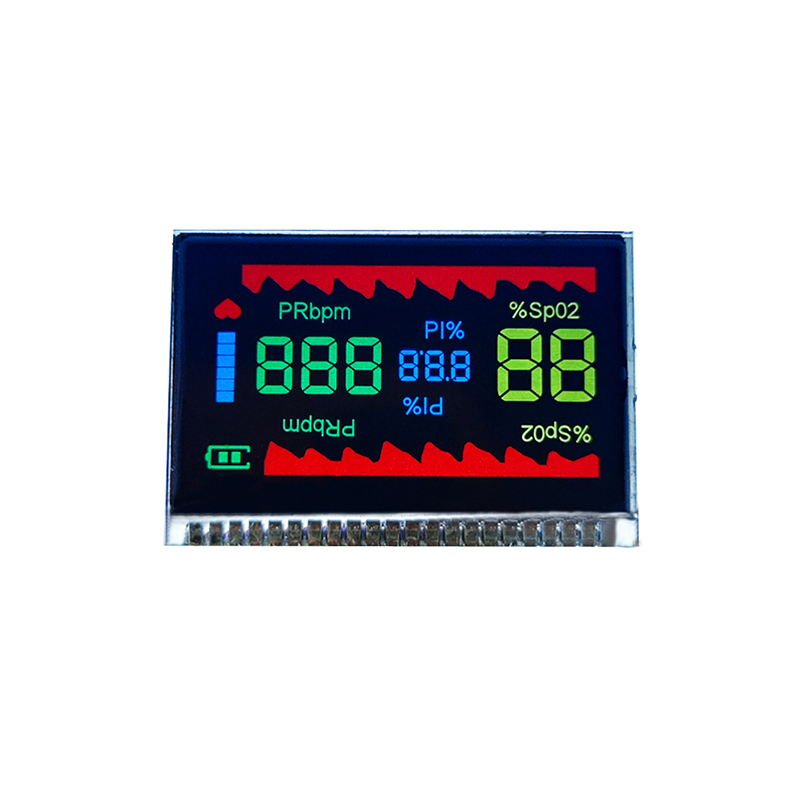
TFT LCD displays are a type of graphic LCD known for their high color accuracy and vibrant images. They are typically more expensive than character or standard graphic LCDs, but they offer superior visual quality, making them suitable for projects needing impressive visuals, like photo viewers or game interfaces. TFT displays usually use SPI for communication.
Before purchasing an Arduino LCD display project product, consider the following factors:
The size and resolution directly impact the amount of information you can display. A larger display allows for more content, while higher resolution provides sharper detail. Consider the complexity of your project and the information you need to present when making your decision.
I2C is generally simpler to use but has a slower data transfer rate. SPI offers faster data transmission, making it suitable for projects that require quick updates to the display. The choice depends on your project's timing requirements and the availability of pins on your Arduino board.
Power consumption is a crucial factor, especially for battery-powered projects. Look for displays with low power consumption to extend battery life.
Displays with backlights allow for viewing in low-light conditions. Consider the backlight color and brightness to match your project's aesthetic and functionality.
Here are a few examples of projects that effectively use Arduino LCD display project products:
A temperature sensor (like a DS18B20) can be connected to an Arduino, and the temperature reading can be displayed on a simple character LCD. This provides a basic yet useful application.
Combining various sensors with a graphic LCD allows for the creation of a sophisticated data logging system that displays readings for several sensors concurrently.
A TFT LCD makes an excellent display for a simple game console using the Arduino's processing capabilities.
| Feature | Character LCD | Graphic LCD | TFT LCD |
|---|---|---|---|
| Display Type | Text Only | Text & Graphics | Text & Graphics (High Color) |
| Resolution | 16x2, 20x4 etc. | Variable | Variable, High Resolution Options |
| Interface | I2C, Parallel | I2C, SPI | SPI |
| Cost | Low | Medium | High |
| Power Consumption | Low | Medium | Medium to High |
For a wide selection of high-quality LCD displays suitable for your Arduino projects, consider exploring the options available at Dalian Eastern Display Co., Ltd.. They offer a diverse range of displays to meet your specific needs.
Remember to always consult the datasheets for the specific LCD display and Arduino board you're using for detailed connection instructions and programming details. Happy creating!