Dalian Eastern Display Co., Ltd.
Dalian Eastern Display Co., Ltd.


Properly handling the exit from an Arduino LCD screen is crucial for creating robust and user-friendly applications. A clean exit prevents unexpected behavior, ensures data integrity, and leaves the display in a predictable state. This guide offers practical solutions and best practices for various LCD screen types and Arduino projects.
Before diving into exit strategies, it's essential to understand how Arduino interacts with LCD screens. This typically involves using a specific library, like LiquidCrystal, to control the display. The library provides functions to write text, manipulate pixels, and control the backlight. A crucial aspect is properly initializing and de-initializing the LCD. Failing to do so can lead to lingering display issues or even hardware damage in some cases.
Several popular libraries are available for controlling Arduino LCD screens, each with its own initialization and de-initialization procedures. The most widely used is the LiquidCrystal library. This library requires initialization with pin assignments before any interaction with the screen is possible. The 'begin' function within this library is essential for initializing the screen. For example:
#include LiquidCrystal lcd(12, 11, 5, 4, 3, 2); // Initialize LCD with pin assignmentsvoid setup() { lcd.begin(16, 2); // Initialize LCD with 16 columns and 2 rows}void loop() { // Your code here} Other libraries such as the Adafruit_GFX and Adafruit_SSD1306 libraries provide support for a wider range of LCD displays and often offer more advanced functionalities. Always refer to the specific library's documentation for proper initialization and de-initialization methods.
The approach to exiting an Arduino LCD screen depends on your specific application and the desired outcome. Here are some common scenarios and recommended solutions.
For simple programs, a basic approach is to clear the screen and turn off the backlight before stopping the program. This method provides a visually clean exit. Using the LiquidCrystal library, this can be achieved as follows:
void loop() { // ... your code ... // Clean exit sequence lcd.clear(); // Clear LCD screen lcd.noBacklight(); // Turn off backlight delay(500); // Small delay for visual effect}Some applications might require a default screen after a specific function or task completes. In this case, you could design a designated default screen and transition to it upon completion.
Interrupt handling and error management are crucial for robust applications. Design your code to gracefully handle interrupts and errors, ensuring the Arduino LCD screen is properly cleaned up before the program terminates. For instance, add a function to clear the LCD and disable the backlight in your error handling routine.
Sometimes, you might encounter issues where the LCD screen doesn't behave as expected during exit. Here are some common problems and their solutions:
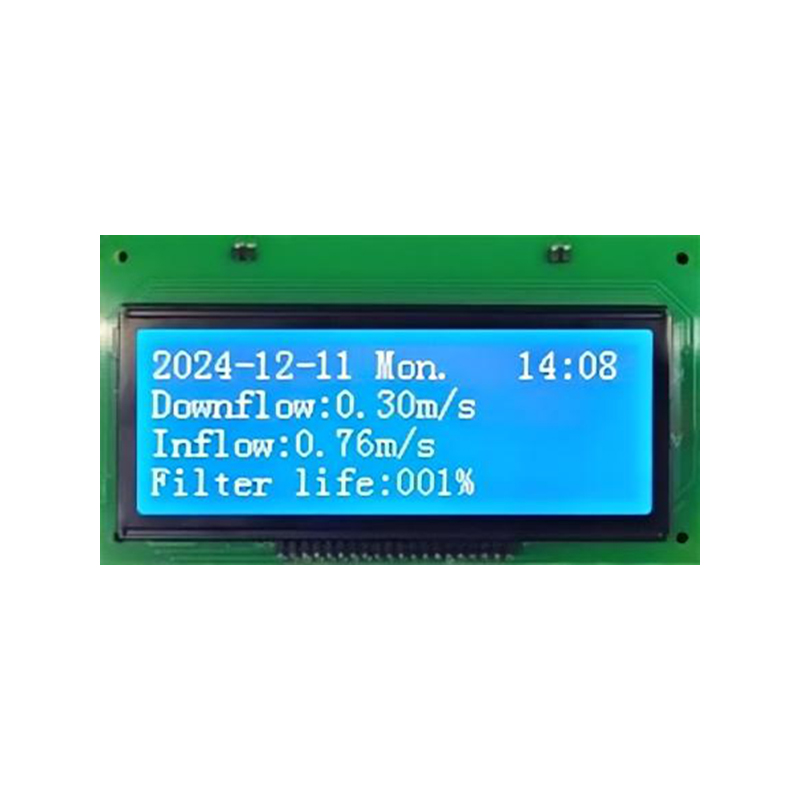
The optimal Arduino LCD screen depends heavily on your application's specific requirements. Consider factors such as screen size, resolution, color depth, and interface type (I2C, SPI, parallel).
| Feature | Option A | Option B |
|---|---|---|
| Screen Size | 16x2 | 20x4 |
| Interface | Parallel | I2C |
| Backlight | White LED | RGB |
For a wide selection of high-quality LCD screens, consider exploring Dalian Eastern Display Co., Ltd. They offer a diverse range of options to suit various projects and budgets.
Remember to always consult the datasheet of your specific LCD module for detailed information on its operation and power requirements.