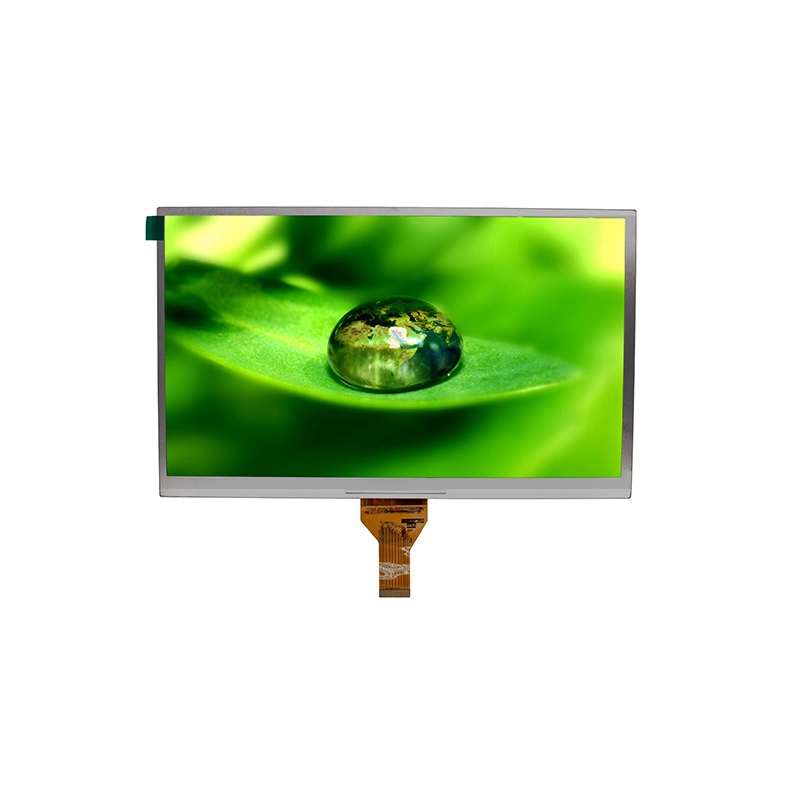
Choosing the right TFT display for your Arduino Mega project can be daunting, given the wide array of options available. This comprehensive guide helps you navigate the choices, providing in-depth comparisons and considerations to help you find the perfect match for your needs. We'll delve into crucial aspects like resolution, color depth, touch capabilities, and the ease of integration with your Arduino Mega.
The resolution (measured in pixels, e.g., 320x240) dictates the sharpness and detail of your display. Larger displays offer more visual real estate but may require more processing power. Consider the complexity of your project’s graphical needs when choosing a resolution. Common resolutions for Arduino Mega TFT displays range from 128x128 to 480x320 pixels and beyond, with display sizes varying proportionally. Higher resolutions generally lead to sharper images and more detailed graphics, but they also consume more memory and processing power.
Color depth refers to the number of bits used to represent each pixel's color. Higher color depth (e.g., 16-bit or 24-bit) means more vibrant and realistic colors, but again, demands more memory and processing power. Many Arduino Mega TFT displays offer 16-bit color, providing a good balance between visual quality and resource consumption. A 24-bit color display will offer significantly more color options but may not be necessary for every project.
Integrating a touchscreen adds interactivity to your project, enabling users to control elements directly on the display. Consider whether a resistive or capacitive touchscreen is best suited for your application. Resistive touchscreens are more affordable but less responsive, while capacitive touchscreens offer a smoother, more precise experience but are generally more expensive. The availability of touchscreen functionality varies considerably across different Arduino Mega TFT displays.
Ensure that your chosen display is compatible with the Arduino Mega's interface. Common interfaces include SPI and I2C. SPI offers higher speed, while I2C is simpler to implement but may be slower for large displays. Check the display's datasheet to confirm compatibility before purchasing. Some displays even support multiple interfaces, providing flexibility in your project design.
The market offers a vast selection of Arduino Mega TFT displays. While specific models change rapidly, the following general categories illustrate the range of options:
| Display Type | Resolution | Color Depth | Touchscreen | Interface |
|---|---|---|---|---|
| 2.8 ILI9341 | 320x240 | 16-bit | Optional | SPI |
| 3.5 ILI9488 | 480x320 | 16-bit | Optional | SPI |
| 1.8 ST7735 | 128x160 | 16-bit | Generally not included | SPI |
Remember to always check the specific specifications of the display you are considering, as these are generalized examples.
Once you've selected your Arduino Mega TFT display, the integration process typically involves connecting the display's data, clock, and control pins to the appropriate pins on the Arduino Mega. You will also need a library specific to your display's controller (e.g., Adafruit_ILI9341 for ILI9341 displays). Many tutorials and example code snippets are readily available online for specific display models. Always consult the datasheet and example code provided by the manufacturer for detailed instructions.
Selecting the best Arduino Mega TFT display depends heavily on your project's specific requirements. Carefully consider the factors outlined above – resolution, color depth, touchscreen functionality, and interface compatibility – to choose the optimal display for your application. With the right display, you can significantly enhance the user experience and visual appeal of your Arduino projects.
For high-quality LCD displays and TFT modules, consider exploring the options at Dalian Eastern Display Co., Ltd. They offer a wide range of displays suitable for various applications, including Arduino projects.


