Dalian Eastern Display Co., Ltd.
Dalian Eastern Display Co., Ltd.


This guide provides a detailed exploration of the Arduino Nano SPI interface, covering its functionality, common applications, troubleshooting tips, and best practices for seamless integration into your projects. Learn how to effectively utilize SPI communication for faster data transfer rates and efficient control of peripherals. We'll examine various libraries, potential challenges, and offer practical solutions to optimize your Arduino Nano SPI interface setup.
SPI (Serial Peripheral Interface) is a synchronous, full-duplex communication bus commonly used for connecting microcontrollers like the Arduino Nano to various peripherals such as sensors, displays, and memory chips. Its advantages over other communication protocols include high speed and relatively simple hardware implementation. The Arduino Nano SPI interface provides a powerful way to leverage these benefits.
The SPI bus typically consists of four signals: MOSI (Master Out Slave In), MISO (Master In Slave Out), SCK (Serial Clock), and SS (Slave Select). Understanding the role of each signal is crucial for successful Arduino Nano SPI interface configuration.
A wide range of peripherals are compatible with the SPI bus. Popular examples include:
Connecting an SD card module to your Arduino Nano SPI interface is straightforward. Typically, you'll need to connect the SD card's MOSI, MISO, SCK, and CS (Chip Select – equivalent to SS) pins to the corresponding pins on the Arduino Nano. Remember to consult your specific SD card module's documentation for the pin assignments.
The Arduino IDE's built-in SPI library simplifies interaction with SPI devices. It provides functions for setting data rates, configuring pins, and transferring data. Below is a basic example demonstrating the use of the SPI library for communicating with an SD card:
#include <SPI.h>#include <SD.h>// ... (rest of the code) ...For more complex applications, you may need to explore advanced SPI techniques, such as handling multiple slaves and implementing custom SPI protocols. Remember to thoroughly understand the datasheet of the peripheral you are interfacing with.
Troubleshooting SPI communication can be challenging. Common issues include incorrect wiring, clock speed mismatches, and data transfer errors. Double-checking your connections and consulting the datasheets of your peripherals is crucial for resolving these problems. If problems persist, you might need to adjust the SPI settings.
| Problem | Possible Solution |
|---|---|
| No data received | Verify wiring, check SPI settings, check power supply |
| Data corruption | Reduce SPI clock speed, check for signal interference |
The SPI clock speed is a critical parameter affecting data transfer rate. Selecting the optimal speed involves balancing speed and stability. Too high a clock speed might lead to data corruption, while too low a speed limits throughput. Refer to your peripheral's datasheet for recommended clock speeds.
Ensure your Arduino Nano and connected peripherals have sufficient power. Insufficient power can lead to unreliable communication and data errors. Consider using external power supplies if necessary.
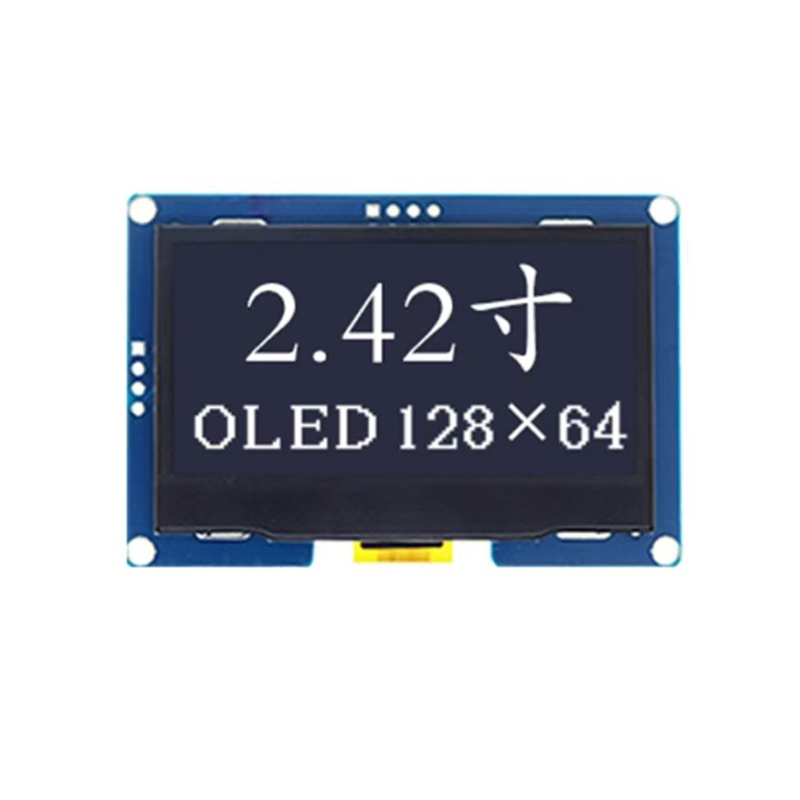
For more information about high-quality LCD displays for your projects, explore the range of products available at Dalian Eastern Display Co., Ltd. They offer a wide selection of displays suitable for various applications.
Remember to always consult the official datasheets for your specific Arduino Nano and connected peripherals for accurate pin configurations and operational parameters.