Dalian Eastern Display Co., Ltd.
Dalian Eastern Display Co., Ltd.


Choosing the right Arduino segment display can significantly impact your project's success. This guide provides a detailed comparison of various options, considering factors like size, brightness, common anode vs. cathode, and ease of use. We'll explore popular choices, offer practical tips for selection and integration, and help you find the perfect display for your needs. Discover the top-rated Arduino segment displays on the market and learn how to make the most of them.
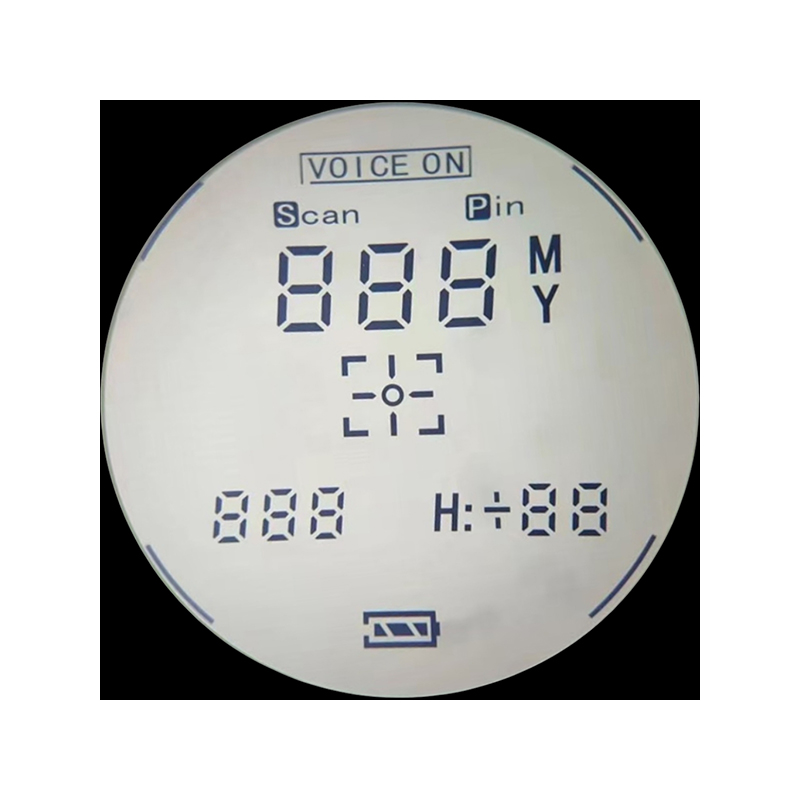
Segment displays are electronic components used to visually represent numerical data or alphanumeric characters. They are commonly composed of seven individual segments (hence, seven-segment) arranged in a specific pattern that, when illuminated individually or in combination, create the desired visual output. These displays are widely used in various applications, from simple digital clocks to more complex electronic devices. When used with an Arduino, they offer a cost-effective way to present information in a clear and easily readable format.
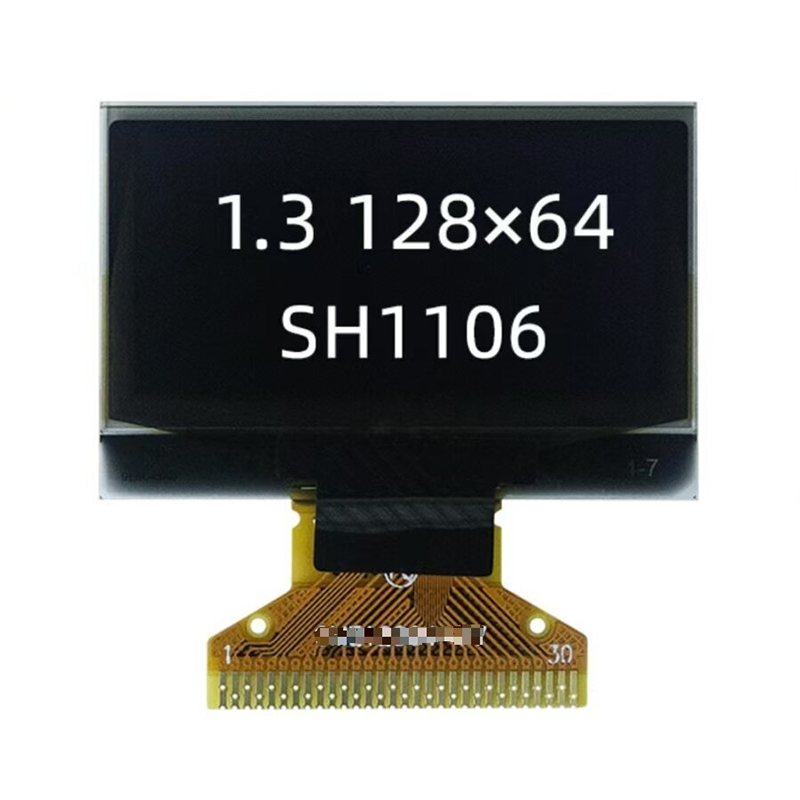
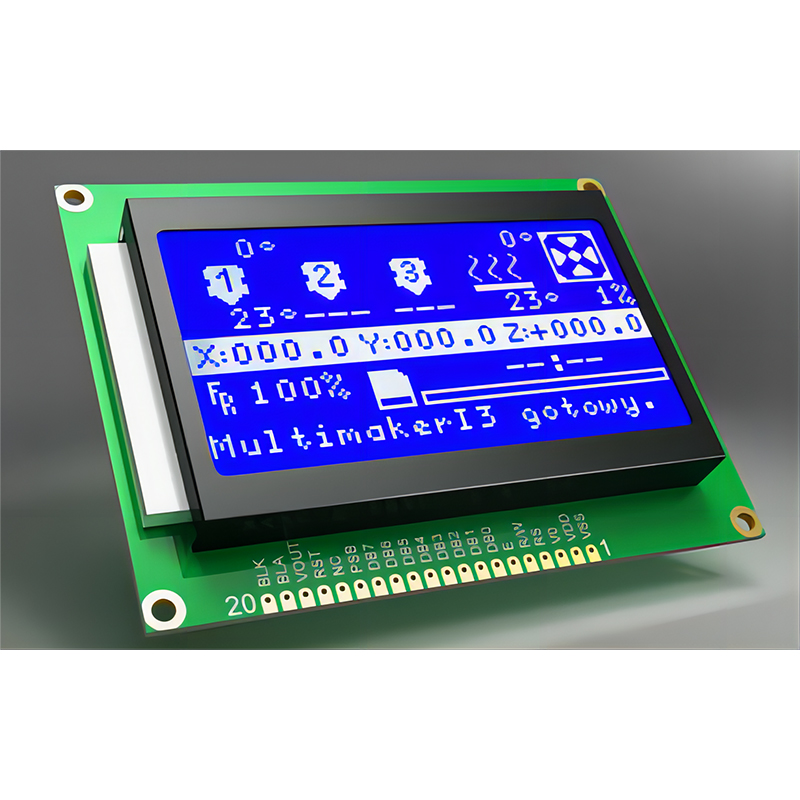
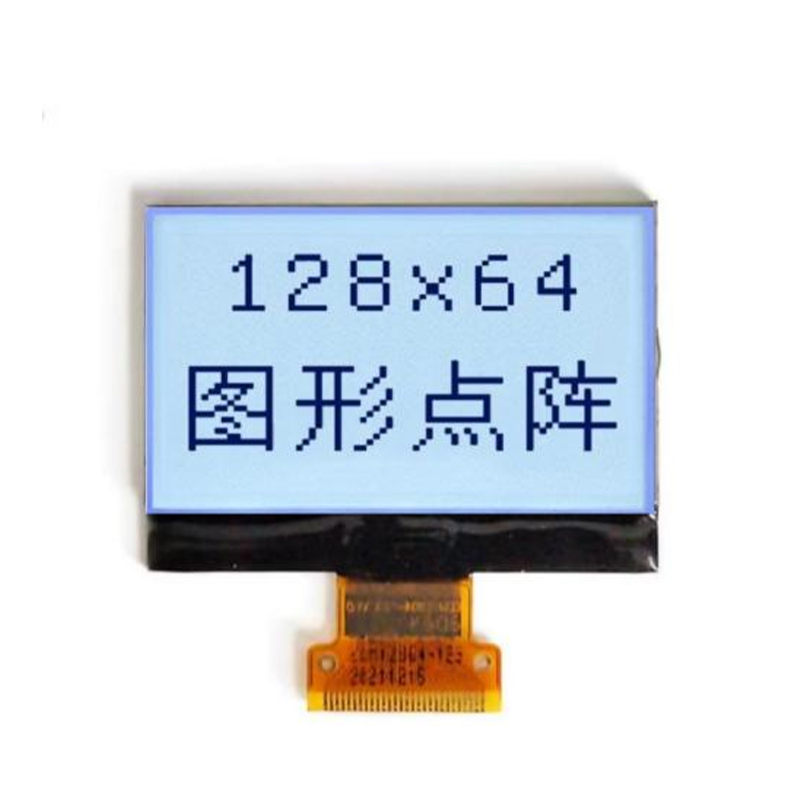
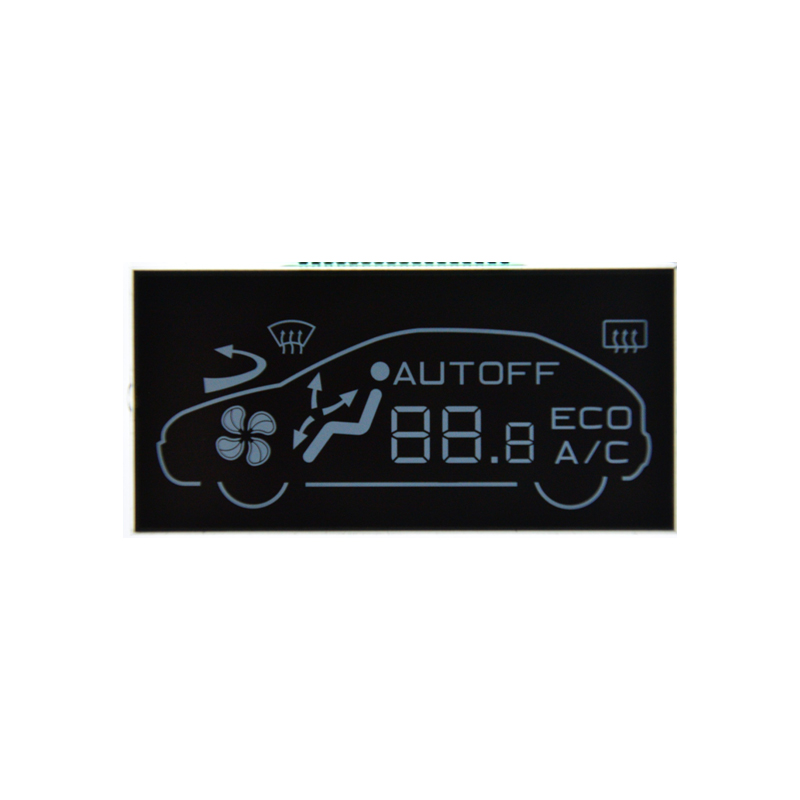
Several types of segment displays exist, each with its own advantages and disadvantages. Common types include:
Arduino segment displays are typically either common anode or common cathode. Understanding the difference is crucial for proper wiring and functionality:
Always check the datasheet of your specific Arduino segment display to determine its configuration.
Selecting the optimal Arduino segment display involves evaluating several critical factors:
Several manufacturers produce high-quality Arduino segment displays. Research reviews and specifications before making a purchase.
The wiring process varies depending on the display type (common anode or common cathode) and the number of digits. Refer to the specific datasheet for your chosen display for detailed wiring instructions. Generally, you'll need to connect the display's segments and common pins to digital pins on your Arduino. You'll likely use resistor(s) to limit current and prevent damage to the display.
Programming an Arduino to control a segment display involves sending digital signals to the corresponding pins to light the desired segments. The exact code will depend on your chosen display and desired output. Many libraries are available to simplify this process.
Controlling multiple displays simultaneously allows you to present more complex information. This involves managing the data flow and timing to ensure proper synchronization between the displays.
With some displays, it is possible to create custom characters beyond the standard numerals and alphabet. This adds significant flexibility in terms of display content and project customization.
Choosing the best Arduino segment display requires careful consideration of various factors. By understanding the different display types, their characteristics, and the programming involved, you can successfully integrate these displays into your projects, creating visually appealing and informative interfaces.
For high-quality LCDs and displays, consider exploring the diverse range of options available at Dalian Eastern Display Co., Ltd. They offer a wide selection of displays suitable for various Arduino applications.