Best Arduino Uno OLED Displays: A Comprehensive GuideChoosing the right OLED display for your Arduino Uno project can be overwhelming. This guide helps you navigate the options, considering factors like size, resolution, and interface, to find the perfect display for your needs. We'll explore popular choices, highlight key features, and provide practical tips to ensure a successful integration.
Understanding OLED Displays
OLED (Organic Light-Emitting Diode) displays offer vibrant colors, high contrast, and wide viewing angles – all desirable qualities for Arduino projects. Unlike LCDs, they don't require a backlight, resulting in lower power consumption. When choosing a
Best Arduino Uno OLED display, consider these crucial aspects:
Size and Resolution
The display's physical size (measured diagonally in inches) and resolution (pixels) directly impact the amount of information you can display. Smaller displays (like 0.96-inch) are suitable for simple data visualization, while larger ones (1.3-inch or higher) provide more space for complex interfaces. Higher resolution yields sharper text and images.
Interface
Most
Arduino Uno OLED displays use I2C or SPI communication protocols. I2C is generally simpler to implement, requiring fewer pins on the Arduino, while SPI offers higher data transfer rates.
Power Consumption
OLEDs are relatively power-efficient, but consumption still varies based on brightness and size. Check the datasheet for the specific power requirements of your chosen display.
Top Arduino Uno OLED Display Choices
Several excellent
Arduino Uno OLED display options are available. Here are a few popular choices:
| Display | Size | Resolution | Interface | Advantages | Disadvantages |
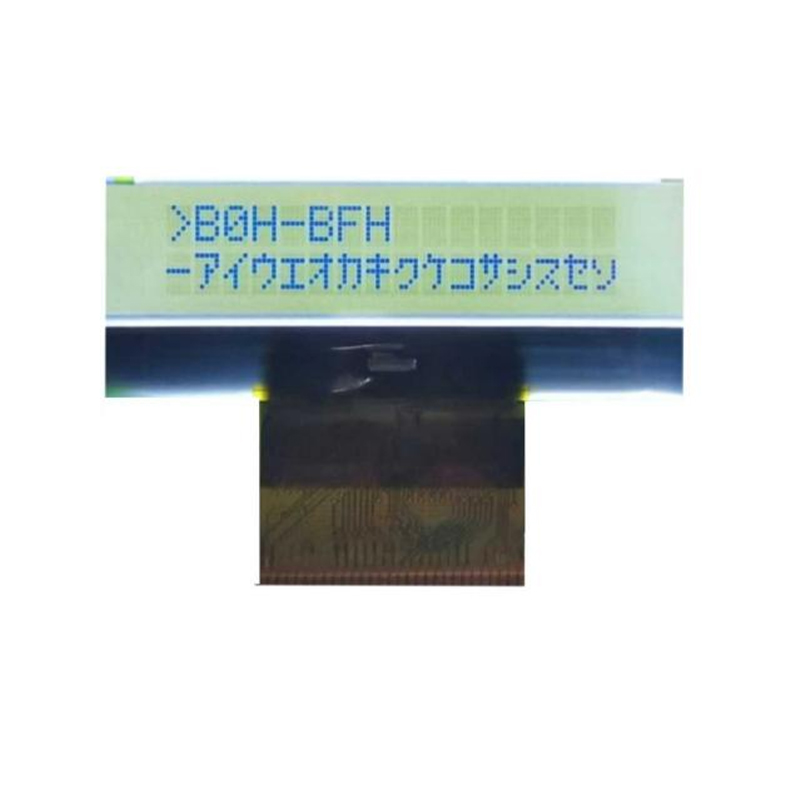
| 0.96-inch SSD1306 | 0.96 | 128x64 pixels | I2C/SPI | Cost-effective, widely available | Limited screen real estate |
| 1.3-inch SSD1306 | 1.3 | 128x64 pixels | I2C/SPI | More screen space than 0.96, still relatively inexpensive | Slightly higher power consumption |
| 1.44-inch ILI9163C | 1.44 | 128x128 pixels | SPI | Higher resolution, more color options (depending on variant) | More complex to interface, usually higher cost |
This table provides a comparison, but always refer to the manufacturer's specifications for the most accurate details.
Connecting and Programming Your Arduino Uno OLED Display
The connection process involves connecting the display's power, ground, data (SDA/SCL for I2C or MOSI/MISO/SCK for SPI), and clock pins to the Arduino Uno. Libraries like Adafruit_SSD1306 make programming much simpler. You can find detailed tutorials and example code online. Remember to install the appropriate library before attempting to upload your code.
Advanced Applications
Arduino Uno OLED displays aren't limited to simple text displays. They can be used for:
Data Logging and Visualization
Real-time data visualization is a common use case. Sensors can feed data to the display, showing temperature, humidity, or other measurements.
Customizable Interfaces
Create intuitive interfaces for your projects, using graphics and custom icons. Think of a small dashboard for a robotics project or a simple game interface.
Conclusion
Selecting the right
Best Arduino Uno OLED display depends on your specific project needs. Carefully consider the size, resolution, interface, and power consumption to ensure seamless integration. With the abundance of available resources and supportive communities, you can successfully incorporate these displays into your creative projects. For high-quality LCD and OLED displays, consider exploring the options available at
Dalian Eastern Display Co., Ltd. – a leading provider in display technology.[1] Various datasheets from manufacturers like Adafruit, SparkFun, and others. (Note: Specific datasheet links omitted for brevity but readily available through a simple online search.)