Dalian Eastern Display Co., Ltd.
Dalian Eastern Display Co., Ltd.


This guide explores effective strategies for integrating a DHT11 temperature and humidity sensor with a 1602 LCD display, focusing on efficient data presentation and system exit procedures. We'll cover hardware setup, software coding examples, and best practices for optimizing your DHT11 1602 LCD exit process.
The DHT11 is a readily available and cost-effective sensor. It requires only four connections: VCC (3.3V or 5V), GND, DATA, and a pull-up resistor (typically 10kΩ) on the DATA pin. Ensure correct voltage compatibility with your microcontroller. Improper voltage can damage the sensor. Refer to the DHT11 datasheet for specifics.
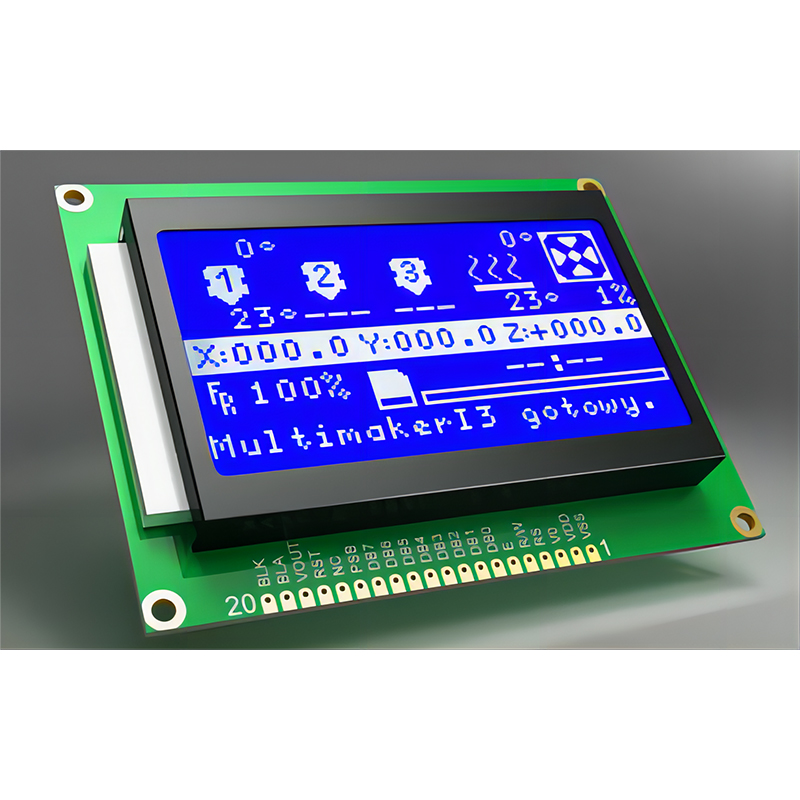
The 1602 LCD typically requires power (VCC and GND), contrast adjustment (usually a potentiometer), and data lines (RS, RW, E, and D0-D7). These connections are detailed in the LCD's datasheet. Consult the datasheet of your specific model for correct pin assignments.
Numerous Arduino libraries simplify DHT11 data acquisition. The most popular is the DHT sensor library by Adafruit. This library provides functions for reading temperature and humidity values. Here’s a snippet showing how to initialize and read data:
#include <DHT.h>#define DHTPIN 2 // Digital pin connected to the DHT sensor#define DHTTYPE DHT11 // DHT 11DHT dht(DHTPIN, DHTTYPE);void setup() { Serial.begin(9600); dht.begin();}void loop() { float h = dht.readHumidity(); float t = dht.readTemperature(); // Check if any reads failed and exit gracefully if (isnan(h) || isnan(t)) { Serial.println(Failed to read from DHT sensor!); // Implement your DHT11 1602 LCD exit strategy here (e.g., display an error message) return; } Serial.print(Humidity: ); Serial.print(h); Serial.print( % ); Serial.print(Temperature: ); Serial.print(t); Serial.println( C ); delay(2000);}Use a suitable LCD library (like LiquidCrystal) to display the retrieved data on the 1602 LCD. Format the output for optimal readability.
A clean exit involves safely stopping data acquisition and display updates. This usually entails disabling interrupts, closing serial communication, and ensuring all resources are released. For example, you might display a System Shutting Down message on the LCD before the program ends.
Incorrect wiring, faulty sensors, and software bugs are frequent causes of problems. Carefully review your connections, and test your code incrementally. The use of a logic analyzer or multimeter can significantly aid in troubleshooting.
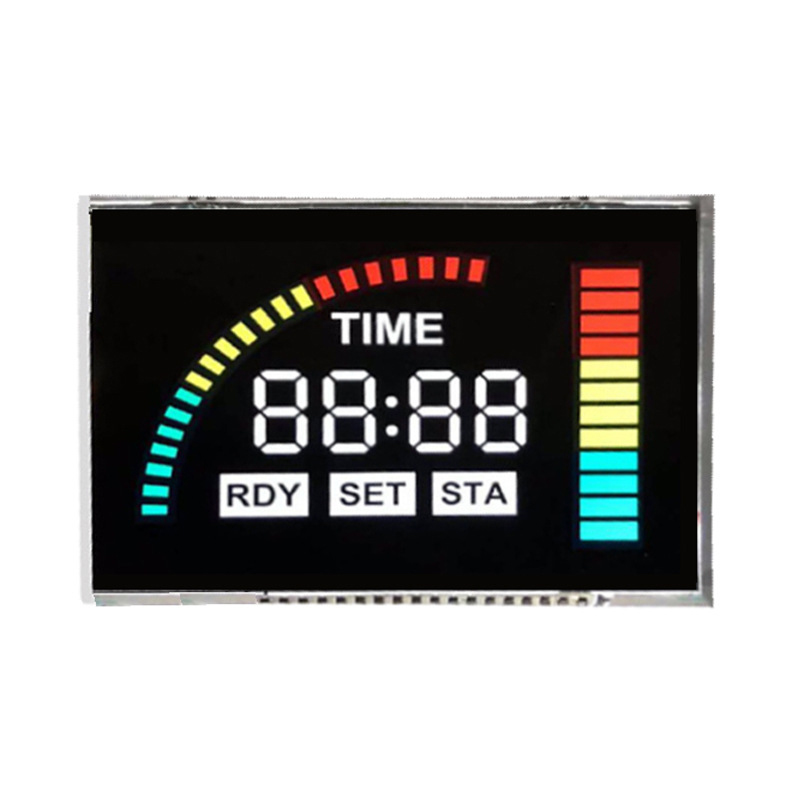
For optimal performance, select high-quality components. Consider purchasing components from reputable suppliers like Dalian Eastern Display Co., Ltd. for reliable LCD screens.
Explore advanced techniques such as data logging, remote monitoring, and alarm systems to enhance your project's functionality. These enhancements can provide greater control and data analysis capabilities.
| Component | Supplier Suggestion (Example) | Considerations |
|---|---|---|
| DHT11 Sensor | Various online retailers | Accuracy, responsiveness |
| 1602 LCD | Dalian Eastern Display Co., Ltd. | Backlight type, contrast adjustment |
| Microcontroller (e.g., Arduino) | Arduino Official Website | Memory, processing power |
Remember to always consult the datasheets for your specific components. This guide provides a foundation for working with DHT11 and 1602 LCD, enabling you to create effective DHT11 1602 LCD exit strategies for your projects.