Dalian Eastern Display Co., Ltd.
Dalian Eastern Display Co., Ltd.


This guide helps you select the ideal best dot matrix display with Arduino factory for your project. We'll explore various display types, factors to consider, and resources to assist in your selection process. We'll also delve into practical considerations for integration with Arduino and offer solutions for common challenges.
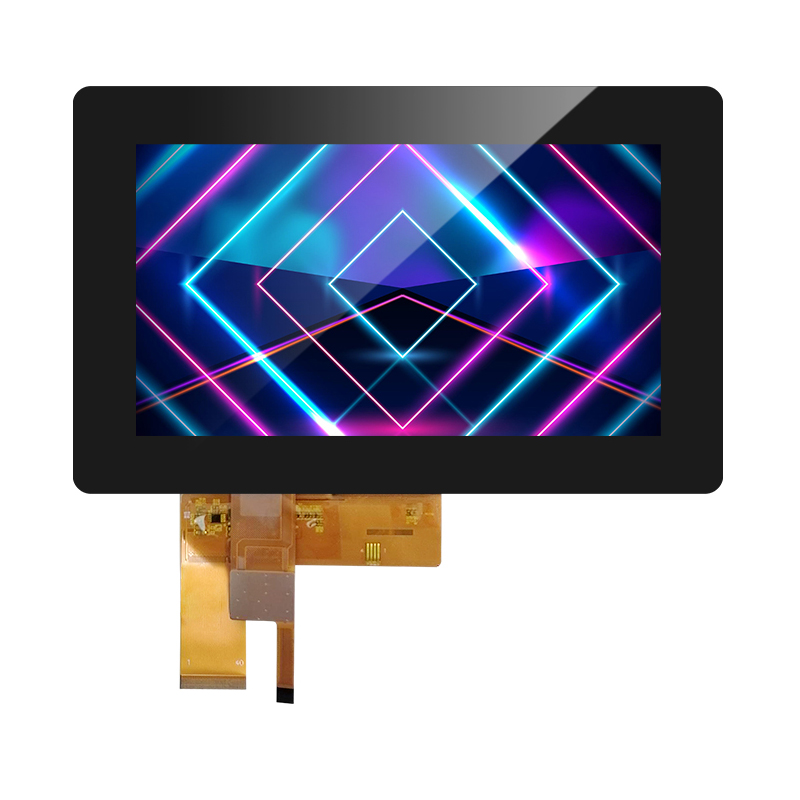
Several types of dot matrix displays are compatible with Arduino. Common options include LED, LCD, and OLED displays. LED dot matrix displays are typically cheaper and easier to interface with Arduino. LCD displays offer higher resolution and contrast, while OLED displays provide excellent contrast and wide viewing angles. The choice depends on your project’s specific requirements – resolution, brightness, power consumption, and budget.
Before selecting a best dot matrix display with Arduino factory, consider these key specifications:
Your project's needs will dictate the best display choice. Factors to consider include the complexity of the information to be displayed, the required resolution and size, the available power supply, and your budget. For simple text displays, a smaller LED dot matrix may suffice. For more complex graphics or higher resolution, an LCD or OLED display might be necessary.
Connecting your display to your Arduino involves wiring the display's pins to the corresponding Arduino pins, and then using the appropriate library to control the display. Most libraries provide simple functions for displaying text and graphics. Detailed wiring diagrams and code examples are usually available in the display's datasheet or online resources.
While we can't recommend specific models without knowing your exact needs, exploring options from reputable suppliers like Dalian Eastern Display Co., Ltd. is a good starting point. They offer a wide selection of dot matrix displays suitable for various applications. Always check the datasheet of any display to ensure compatibility with your Arduino board and project requirements.
Common issues include incorrect wiring, library errors, or power supply problems. Carefully review your wiring, ensure you're using the correct library, and check that your Arduino and display are receiving sufficient power. Online forums and communities are excellent resources for troubleshooting problems.
| Feature | Display A | Display B |
|---|---|---|
| Resolution | 16x8 | 32x16 |
| Type | LED | LCD |
| Interface | SPI | I2C |
| Price (USD) | $5 | $15 |
Note: This is a sample comparison table. Replace this with actual data from the datasheets of specific displays.
Finding the best dot matrix display with Arduino factory is a crucial step in many projects. By carefully considering the factors outlined above, you can ensure your chosen display meets your needs and enhances your creation.