Dalian Eastern Display Co., Ltd.
Dalian Eastern Display Co., Ltd.


This guide explores the best ESP32 CAM OLED display combinations for various projects, considering factors like resolution, size, interface, and ease of use. We'll delve into specific hardware recommendations, coding considerations, and troubleshooting tips to help you choose the perfect setup for your needs. Learn how to seamlessly integrate an OLED screen with your ESP32 CAM for enhanced visualization and control.
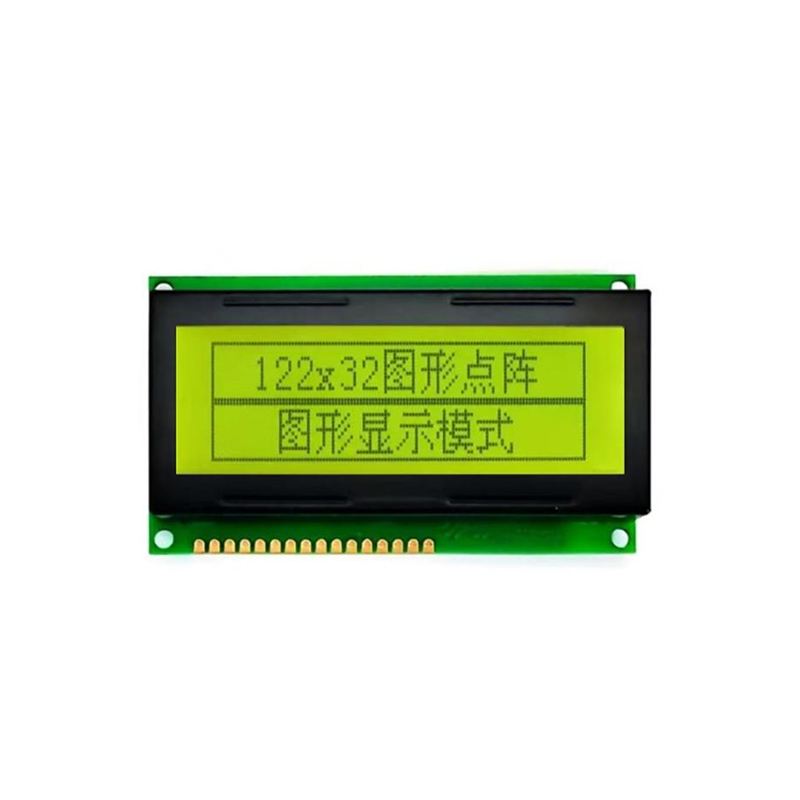
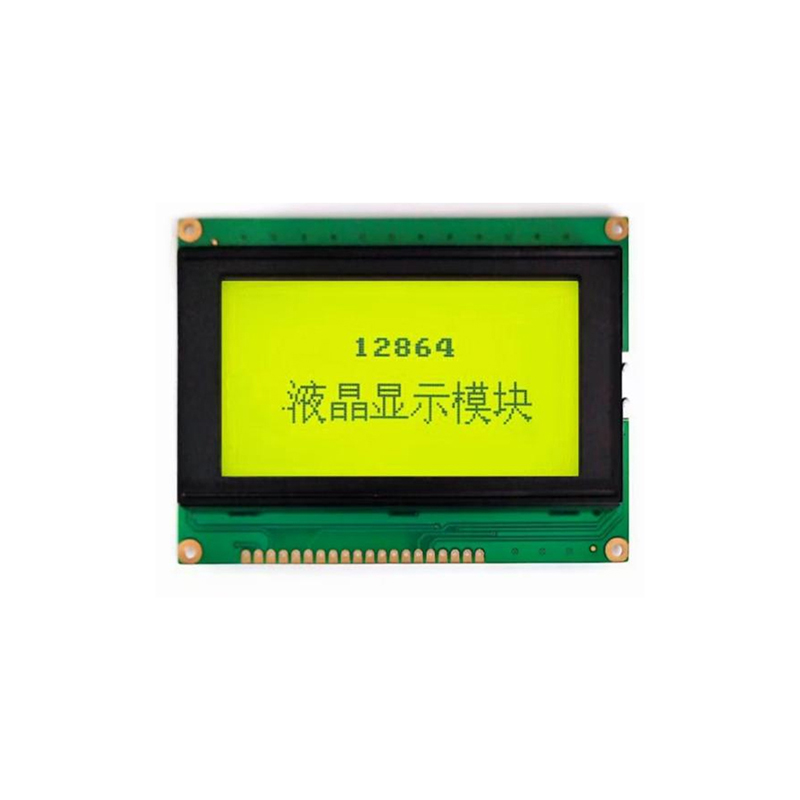
Selecting the optimal OLED display for your ESP32 CAM requires understanding key specifications. Resolution (e.g., 128x64 pixels, 128x32 pixels) determines image clarity. Display size impacts readability and project aesthetics. The interface (I2C, SPI) dictates the communication protocol between the ESP32 CAM and the display. Consider power consumption for battery-powered applications. Finally, the availability of libraries and community support is crucial for easy integration.
Several OLED displays are well-suited for pairing with the ESP32 CAM. The 0.96-inch 128x64 I2C OLED is a popular choice due to its balance of size, resolution, and ease of use. Larger displays, such as 1.3-inch or 1.54-inch OLEDs, offer more real estate for displaying information but may require more careful power management. Smaller displays, like the 0.66-inch, are great for space-constrained projects. When selecting, check for compatibility with the ESP32 CAM's I2C or SPI interface. Always refer to the display's datasheet for accurate specifications.
Connecting the OLED display to the ESP32 CAM involves wiring the appropriate pins. The specific pins will vary based on your chosen display and the wiring diagrams provided in its datasheet. Generally, you'll connect VCC (power), GND (ground), SDA (data), and SCL (clock) for I2C communication. For SPI communication, you'll use different pins, which are typically VCC, GND, MOSI, MISO, SCK, and CS (chip select).
Once the hardware is connected, you'll need to install the appropriate Arduino library for your OLED display. The Adafruit_SSD1306 library is commonly used for various displays. Ensure you've selected the correct display driver within the library settings. The library simplifies the process of sending data to the screen. You'll then use Arduino code to send image data, text, and other information to the OLED display, making it visually display your ESP32 CAM's output.
Here's a basic example showing how to display text from the ESP32 CAM on a 128x64 OLED display using the Adafruit_SSD1306 library:
cpp#includeThis code initializes the OLED display and displays a simple message. You would expand upon this to integrate data captured by the ESP32 CAM, such as temperature, motion detection, or other sensor readings. Remember to adjust the pin assignments and library according to your hardware configuration.
Common issues include incorrect wiring, incompatible libraries, or address conflicts. Carefully double-check your wiring diagram and ensure the I2C address matches the display's datasheet. If you encounter problems, consult the relevant libraries' documentation and online forums for assistance.
For more advanced projects and detailed tutorials, consider exploring resources available online. Remember to always refer to the datasheets of your chosen components for the most accurate information.
Looking for high-quality LCD displays for your next project? Check out Dalian Eastern Display Co., Ltd. at https://www.ed-lcd.com/ for a wide selection of displays and components.