Dalian Eastern Display Co., Ltd.
Dalian Eastern Display Co., Ltd.


Integrating a large OLED display into your Arduino projects dramatically enhances the user experience, providing a vibrant and easily readable interface for your creations. But choosing the right display can be challenging given the wide variety of options available. This comprehensive guide helps you navigate the selection process, covering key considerations and providing practical examples to get you started with your Best large oled display arduino exit project.
The ideal Best large oled display arduino exit depends on your project's specific requirements. Key factors to consider include:
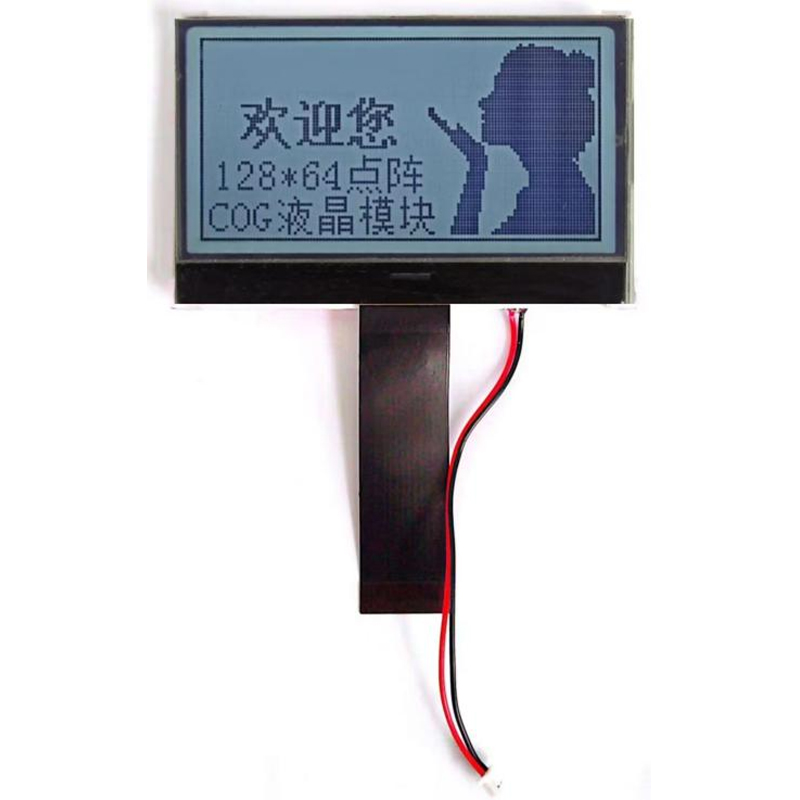
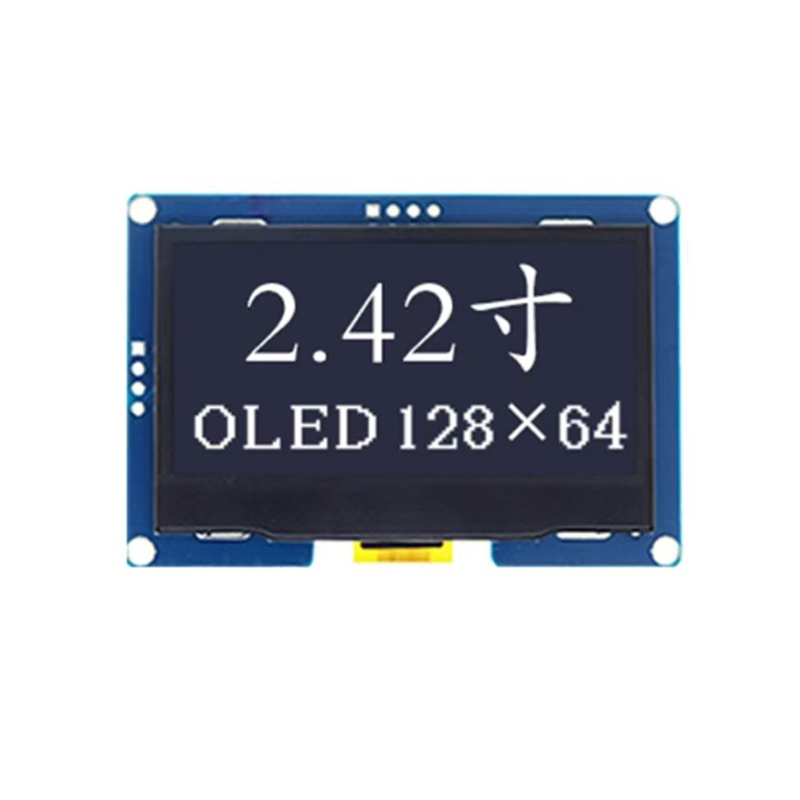
Larger displays offer more screen real estate for complex interfaces, but come with higher power consumption and potentially higher cost. Consider the necessary information density and the physical space available for your project. Common resolutions range from 128x64 pixels to 240x240 pixels and beyond. High resolution displays provide sharper images, but also increase the processing demands on your Arduino.
Most large OLED displays use either I2C or SPI communication protocols. I2C is generally simpler to implement, requiring fewer pins on your Arduino. SPI offers higher data transfer rates, suitable for applications demanding faster refresh rates. Consider your Arduino's capabilities and the speed requirements of your project when choosing.
OLED displays are relatively power efficient compared to LCDs, but power consumption still scales with size and brightness. If your project is battery-powered, carefully consider the power draw of your chosen display and explore power-saving techniques.
The driver integrated circuit (IC) manages the display's pixels. Ensure that the chosen display's driver IC is compatible with your Arduino's capabilities and the available libraries. Popular driver ICs include SSD1306, SH1106, and others. Choosing a display with a well-supported driver IC simplifies integration.
Several manufacturers produce high-quality large OLED displays compatible with Arduino. Research thoroughly to find a display that meets your specific needs and budget. Always check for community support and readily available libraries to simplify the integration process.
Once you've selected your Best large oled display arduino exit, connecting it to your Arduino is straightforward. Follow the manufacturer's instructions carefully. Typically, this involves connecting the display's power, ground, data, and clock pins (depending on the interface type).
Numerous Arduino libraries simplify the process of interacting with OLED displays. The Adafruit GFX library is a popular choice and provides a consistent interface for various displays. You can use this library to easily control various aspects of your display, including text, graphics, and animations. Remember to install the appropriate library for your chosen display's driver IC.
This basic example demonstrates displaying text on a 128x64 OLED display using the Adafruit GFX library:
c++#includeCommon issues include incorrect wiring, incorrect library installation, and incorrect display address. Carefully check your connections and ensure you are using the correct library for your chosen display and its driver IC. Consult the display's datasheet and online forums for troubleshooting assistance. Remember to check your power supply as insufficient voltage might lead to display malfunctions.
Selecting the Best large oled display arduino exit for your project requires careful consideration of various factors. By understanding the key specifications and following the steps outlined in this guide, you can successfully integrate a large OLED display and enhance the capabilities of your Arduino creations. Remember to consult the documentation provided by the manufacturer of your chosen display for detailed information.
For high-quality LCD and OLED displays, consider exploring the offerings of Dalian Eastern Display Co., Ltd. They provide a range of display solutions for various applications.