Dalian Eastern Display Co., Ltd.
Dalian Eastern Display Co., Ltd.


Selecting the right mini OLED display for your Arduino project can significantly impact its functionality and aesthetic appeal. With a plethora of options available, understanding the key features and specifications is crucial. This comprehensive guide compares some of the best mini OLED displays on the market, helping you make an informed decision based on your project's requirements. We'll cover everything from resolution and color depth to interface protocols and power consumption. Whether you're a seasoned Arduino enthusiast or just starting out, this guide will empower you to choose the perfect display for your next creation.
The resolution of your mini OLED display determines the level of detail you can achieve. Higher resolutions allow for sharper images and text, but often come at a higher price point. Display size is another critical factor; consider the physical space available in your project and the required viewing distance. Smaller displays are ideal for compact projects, while larger ones offer better readability.
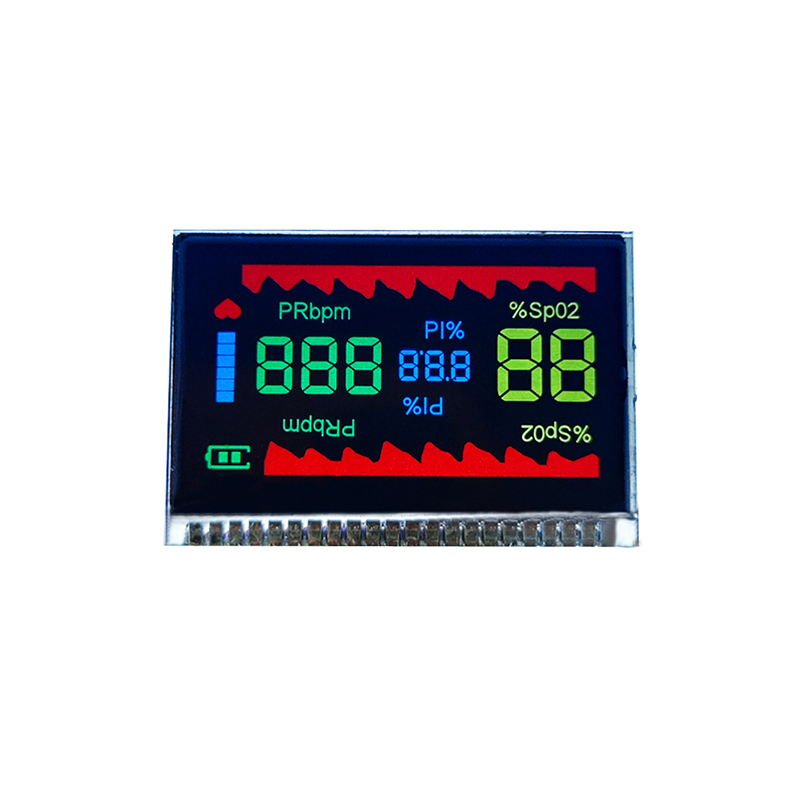
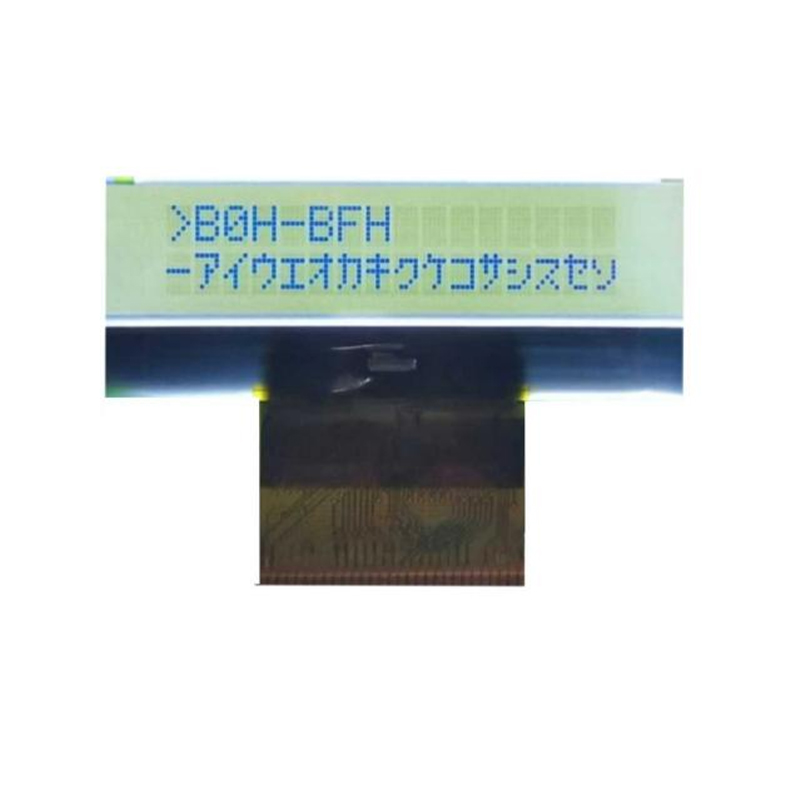
While monochrome displays are common and cost-effective, color displays add a significant visual enhancement. Consider whether a full-color display is essential for your application, or if a monochrome display will suffice. Many excellent monochrome mini OLED displays are available for Arduino, offering clear text and graphics.
The interface protocol dictates how the Arduino communicates with the display. I2C is a popular choice due to its simplicity and reduced wiring requirements, making it ideal for beginners. SPI offers higher data transfer rates, suitable for applications demanding faster refresh rates. Understanding the capabilities of your Arduino and the display's interface is paramount for successful integration.
OLED displays are known for their relatively low power consumption, especially when compared to LCD displays. However, power consumption can vary depending on the display size, resolution, and brightness. Consider the power constraints of your project and choose a display that meets those requirements.
Several excellent mini OLED displays are readily compatible with Arduino. Let's compare some popular choices:
| Display Model | Resolution | Size (inches) | Color | Interface |
|---|---|---|---|---|
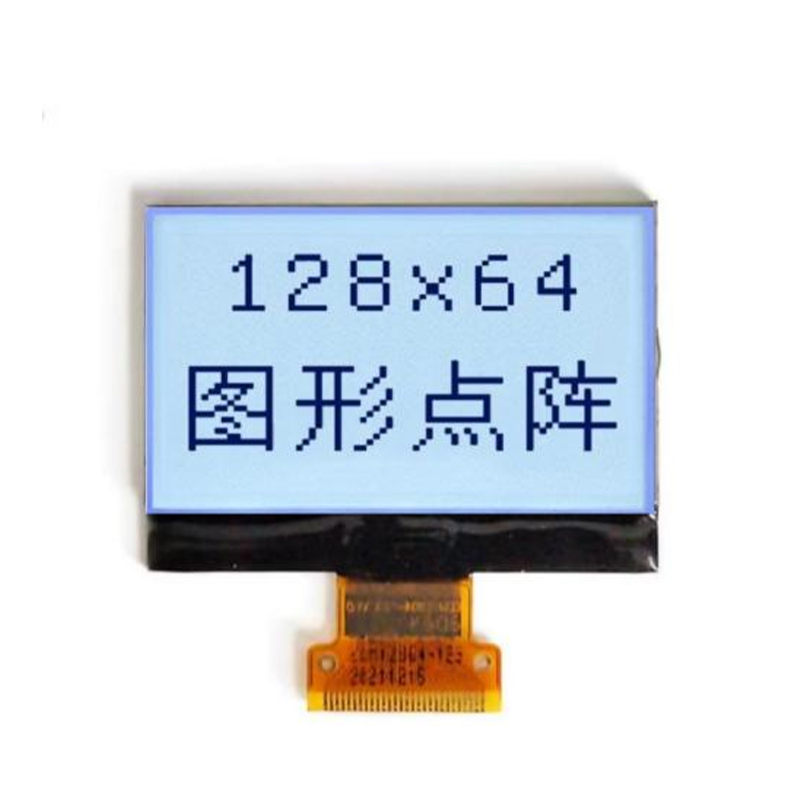
| 0.96 I2C OLED | 128x64 | 0.96 | Monochrome | I2C |
| 1.3 I2C OLED | 128x64 | 1.3 | Monochrome | I2C |
| 1.44 SPI OLED (Example) | 128x128 | 1.44 | Color (various options available) | SPI |
Note: Specific models and availability vary. Always check the latest specifications from your chosen supplier. For a wide selection of LCD and OLED displays, consider exploring Dalian Eastern Display Co., Ltd. for high-quality components.
The following code snippet demonstrates basic text display on a 0.96 I2C OLED display using the Adafruit GFX library. Remember to install the necessary libraries before running this code.
#include <Wire.h>#include <Adafruit_GFX.h>#include <Adafruit_SSD1306.h>#define SCREEN_WIDTH 128 // OLED display width, in pixels#define SCREEN_HEIGHT 64 // OLED display height, in pixels#define OLED_RESET 4 // Reset pin # (or -1 if sharing reset)Adafruit_SSD1306 display(SCREEN_WIDTH, SCREEN_HEIGHT, &Wire, OLED_RESET);void setup() { Serial.begin(9600); display.begin(SSD1306_SWITCHCAPVCC, 0x3C); // Address 0x3C for 128x64 display.setTextSize(1); display.setTextColor(WHITE); display.setCursor(0, 0); display.println(Hello, OLED!);}void loop() { // Add your display code here}Choosing the right mini OLED display for your Arduino project is a crucial step in ensuring a successful outcome. By considering the factors discussed and comparing different models, you can select the perfect display to meet your specific needs and enhance your project's functionality. Remember to check the specifications and compatibility before purchasing. Happy making!