Dalian Eastern Display Co., Ltd.
Dalian Eastern Display Co., Ltd.


This guide explores the best OLED displays compatible with Arduino for various projects, considering factors like resolution, interface, power consumption, and ease of use. We'll delve into specific models, provide practical examples, and help you choose the ideal display for your needs.
OLED (Organic Light-Emitting Diode) displays are known for their vibrant colors, deep blacks, wide viewing angles, and low power consumption. They are self-emissive, meaning each pixel produces its own light, unlike LCDs which require a backlight. This makes them perfect for portable and battery-powered Arduino projects.
Selecting the appropriate Best oled display arduino exit depends on your project's requirements. Key considerations include:
Several excellent OLED displays are readily compatible with Arduino. Here are a few popular choices:
| Display Model | Resolution | Interface | Pros | Cons |
|---|---|---|---|---|
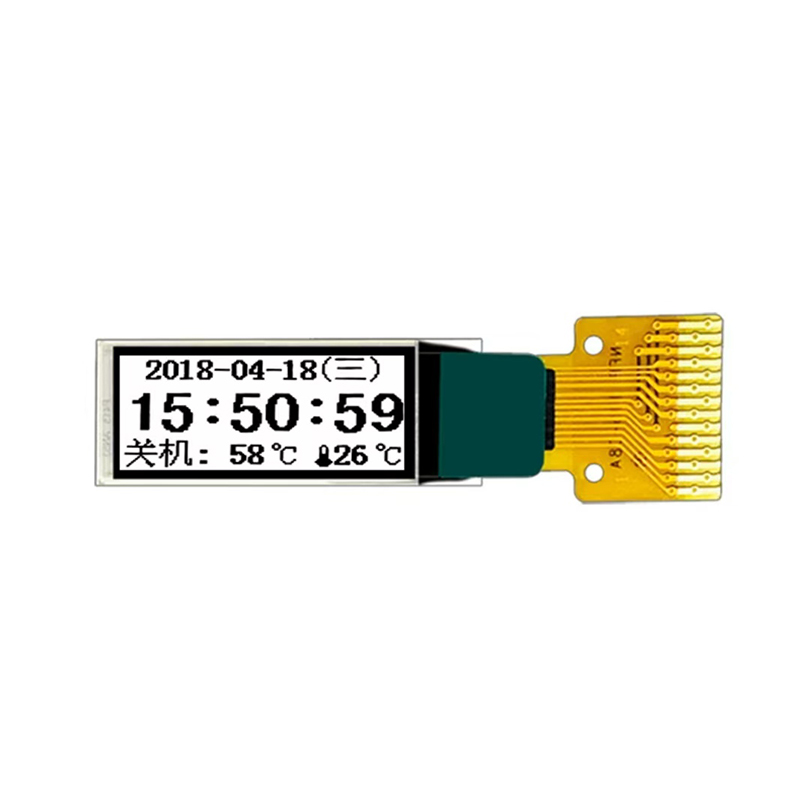
| SSD1306 128x64 | 128 x 64 pixels | I2C, SPI | Widely supported, low cost, readily available | Relatively low resolution |
| SSD1351 128x128 | 128 x 128 pixels | SPI | Higher resolution than SSD1306 | More complex to interface with, higher power consumption |
| SH1106 128x64 | 128 x 64 pixels | I2C, SPI | Low cost, good contrast | May require more libraries |
The specific wiring and libraries needed will depend on your chosen display model and interface. Most manufacturers provide detailed datasheets and example code. Ensure you have the correct libraries installed in your Arduino IDE.
For example, for an I2C SSD1306, you’ll typically need to connect VCC to 3.3V, GND to GND, SDA to A4, and SCL to A5 (or other I2C pins as specified in the datasheet).
This is a basic example. Adapt it to your specific Best oled display arduino exit and project.
#include <Wire.h>#include <Adafruit_GFX.h>#include <Adafruit_SSD1306.h>#define SCREEN_WIDTH 128 // OLED display width, in pixels#define SCREEN_HEIGHT 64 // OLED display height, in pixels#define OLED_RESET 4 // Reset pin # (or -1 if sharing Arduino reset pin)Adafruit_SSD1306 display(SCREEN_WIDTH, SCREEN_HEIGHT, &Wire, OLED_RESET);void setup() { Serial.begin(9600); display.begin(SSD1306_SWITCHCAPVCC, 0x3C); display.clearDisplay(); display.setTextSize(2); display.setTextColor(WHITE); display.setCursor(0,0); display.println(Hello, OLED!); display.display();}void loop() { // your code here}With additional libraries and programming, you can customize your OLED display to create complex interfaces, animations, and graphics.
Common issues include incorrect wiring, library conflicts, or power supply problems. Always refer to the display's datasheet and relevant online resources.
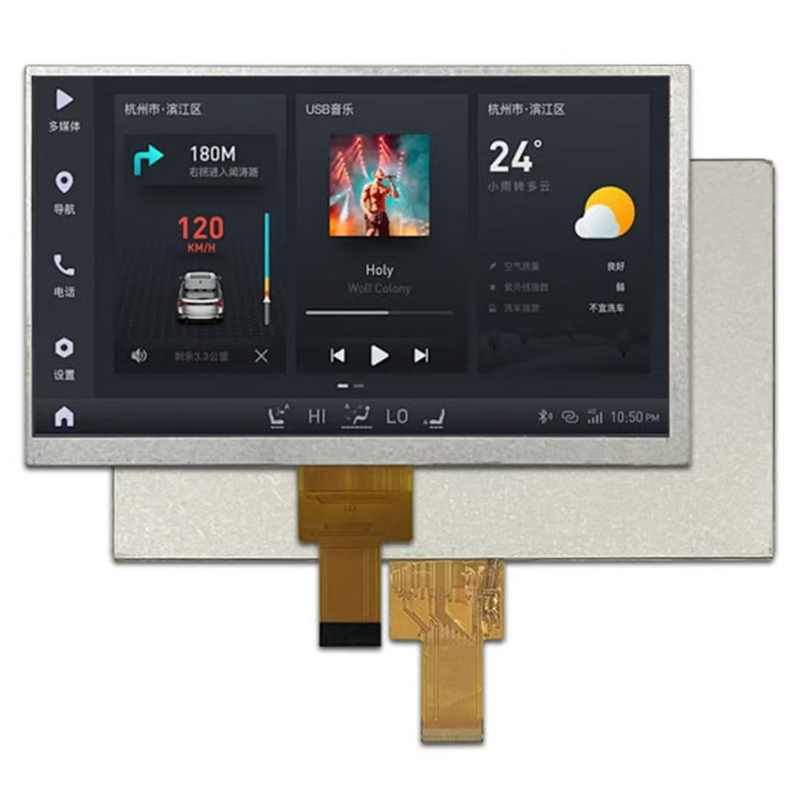
For more information about high-quality LCD displays, visit Dalian Eastern Display Co., Ltd.
Disclaimer: This information is for educational purposes only. Always consult the manufacturer's datasheets and documentation for your specific OLED display and Arduino board.