Dalian Eastern Display Co., Ltd.
Dalian Eastern Display Co., Ltd.


Selecting the right OLED display for your Arduino project can be daunting with the sheer number of options available. This comprehensive guide breaks down the key considerations, helping you find the perfect balance of features, quality, and price for your specific needs. We'll cover various OLED display sizes and resolutions, discuss different interfaces, and offer tips for successful integration with your Arduino. Whether you're a seasoned programmer or just starting out, this guide will provide the information you need to make an informed decision.
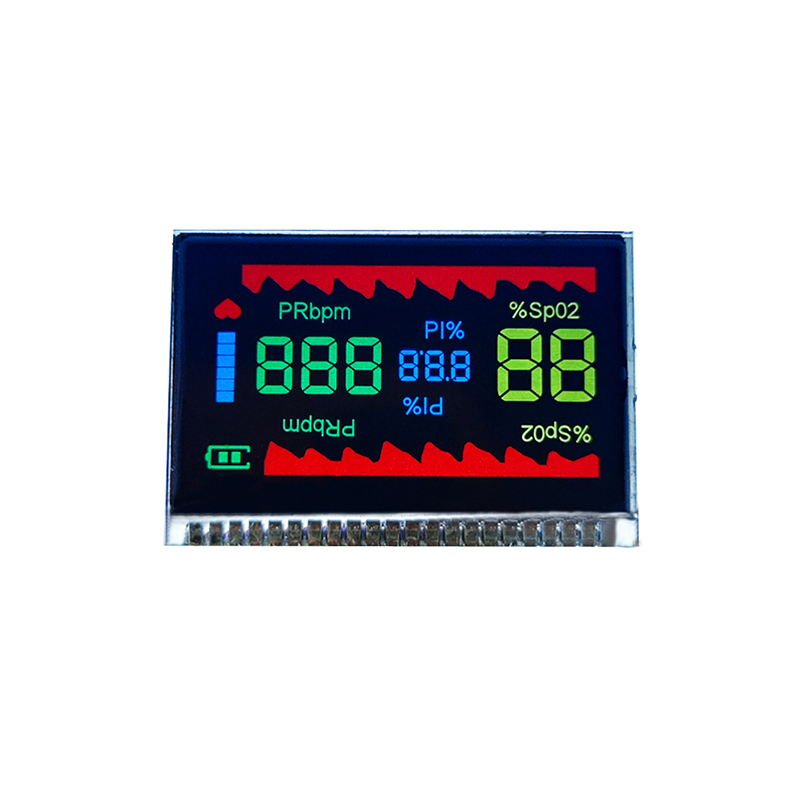
OLED (Organic Light-Emitting Diode) displays are known for their superior image quality, offering vibrant colors, deep blacks, and wide viewing angles compared to traditional LCDs. Their self-emissive nature eliminates the need for a backlight, resulting in thinner and more energy-efficient displays. This makes them an excellent choice for portable and battery-powered Arduino projects. They are also incredibly versatile, available in a wide range of sizes and resolutions to accommodate various project requirements.
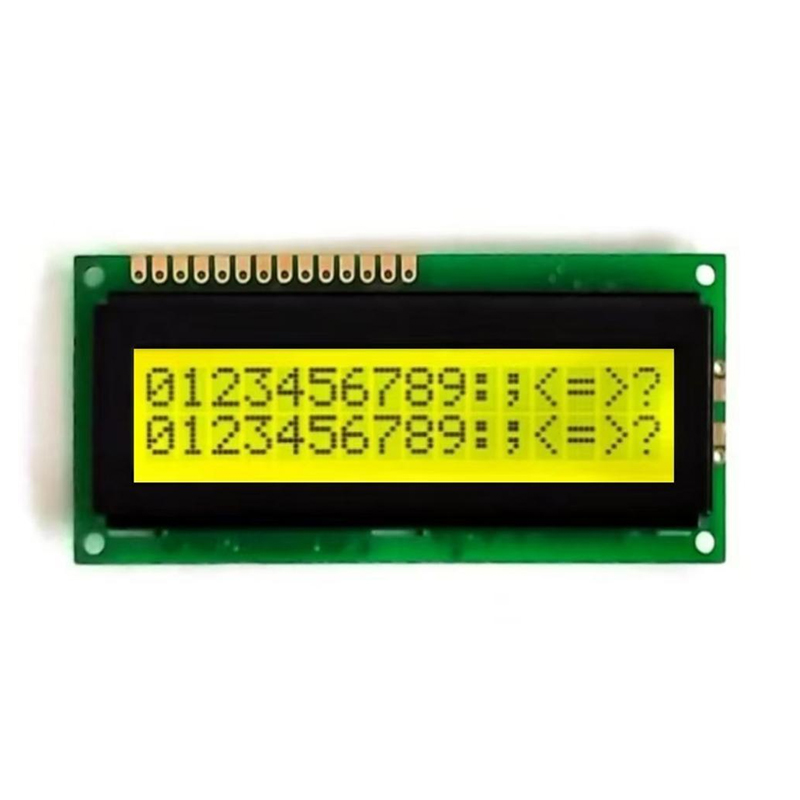
The size and resolution of your OLED display will heavily influence its suitability for your project. Smaller displays (e.g., 0.96-inch) are ideal for compact projects with limited space, while larger displays (e.g., 2.4-inch or even larger) are better suited for projects requiring more visual information. Higher resolutions offer sharper images and more detail, but they often come at a higher price.
Most OLED displays commonly communicate with Arduino using I2C or SPI. I2C is simpler to implement and requires fewer pins, while SPI offers faster data transfer rates, making it suitable for applications demanding high refresh rates. Consider your project's requirements when selecting the appropriate interface.
Power consumption is a crucial factor, especially for battery-powered applications. Always check the specifications of the OLED display to ensure its power consumption aligns with your project's power budget. Lower power consumption will extend the battery life of your device.
The price of OLED displays varies significantly depending on size, resolution, and features. While higher-resolution displays typically cost more, it's essential to find a balance between quality and affordability to suit your project's budget. Explore different options to find the best value for your money. You might consider Dalian Eastern Display Co., Ltd. as a potential supplier for your project. They offer a range of LCD and OLED solutions.
Several reputable manufacturers produce excellent OLED displays compatible with Arduino. Here are a few examples, but remember to always check the latest specifications and availability from the manufacturer's website:
| Manufacturer | Model | Size | Resolution | Interface |
|---|---|---|---|---|
| Adafruit | 1.3 OLED | 1.3 | 128x64 | I2C |
| SSD1306 based displays | Various | 0.96 - 2.4 | 128x64, 128x32 etc. | I2C, SPI |
Note: Specifications may vary based on individual models. Always check the manufacturer's datasheet for accurate details.
The process of connecting and programming an OLED display with Arduino is relatively straightforward. Many libraries are available to simplify this process. Adafruit's GFX library, for example, provides a consistent interface for controlling various displays. Refer to the specific documentation for your chosen OLED display for detailed instructions on wiring and code examples. Remember to carefully check the pin connections and power supply before powering on your circuit.
Troubleshooting common issues such as blank screens or display errors often involves checking power connections, ensuring correct wiring, verifying the I2C or SPI addresses, and confirming that the necessary libraries are included in your Arduino sketch. Refer to your OLED display's datasheet and the library documentation for assistance in resolving any issues you encounter.
Choosing the best OLED display for your Arduino project depends on several factors. By carefully considering size, resolution, interface, power consumption, and cost, you can select the optimal display to enhance your project. Remember to consult datasheets and documentation for detailed specifications and integration instructions. With careful planning and execution, your project will benefit from the superior image quality and energy efficiency of an OLED display.