Dalian Eastern Display Co., Ltd.
Dalian Eastern Display Co., Ltd.


Choosing the right OLED display for your Arduino project can significantly impact the user experience and overall project success. This guide helps you navigate the options, considering factors like resolution, size, price, and ease of integration. We'll examine several popular Best oled display arduino price product options and help you determine which best suits your needs.
OLED (Organic Light-Emitting Diode) displays are known for their vibrant colors, high contrast, and wide viewing angles. They're a popular choice for Arduino projects because of their relatively low power consumption and ease of interfacing. Many OLED displays are readily compatible with Arduino using readily available libraries. The key is finding a display with the right interface (e.g., I2C, SPI) and ensuring you have the correct driver library installed. Choosing the right size and resolution depends heavily on your project's requirements; a small display might suffice for a simple data logger, while a larger one is preferable for a complex dashboard.
The market offers a wide variety of OLED displays suited for Arduino projects. Here's a comparison of some popular options, considering their price, resolution, and features.
| Display Model | Resolution | Size (inches) | Interface | Approximate Price (USD) |
|---|---|---|---|---|
| 0.96 I2C OLED | 128x64 | 0.96 | I2C | $5 - $8 |
| 1.3 I2C OLED | 128x64 | 1.3 | I2C | $7 - $12 |
| 2.4 SPI OLED | 320x240 | 2.4 | SPI | $15 - $25 |
Note: Prices are approximate and may vary depending on the vendor and specific model.
The resolution determines the sharpness and detail of the display. Higher resolution means sharper images and text, but it also typically means a higher price. The size of the display should be appropriate for the project's application.
I2C and SPI are common communication protocols for OLED displays. I2C is generally simpler to use, requiring fewer pins on the Arduino, while SPI offers higher bandwidth for faster data transfer. The choice depends on your project's complexity and speed requirements.
OLEDs are relatively energy-efficient, but power consumption still varies between models. Consider this factor, especially for battery-powered projects.
Integrating an OLED display with Arduino typically involves connecting the display to the Arduino board using the appropriate pins and installing the necessary library. Detailed instructions are usually provided with the display module. Many tutorials are available online for various display models.
Selecting the perfect Best oled display arduino price product for your Arduino project requires careful consideration of several factors. By understanding the different options and their specifications, you can choose a display that meets your project’s needs while staying within your budget. Remember to check the specifications and documentation provided by the manufacturer to ensure compatibility.
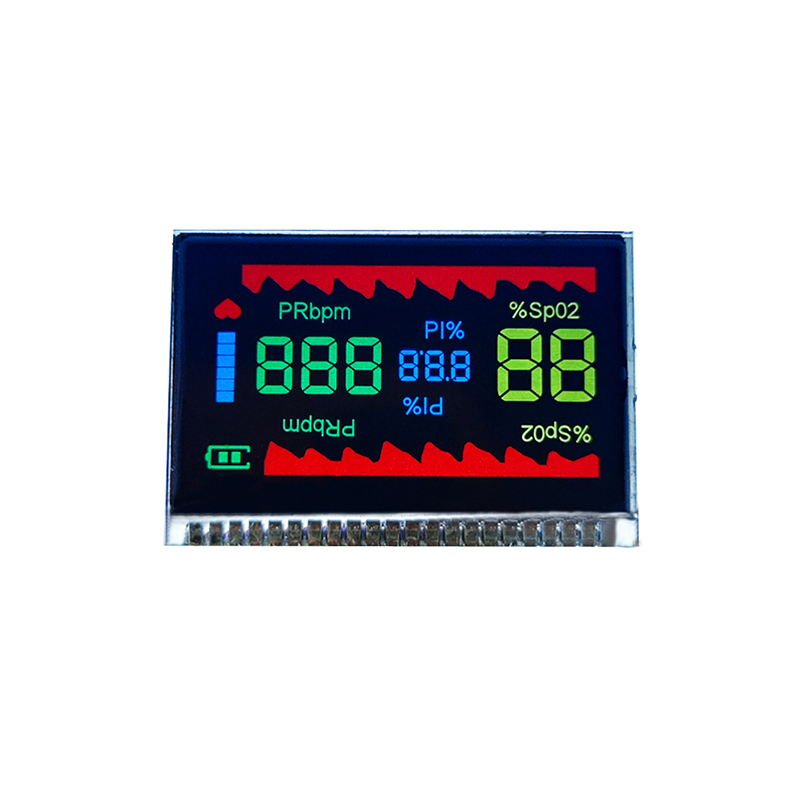
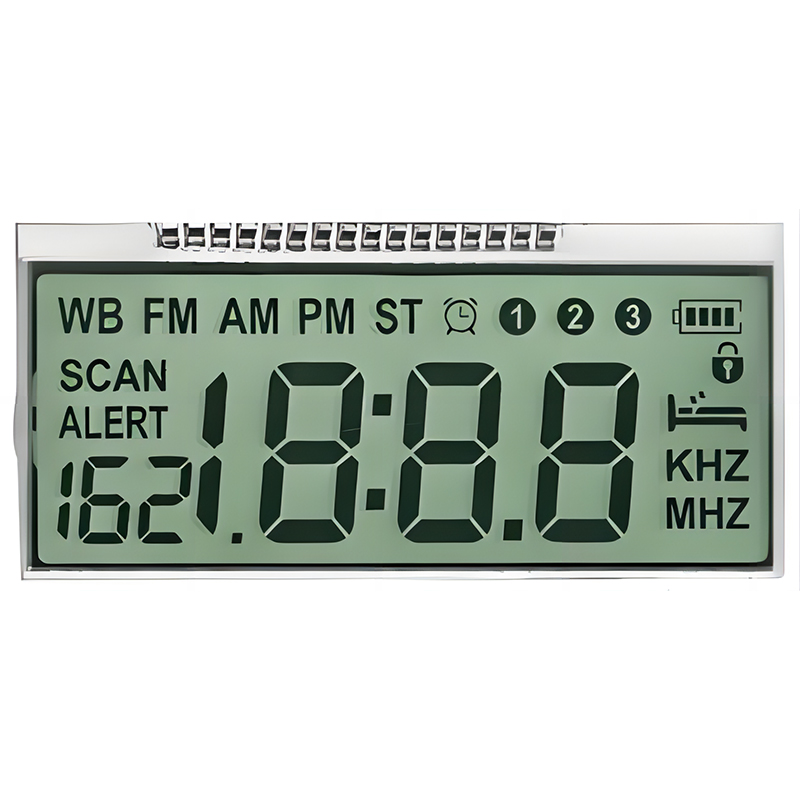
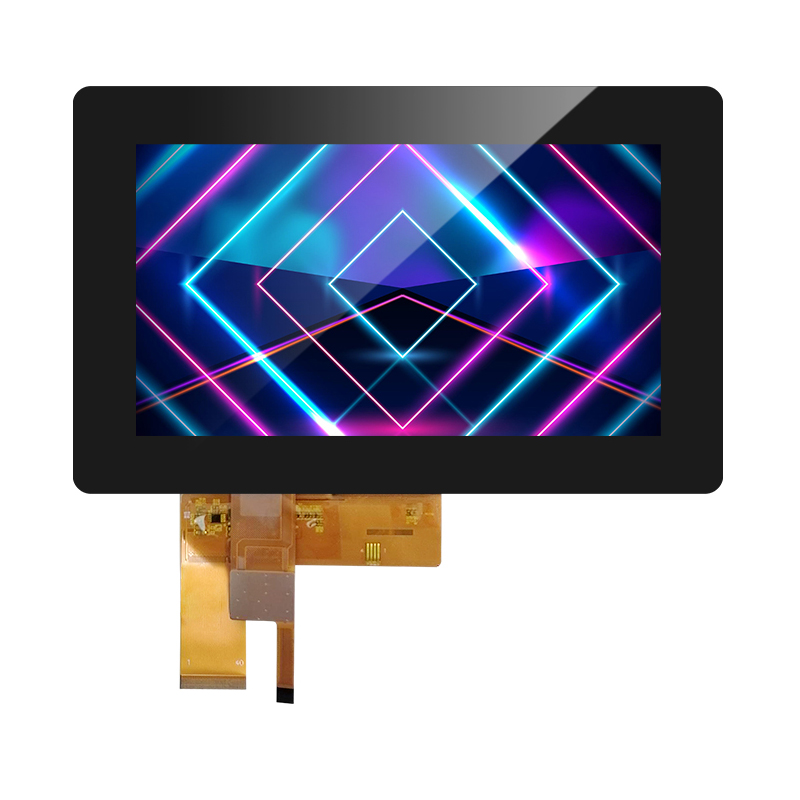
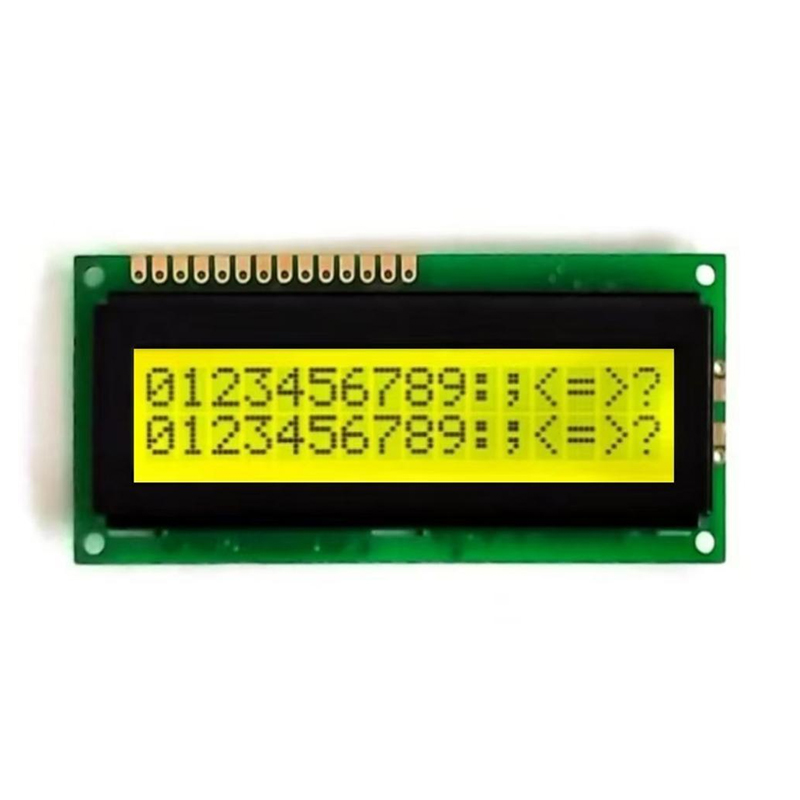
For high-quality LCD and OLED displays, consider exploring options from Dalian Eastern Display Co., Ltd. They offer a wide selection of displays suitable for various applications, including Arduino projects.