Best OLED Displays for Arduino ProjectsThis article explores the best OLED displays compatible with Arduino, comparing key features, specifications, and application examples to help you choose the perfect display for your next project. We'll cover various screen sizes, resolutions, and functionalities, guiding you toward the optimal Best oled display arduino product for your needs.
Choosing the Right OLED Display for Your Arduino Project
Selecting the appropriate
Best oled display arduino product involves considering several factors. Screen size, resolution, interface type (I2C or SPI), and power consumption are all critical aspects to evaluate. Smaller displays are ideal for compact projects, while larger displays offer more real estate for information. High-resolution displays provide sharper images and text, but they may consume more power. The I2C interface simplifies wiring, whereas SPI offers higher data transfer speeds. Finally, power consumption is crucial, especially for battery-powered applications.
Understanding OLED Technology
Organic Light-Emitting Diodes (OLEDs) offer several advantages over traditional LCD displays. They boast superior contrast ratios, deeper blacks, wider viewing angles, and faster response times. This makes them a popular choice for applications requiring vibrant visuals and quick updates. However, OLEDs can be more expensive than LCDs and may have a shorter lifespan, especially when subjected to continuous high-brightness operation.
Top OLED Display Options for Arduino
Several excellent OLED displays are compatible with Arduino. Let's examine some popular choices:
| Model | Size | Resolution | Interface |
| 0.96 SSD1306 | 0.96 inches | 128 x 64 pixels | I2C |
| 1.3 SSD1306 | 1.3 inches | 128 x 64 pixels | I2C |
| 1.44 SSD1306 | 1.44 inches | 128 x 128 pixels | I2C |
| 2.0 SSD1351 | 2.0 inches | 240 x 240 pixels | SPI |
Note: Specifications may vary slightly depending on the manufacturer.
Connecting and Programming Your OLED Display
Connecting an OLED display to your Arduino typically involves connecting the power (VCC), ground (GND), data (SDA/SCL for I2C, or MOSI, MISO, SCK for SPI), and reset pins. Once connected, you can use various Arduino libraries, like Adafruit_SSD1306, to control the display and display text, images, and other data. Refer to the specific library documentation for detailed instructions. For high-quality displays at competitive prices, consider exploring options from
Dalian Eastern Display Co., Ltd.Examples of Arduino OLED Projects
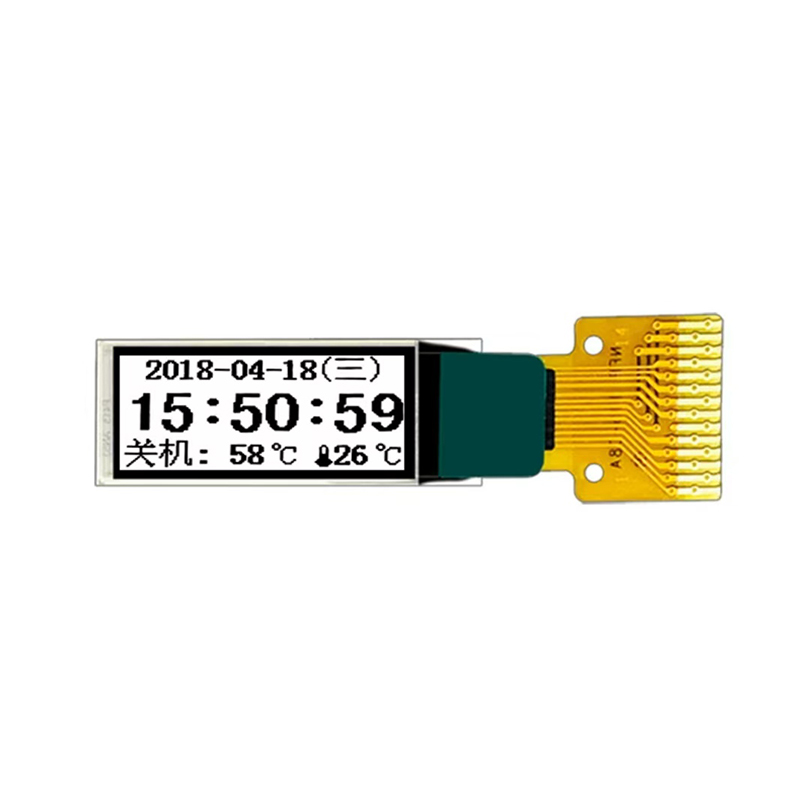
OLED displays are versatile and can be utilized in a vast array of Arduino projects. Some examples include creating a simple digital clock, displaying sensor readings (temperature, humidity, etc.), building a custom dashboard for a robotics project, or developing a graphical user interface (GUI) for a small embedded system. The possibilities are only limited by your imagination. Remember to choose a
Best oled display arduino product that aligns perfectly with your project's requirements.
Conclusion
Selecting the optimal
Best oled display arduino product depends entirely on your project's specific demands. By carefully considering screen size, resolution, interface type, and power consumption, you can choose the perfect OLED display to enhance your Arduino creation. Remember to explore various resources and libraries to make your project a success.