Dalian Eastern Display Co., Ltd.
Dalian Eastern Display Co., Ltd.


This guide helps you choose the perfect Raspberry Pi OLED display for your project, covering essential factors like resolution, size, interface, and ease of use. We explore top-performing options and provide insights into making an informed decision. Learn about different display types and how to connect them to your Raspberry Pi for optimal results.
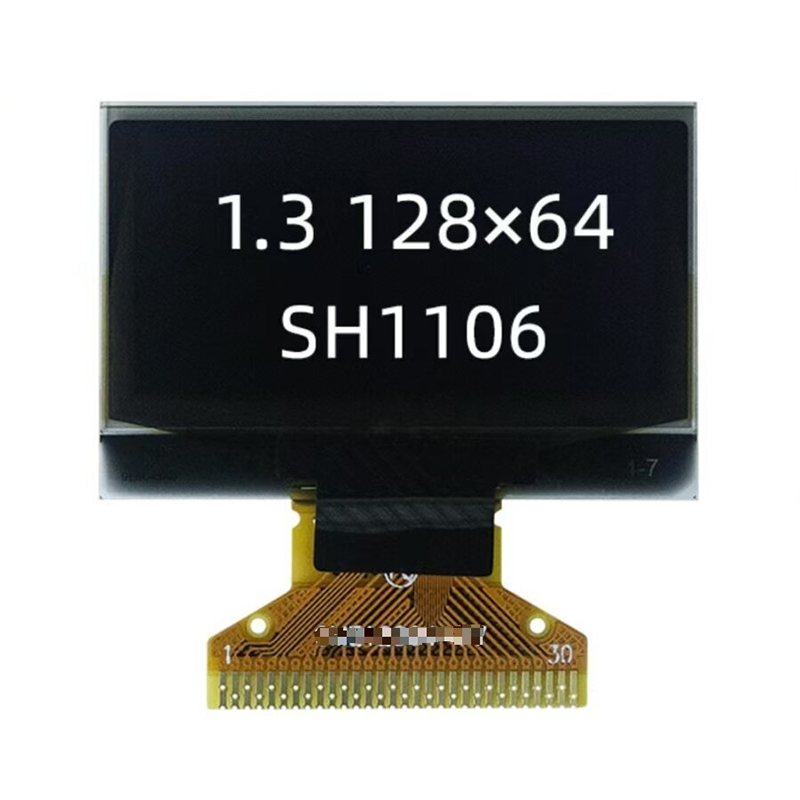
The first step in selecting a Raspberry Pi OLED display is determining the necessary resolution and size for your project. Higher resolutions offer more detail but often come with increased complexity and cost. Smaller displays are ideal for space-constrained projects, while larger displays are better suited for applications needing more visual information. Consider the intended application and the amount of information you need to display.
Different Raspberry Pi OLED displays use various interfaces like I2C, SPI, and parallel. I2C is often preferred for its simplicity and ease of setup, requiring fewer GPIO pins on the Raspberry Pi. SPI offers higher data transfer rates, while parallel interfaces are less common in smaller displays. Check your Raspberry Pi's capabilities and the display's specifications to ensure compatibility. Many displays on sites like Dalian Eastern Display Co., Ltd. provide detailed compatibility information.
Brightness is crucial, especially in environments with ambient light. OLED displays typically offer good contrast and deep blacks, but brightness levels vary. Consider the intended viewing environment. Color depth, often expressed in bits, determines the number of colors the display can show. Higher bit depths result in more vibrant and smoother color transitions. For simple text displays, a lower bit depth might suffice.
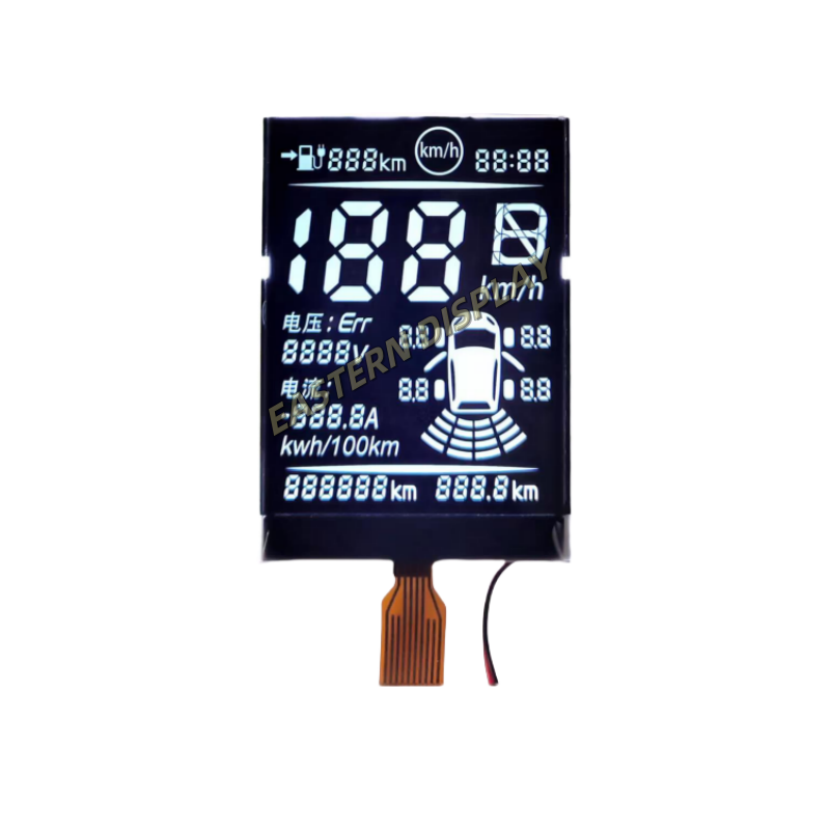
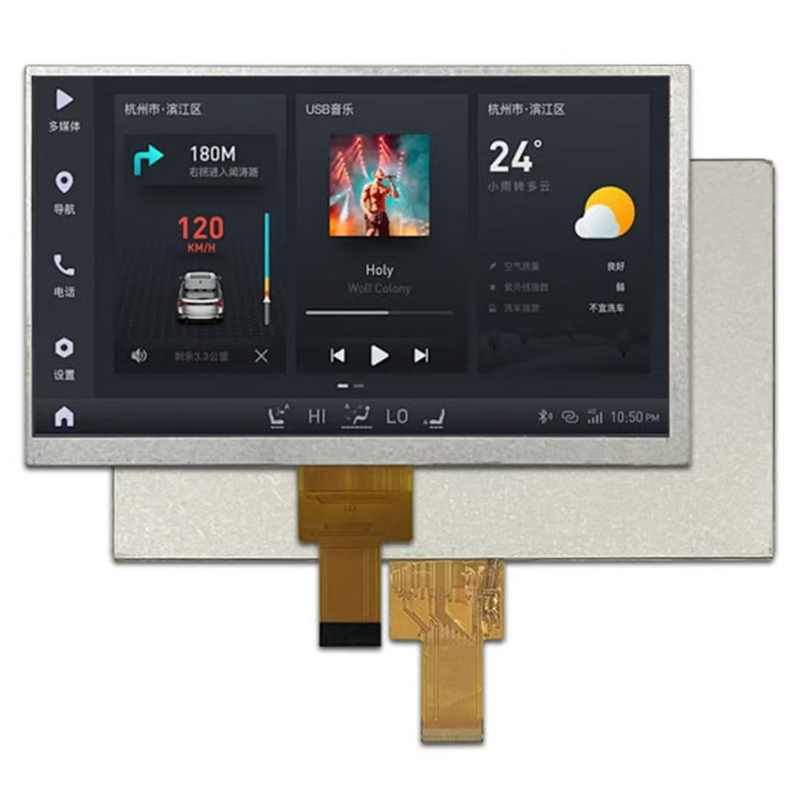
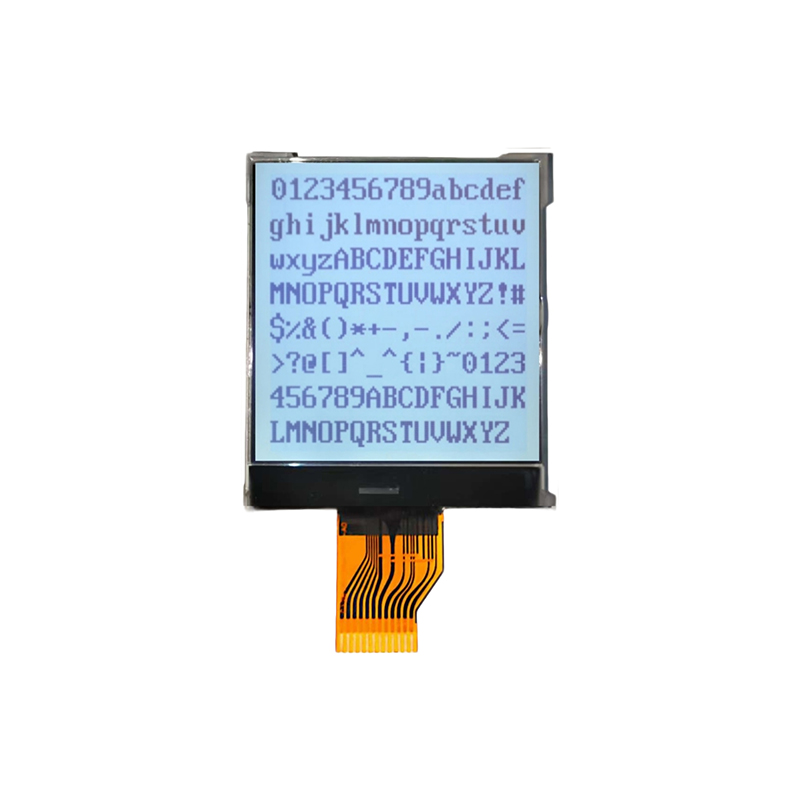
The market offers a variety of Raspberry Pi OLED displays. While specific models change frequently due to evolving technology and manufacturer offerings, research current offerings from reputable suppliers. A thorough online search using terms like best raspberry oled display exit along with specifications such as size and interface will yield the most up-to-date results.
Once you've chosen your Raspberry Pi OLED display, connecting it involves several steps, including installing necessary drivers and configuring the display settings within your Raspberry Pi's operating system. Refer to your display's documentation for precise instructions and wiring diagrams. This usually involves connecting the display's power, ground, data, and clock lines to the appropriate GPIO pins on the Raspberry Pi. Libraries like the Adafruit_SSD1306 library simplify the process of controlling the display through Python or other programming languages.
Even with careful setup, issues might arise. Common problems include connection errors, display issues (blank screen, flickering), or software glitches. Checking your wiring, ensuring correct driver installation, and confirming software configuration are vital troubleshooting steps. Online forums and communities dedicated to Raspberry Pi offer ample support and solutions for common problems.
Selecting the optimal Raspberry Pi OLED display requires careful consideration of your project's requirements. Factors such as resolution, size, interface, and brightness are all crucial. With careful planning and research, you can find the perfect display to enhance your Raspberry Pi projects.
Remember to always consult the manufacturer's specifications and documentation for detailed information on your chosen display.