Dalian Eastern Display Co., Ltd.
Dalian Eastern Display Co., Ltd.


This comprehensive guide provides a step-by-step tutorial on setting up and using a 1602 LCD I2C display with your Raspberry Pi, focusing on Python programming. We'll cover selecting the right hardware, installing necessary libraries, writing example code, and troubleshooting common issues. Learn how to effectively integrate this popular display into your projects.
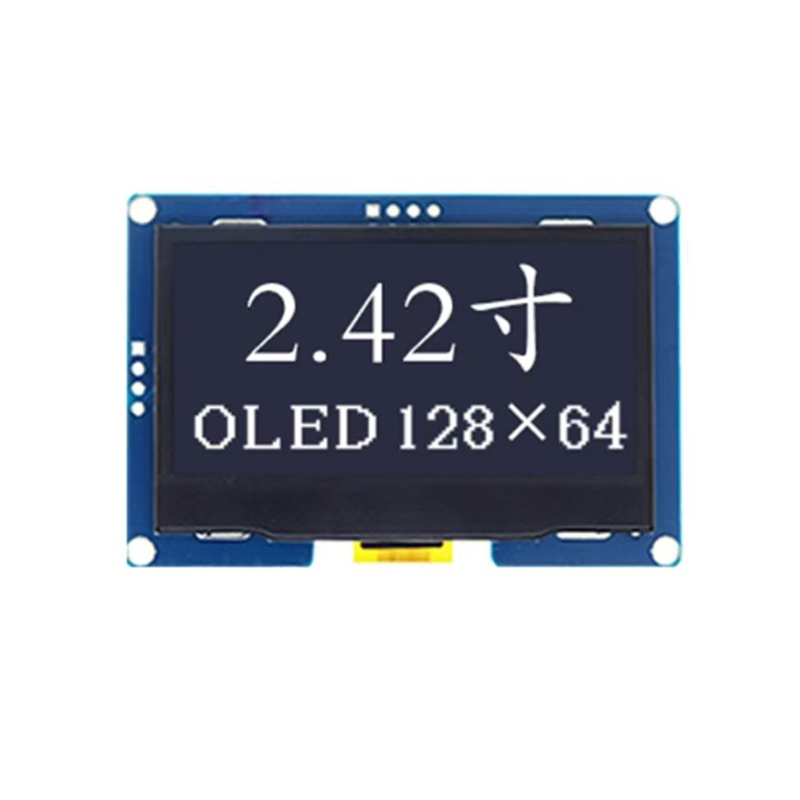
The market offers various 1602 LCD I2C displays. Ensure you select one with I2C communication. These displays are inexpensive and readily available online and from electronics retailers. Look for specifications that confirm I2C compatibility. Backlighting options (blue, white, green) are also a factor to consider based on your project needs. Check the dimensions to ensure it fits your project's physical constraints. For a reliable source of quality LCD displays, you can explore options at [Dalian Eastern Display Co., Ltd.], a reputable manufacturer.
Almost all Raspberry Pi models (including the Raspberry Pi Zero, Pi 3, Pi 4, and the Raspberry Pi Pico) support I2C communication and are compatible with a 1602 LCD I2C display. You'll need to enable the I2C interface in the Raspberry Pi's configuration, but this is a straightforward process, detailed in the next section.
Before you can use your Raspberry Pi 1602 LCD I2C display, you must enable the I2C interface. This is typically done through the Raspberry Pi Configuration tool (sudo raspi-config). Navigate to Interfacing Options, then select I2C and enable it. Reboot your Raspberry Pi after making this change for the settings to take effect.
Several Python libraries simplify interaction with the 1602 LCD I2C display. The most popular is `RPi.bme280` (for I2C devices), but you may also find others such as `smbus`. Use the following command to install the required library via pip:
sudo pip3 install RPi.bme280
Note: You might need to install other dependencies, depending on your chosen library. Refer to the library's documentation for specific installation instructions.
Here's a basic example demonstrating how to write text to your 1602 LCD I2C display using Python:
import RPi.bme280import smbus2# I2C address of your LCD display (check your display's documentation)lcd_address = 0x27# Initialize I2C busbus = smbus2.SMBus(1)# ... (rest of the code to initialize and write to the LCD) ...bus.write_i2c_block_data(lcd_address, 0x80, [ord(c) for c in Hello, world!])# ... (rest of the code to control cursor and other LCD functions) ...This is a simplified example. Remember to replace placeholders like `lcd_address` with the correct values for your specific hardware.
Ensure your 1602 LCD I2C display is correctly connected to the Raspberry Pi's I2C pins (SDA and SCL). Double-check your wiring and the I2C address. Incorrect wiring is a common source of problems.
If you encounter errors related to the Python libraries, ensure you have installed the correct versions and have all necessary dependencies. Consult the library's documentation for troubleshooting guidance. Sometimes, reinstalling the library can resolve these issues.
Integrating a Raspberry Pi 1602 LCD I2C display into your projects is a relatively straightforward process. By following the steps outlined in this guide, you can effectively utilize this affordable and versatile display for various applications. Remember to consult your display's specific documentation for detailed technical specifications and instructions.