Dalian Eastern Display Co., Ltd.
Dalian Eastern Display Co., Ltd.


This guide provides a comprehensive overview of selecting and configuring the best OLED display for your Raspberry Pi 4, along with practical strategies for managing power consumption and safe shutdown procedures to extend the lifespan of your devices. We'll explore various display options, address common setup challenges, and offer solutions for a seamless user experience.
Selecting the perfect Raspberry Pi 4 OLED display is crucial for an optimal user experience. Several factors need consideration: screen size, resolution, interface type (I2C, SPI), and power consumption. Smaller displays are generally more power-efficient, while larger displays offer more screen real estate. Resolution dictates image clarity; higher resolutions demand more processing power. Interface types impact the complexity of the setup process.
Once you've selected your Raspberry Pi 4 OLED display, the setup involves connecting the display to your Raspberry Pi and configuring the necessary software. This typically involves installing drivers and configuring the display settings through the command line or a graphical interface.
Proper power management is crucial for extending the life of your Raspberry Pi 4 and OLED display. Improper shutdowns can lead to data corruption or hardware damage. Always use a safe shutdown procedure before powering off your device.
Utilize features like automatic brightness adjustment, screen savers, and low-power modes to optimize power consumption. Consider using a power supply that provides sufficient current to prevent voltage drops.
Avoid abruptly powering off your Raspberry Pi 4. Always use the proper shutdown command (e.g., `sudo shutdown -h now`) through the terminal or the GUI before disconnecting the power. This ensures that all processes are closed gracefully.
Problems can arise during the setup or operation of a Raspberry Pi 4 OLED display. Common issues include display not detected, incorrect resolution, flickering, and power issues.
While specific product recommendations depend on your needs and budget, research reputable brands and read user reviews before making a purchase. Look for displays with clear specifications, good customer support, and positive reviews.
| Feature | Display A | Display B |
|---|---|---|
| Size | 1.3 Inch | 2.8 Inch |
| Resolution | 128x64 | 320x240 |
| Interface | I2C | SPI |
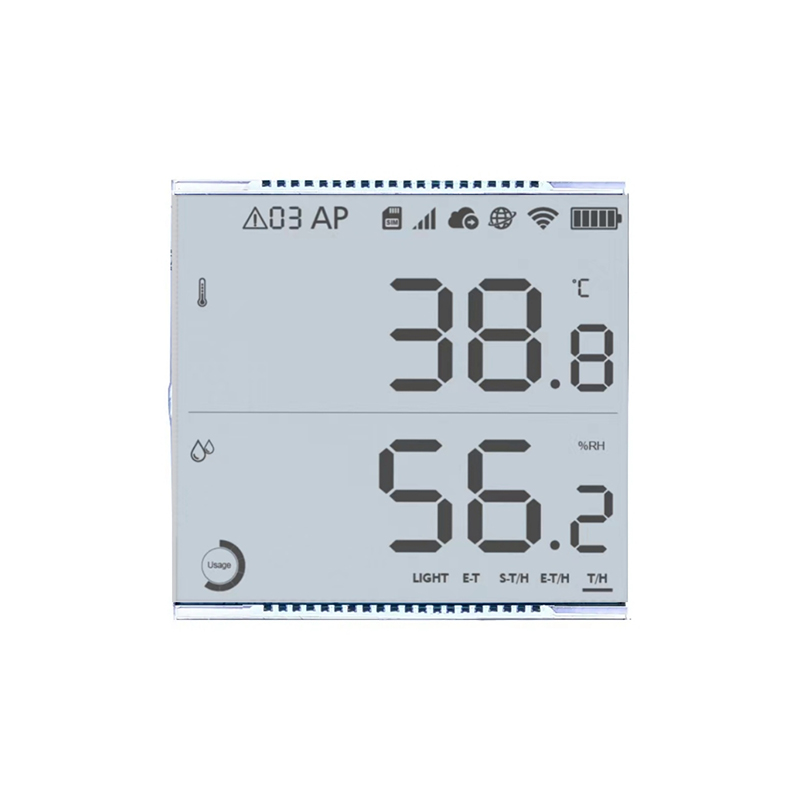
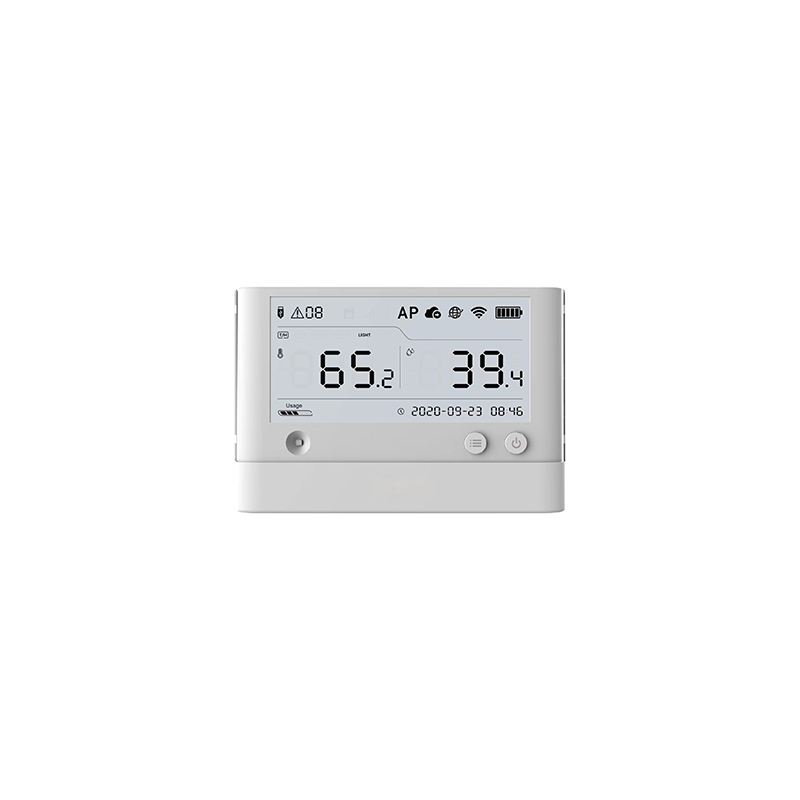
For a wide selection of high-quality displays, consider exploring the options at Dalian Eastern Display Co., Ltd. They offer a diverse range of LCD and OLED displays suitable for various applications, including Raspberry Pi projects. Their expertise and commitment to quality make them a valuable resource for your project.
Remember to always refer to the manufacturer's documentation for your specific Raspberry Pi 4 OLED display for detailed setup instructions and troubleshooting guidance. Careful planning and execution will ensure a smooth setup process and a long-lasting, functional project.