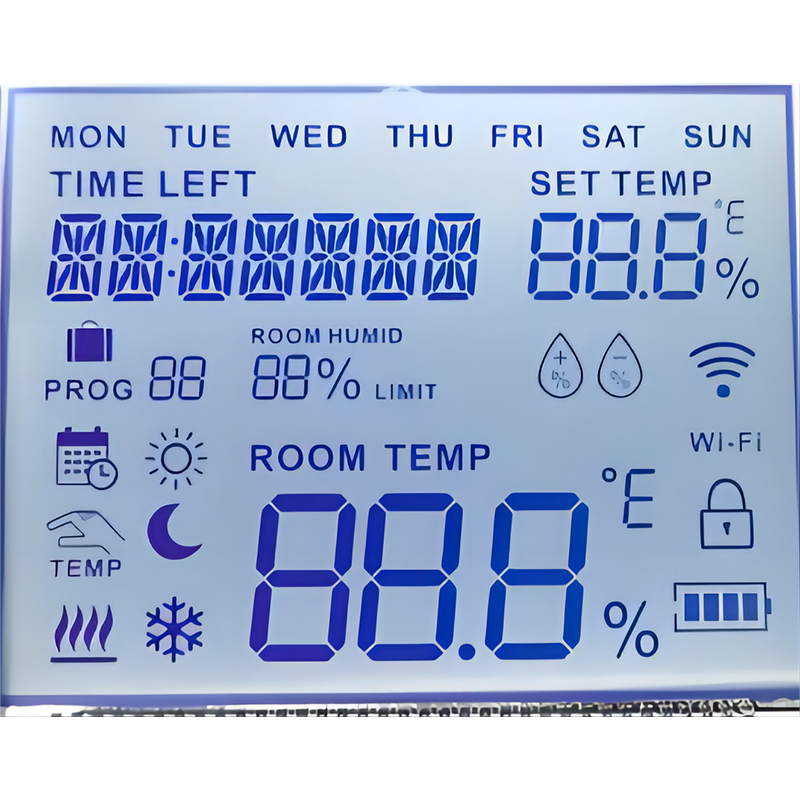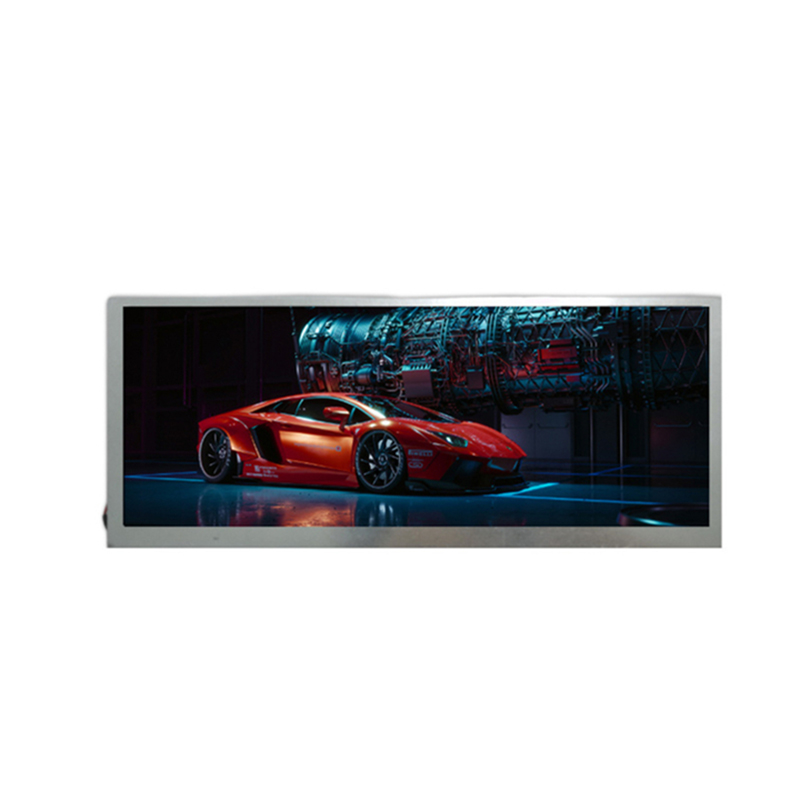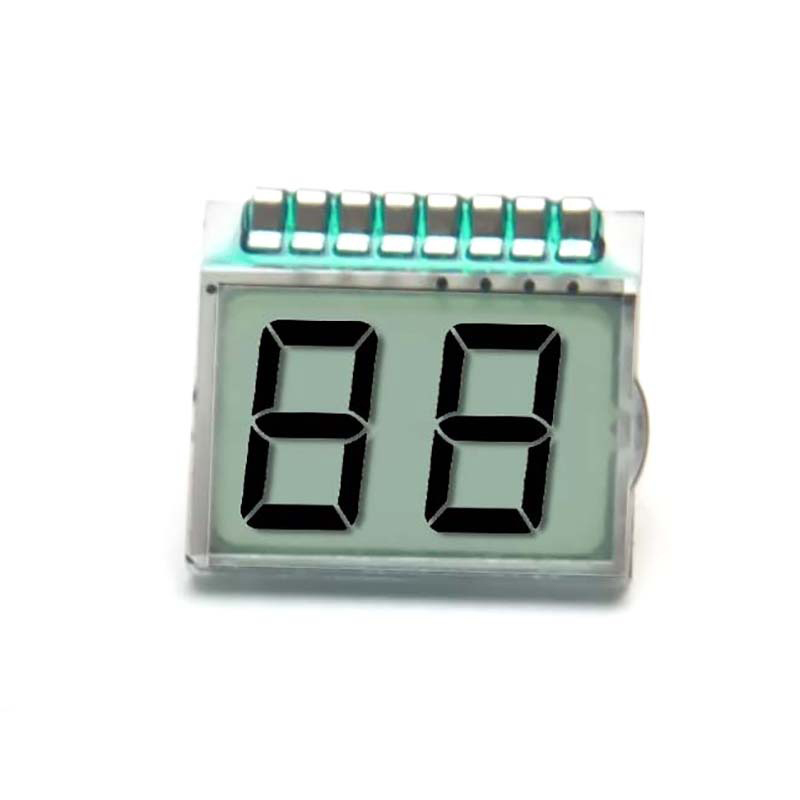
Finding the perfect Raspberry Pi LCD screen can feel overwhelming. With so many options available, understanding the key features and differences is crucial for a successful project. This comprehensive guide breaks down the essential considerations, helping you navigate the choices and select the best Raspberry Pi LCD screen to meet your specific needs. We'll cover everything from screen size and resolution to connection types and troubleshooting common issues.
The first decision involves determining the appropriate screen size and resolution. Smaller screens (e.g., 3.5-inch) are ideal for compact projects or embedded systems, while larger screens (e.g., 7-inch) offer more real estate for applications requiring more visual information. Resolution impacts image clarity; higher resolutions deliver sharper images, but often come with a higher price tag. Consider your project's requirements carefully. A smaller Raspberry Pi LCD screen might suffice for a simple data logger, while a larger one would be preferable for a media center or retro gaming console.
Various interfaces connect Raspberry Pi LCD screens to the Raspberry Pi, including SPI, I2C, and parallel interfaces. SPI and I2C are more common for their efficiency and ease of use. Understanding which interface your chosen screen utilizes is critical for compatibility. Ensure your Raspberry Pi and chosen display are compatible. Some screens might require additional adapter boards. The documentation for your chosen Raspberry Pi LCD screen will specify the required interface.
Adding touchscreen capabilities can enhance user interaction. Many Raspberry Pi LCD screens offer integrated touchscreen functionality, simplifying interaction with your project. However, this feature usually increases the overall cost. Determine if touchscreen capabilities are necessary for your application before making a purchase. Consider the impact of touch sensitivity and responsiveness if touchscreen functionality is crucial for your project.
Power consumption is a significant factor, especially for battery-powered projects. Check the specifications of the screen to determine its power draw. Lower power consumption extends battery life and is beneficial for portable or mobile applications. Always refer to the manufacturer's specifications to get the most accurate information regarding power usage.
The market offers a wide array of Raspberry Pi LCD screens. Here are a few examples, but remember to always check for updated models and availability:
| Manufacturer | Screen Size | Resolution | Interface | Touchscreen |
|---|---|---|---|---|
| Adafruit | 3.5-inch | 480x320 | SPI | Optional |
| Waveshare | 7-inch | 1024x600 | SPI | Yes |
| Official Raspberry Pi | 7-inch | 800x480 | DVI | Yes |
Note: Specifications may vary depending on the specific model. Always refer to the manufacturer's website for the most up-to-date information.
Connecting a Raspberry Pi LCD screen might present challenges. Common problems include incorrect wiring, driver issues, and resolution conflicts. Consult the manufacturer's documentation for detailed troubleshooting steps. Online forums and communities dedicated to Raspberry Pi projects offer valuable assistance and solutions to common problems. Remember to double-check all connections before powering on the system.
Selecting the right Raspberry Pi LCD screen depends on your project's needs and budget. By carefully considering screen size, resolution, interface type, and touchscreen functionality, you can choose a display that perfectly complements your project and ensures a smooth user experience. Remember to consult the documentation for your chosen screen and seek assistance from online resources if you encounter difficulties during setup. For high-quality LCD screens, consider exploring the options available at Dalian Eastern Display Co., Ltd. They offer a range of display solutions for various applications.


