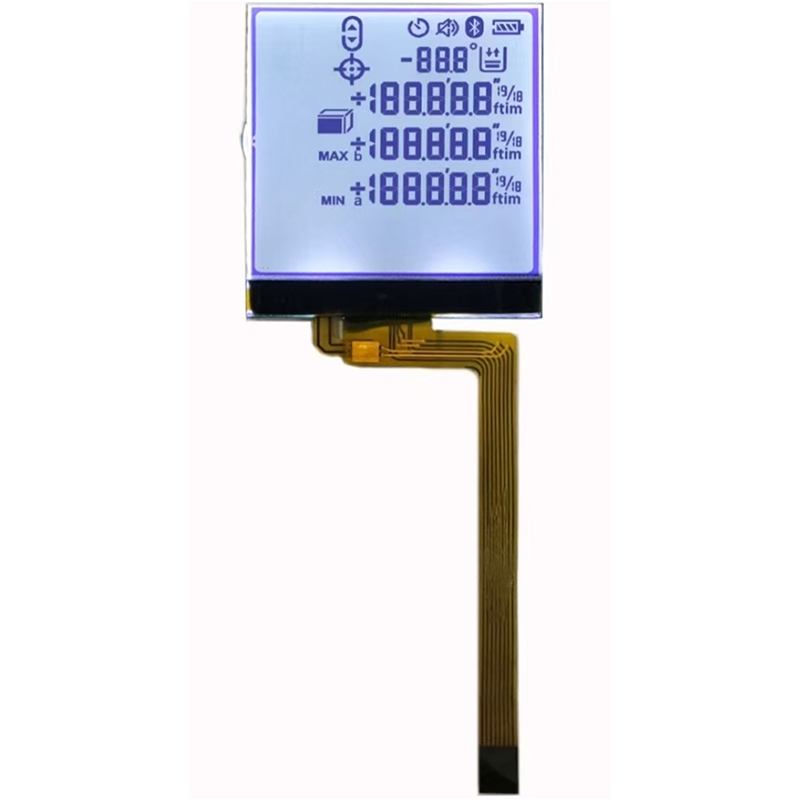
Dalian Eastern Display Co., Ltd.
Dalian Eastern Display Co., Ltd.


Choosing the right Raspberry Pi OLED display can significantly enhance your projects. This guide compares popular options, considering factors like resolution, size, interface, and price, helping you select the perfect display for your needs. We'll cover essential considerations to make an informed decision, providing detailed specifications and practical advice.
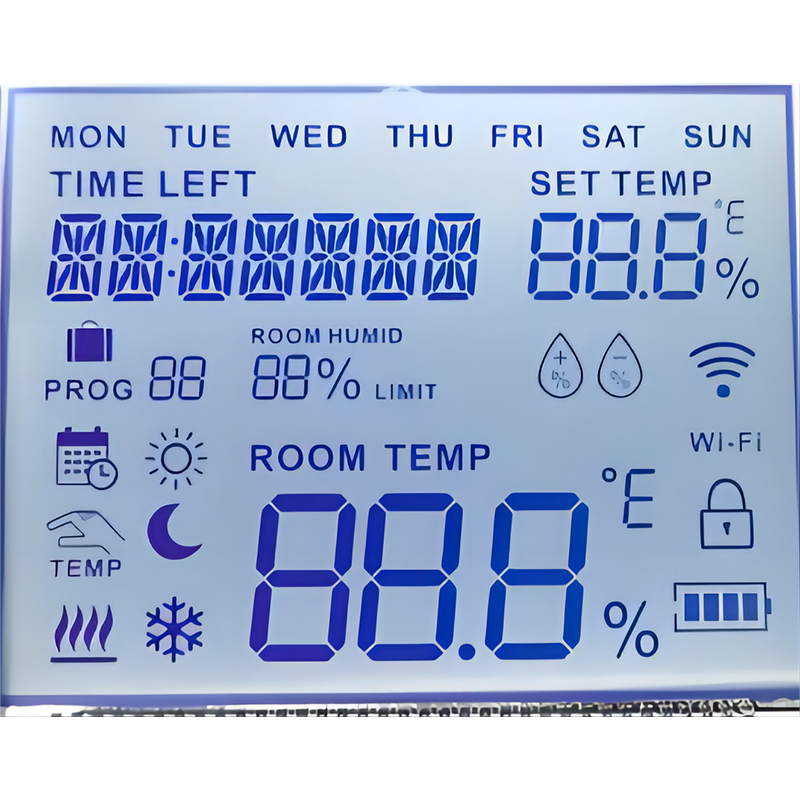
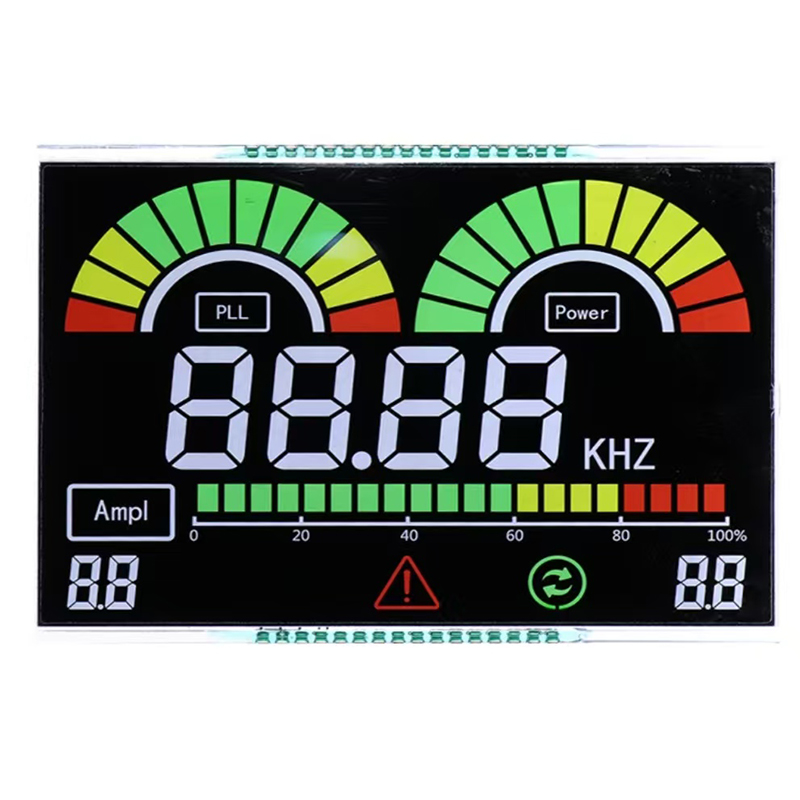
OLED (Organic Light-Emitting Diode) displays offer several advantages over traditional LCDs. They boast superior contrast ratios, deeper blacks (because pixels are individually lit, not backlit), and wider viewing angles. These features make them ideal for projects requiring crisp visuals and vibrant colors, making them a popular choice for Raspberry Pi OLED display applications.
The resolution (measured in pixels, e.g., 128x64) determines the image sharpness. Higher resolution displays offer more detail but may increase the price and power consumption. The display size (measured diagonally in inches) is also crucial, depending on your project's space constraints. Smaller displays are often preferred for portable projects or those with limited space.
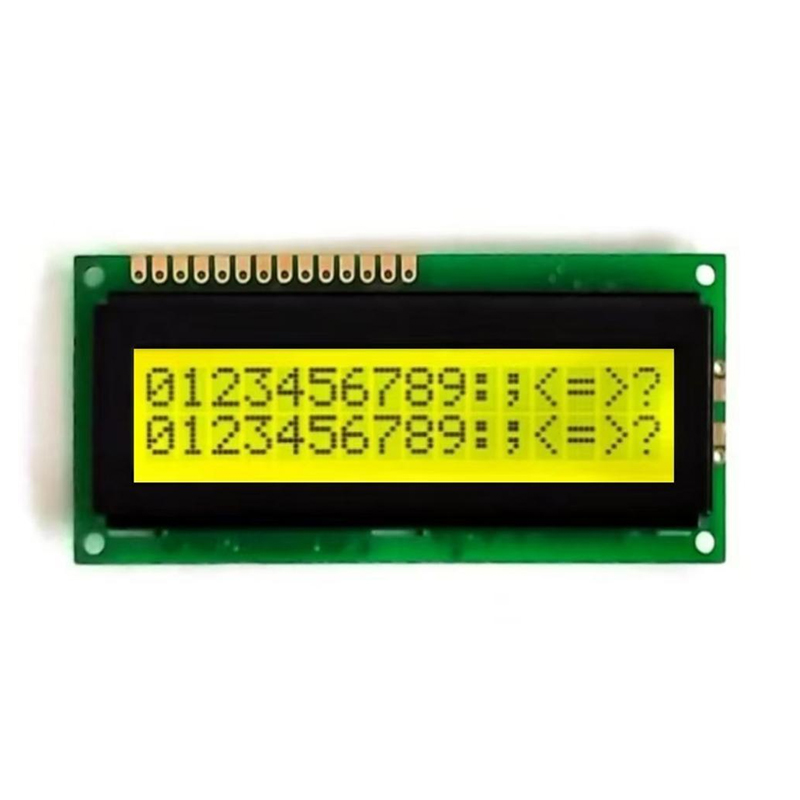
The interface type (e.g., I2C, SPI) dictates how the display communicates with the Raspberry Pi. I2C is generally simpler to set up but might have limitations with higher resolutions. SPI offers higher bandwidth, suitable for displays demanding fast data transfer. Consider your comfort level with each interface before making your choice.
OLED displays are generally energy-efficient, especially compared to LCDs with backlights. However, the power consumption still varies depending on the resolution and brightness. This aspect is critical for battery-powered projects.
The cost of Raspberry Pi OLED displays varies considerably depending on the size, resolution, and features. Balancing your budget with your project's requirements is essential.
The market offers various Raspberry Pi OLED displays. Here’s a comparison of some popular models (Note: Specifics may change; always refer to the manufacturer's website for the most current information):
| Model | Resolution | Size (inches) | Interface | Approximate Price |
|---|---|---|---|---|
| Adafruit 1.14 128x64 | 128x64 | 1.14 | I2C | $ varies |
| Waveshare 0.96 128x64 | 128x64 | 0.96 | I2C | $ varies |
| (Add more examples here) |
The setup process varies depending on the display model and interface. Consult the manufacturer's documentation for detailed instructions. Generally, this involves connecting the display to the Raspberry Pi using the appropriate pins, installing the necessary drivers, and configuring the display settings using a library like `luma.oled` in Python.
Selecting the best Raspberry Pi OLED display hinges on careful consideration of factors like resolution, size, interface, and budget. By understanding these elements, you can choose a display that perfectly complements your project and elevates your user experience. For high-quality LCD and OLED displays, consider exploring options from Dalian Eastern Display Co., Ltd. Remember to always consult the specific product documentation for detailed specifications and setup procedures.
1 Manufacturer websites (vary depending on the chosen display model)