Dalian Eastern Display Co., Ltd.
Dalian Eastern Display Co., Ltd.


Find the perfect Raspberry Pi Pico OLED display for your project. This guide compares top models, considering resolution, size, interface, and ease of use, helping you choose the best display for your needs. We'll cover everything from setup to troubleshooting, ensuring you get the most out of your Raspberry Pi Pico OLED display.
The Raspberry Pi Pico is a small, low-cost microcontroller board ideal for embedded systems and projects requiring real-time processing. Its versatility makes it perfect for pairing with various display technologies, including OLED.
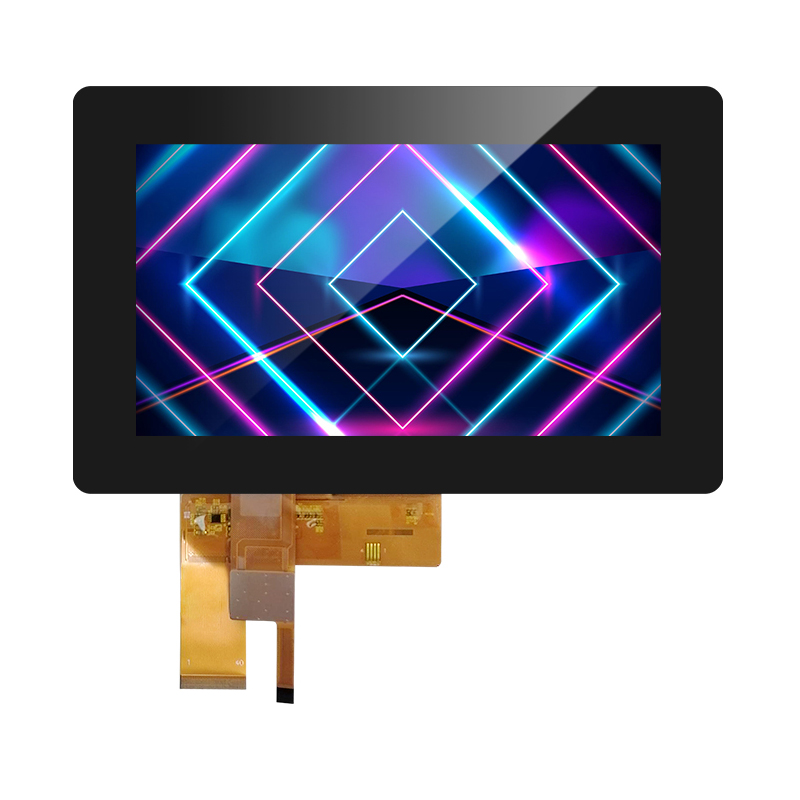
OLED (Organic Light-Emitting Diode) displays are known for their vibrant colors, deep blacks, and wide viewing angles. They consume less power than LCDs and offer superior contrast. Choosing the right Raspberry Pi Pico OLED display is crucial for maximizing your project's visual appeal and functionality.
The market offers several Raspberry Pi Pico OLED displays. Selecting the best one depends on your project's specific requirements. Here’s a comparison of some popular options:
| Model | Resolution | Size | Interface | Pros | Cons |
|---|---|---|---|---|---|
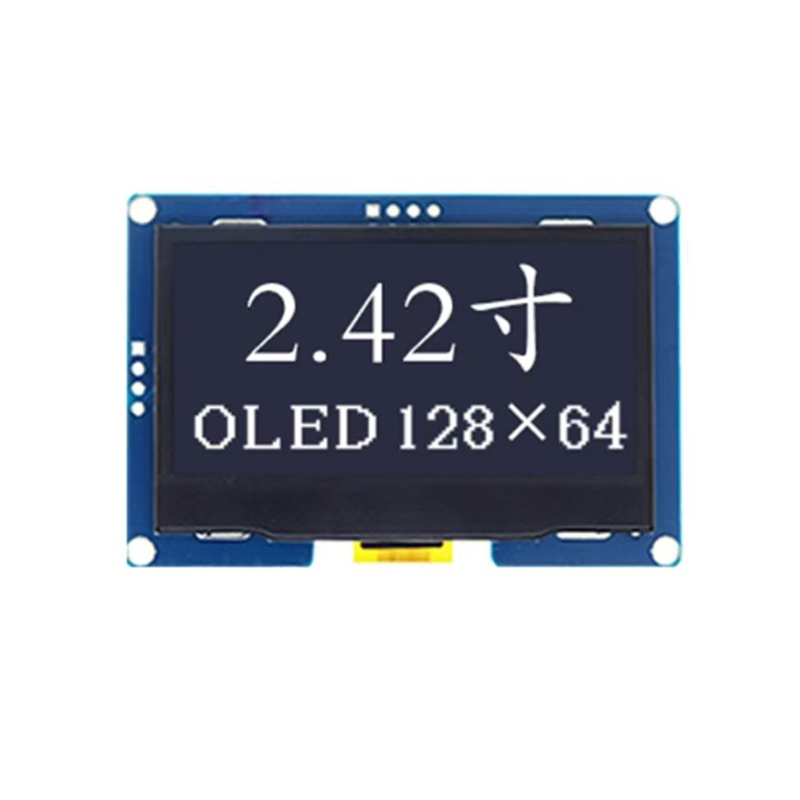
| SSD1306-based displays (various sizes) | Varies (e.g., 128x64, 128x32) | Varies (e.g., 0.96, 1.3) | I2C | Widely available, inexpensive | Simpler displays, limited resolution options |
| SH1106-based displays (various sizes) | Varies (e.g., 128x64, 96x96) | Varies (e.g., 0.96, 1.3) | I2C | Good quality, relatively inexpensive | Slightly less common than SSD1306 |
Connecting a Raspberry Pi Pico OLED display typically involves connecting the power, ground, data (SDA/SCL for I2C), and potentially a reset pin. Detailed wiring diagrams are usually provided with the display module. Ensure you use the correct I2C address for your specific display. For example, many SSD1306 displays use address 0x3C or 0x3D.
MicroPython is a popular choice for programming the Raspberry Pi Pico. Libraries like `ssd1306` simplify interaction with many common Raspberry Pi Pico OLED displays, particularly those based on the SSD1306 or SH1106 controller. These libraries handle low-level details, allowing you to focus on displaying your data. You can install them using the `import machine` and `import ssd1306` commands within your MicroPython code. Remember to adapt your code to the specific resolution and dimensions of your chosen display.
If your Raspberry Pi Pico OLED display isn't working correctly, double-check your wiring, I2C address, and power supply. If using MicroPython, ensure the display library is correctly installed and that your code is compatible with your display's specifications. Consult your display's datasheet for more detailed troubleshooting information.
Selecting the right Raspberry Pi Pico OLED display significantly impacts your project's success. By carefully considering resolution, size, interface, and ease of use, you can find the perfect match for your needs. Remember to consult datasheets, tutorials, and online communities for further assistance.
For high-quality LCD and OLED displays for various applications, consider exploring the range offered by Dalian Eastern Display Co., Ltd. They offer a wide selection of displays to suit diverse needs.
Disclaimer: This information is for guidance only. Always refer to the specific documentation for your chosen display and microcontroller for accurate setup and usage instructions.