Dalian Eastern Display Co., Ltd.
Dalian Eastern Display Co., Ltd.


The Arduino Mega 2560, with its ample resources, is a popular choice for a wide range of projects. One key aspect of its versatility lies in its robust SPI (Serial Peripheral Interface) capabilities. This guide dives deep into selecting the best Best spi interface arduino mega 2560 product for your specific application. We'll examine different SPI devices, comparing their strengths and weaknesses, to assist you in making an informed decision. We will also cover crucial aspects like data rate, communication protocols, and practical considerations for implementation. Whether you're a seasoned developer or a beginner, this guide offers valuable insights into maximizing the potential of the Arduino Mega 2560’s SPI interface.
The Arduino Mega 2560 boasts multiple SPI pins, offering flexibility for connecting various peripherals. Understanding the SPI protocol is crucial before choosing a device. SPI is a synchronous, full-duplex communication protocol, meaning data can be sent and received simultaneously. It's known for its speed and efficiency, making it ideal for high-bandwidth applications. The Mega 2560's SPI interface utilizes the following pins: MOSI (Master Out Slave In), MISO (Master In Slave Out), SCK (Serial Clock), and SS (Slave Select).
Several key parameters influence SPI performance. These include:
Numerous SPI-compatible devices can enhance your Arduino Mega 2560 projects. Here are some examples:
SD cards are a ubiquitous choice for storing data. Using an SD card reader module allows easy integration with your Best spi interface arduino mega 2560 product setup. Many libraries simplify the process of reading and writing data to the SD card.
RTCs provide accurate timekeeping, even when the Arduino is powered off. Several RTC modules, such as the DS3231, communicate via SPI, offering precise time synchronization for your projects.
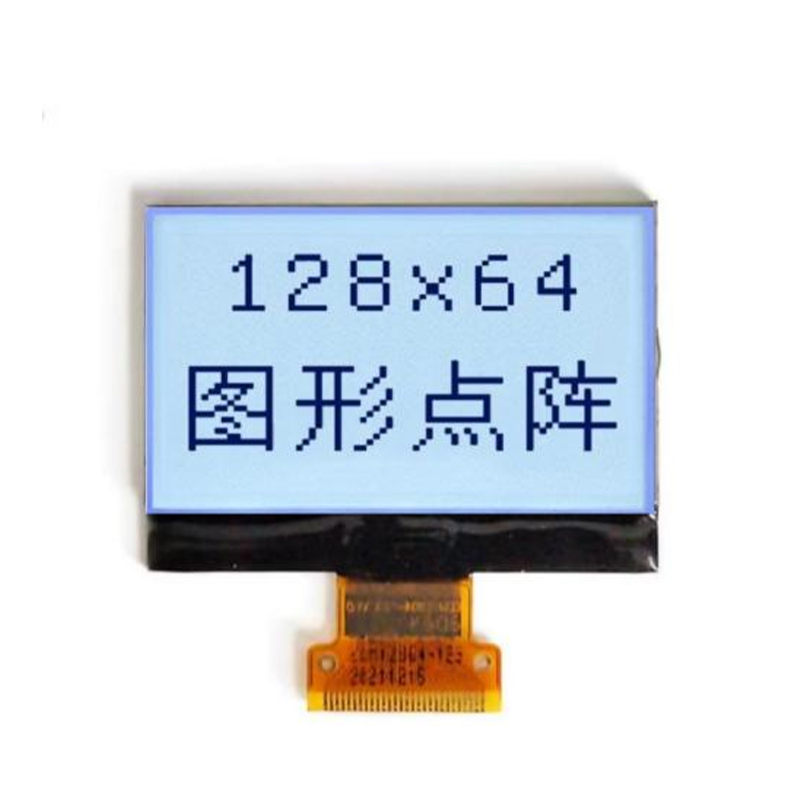
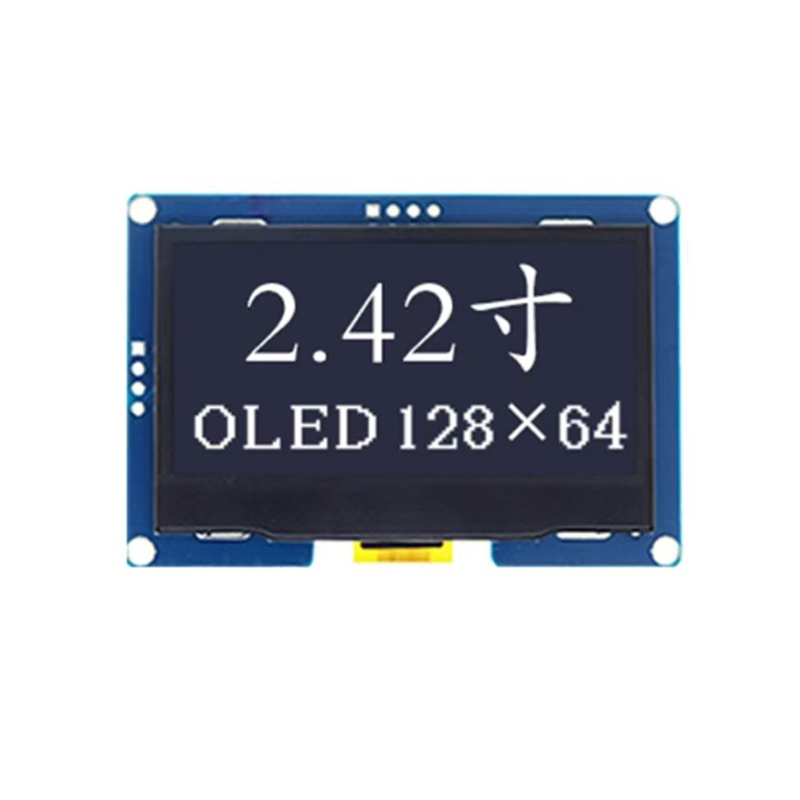
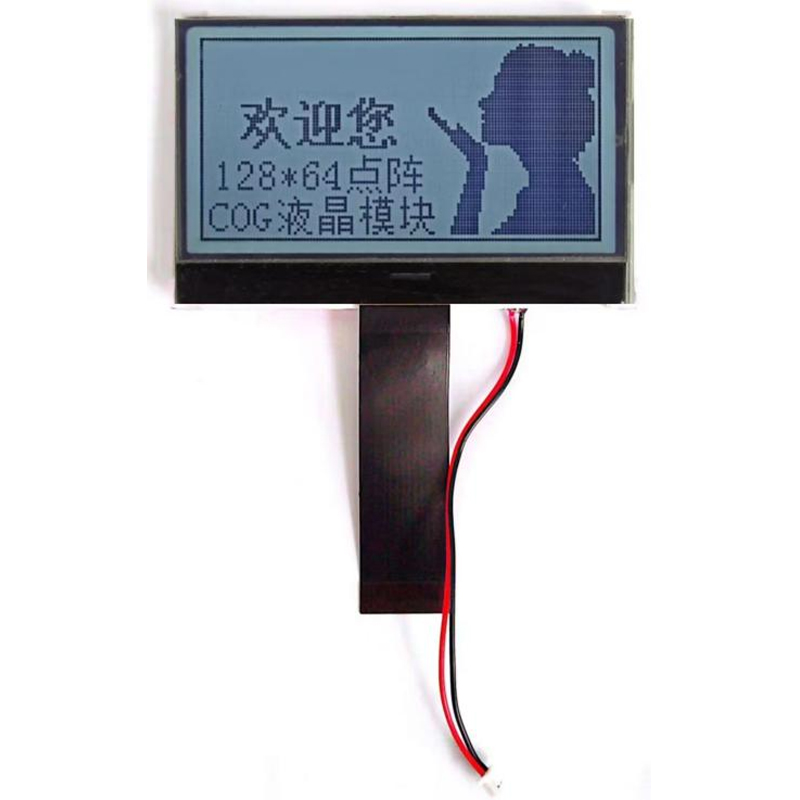
High-resolution OLED displays offer stunning visuals and low power consumption. Many OLED displays utilize SPI for communication, providing a crisp and responsive user interface. The exact SPI configuration will vary based on the specific display model.
Many sensors, including accelerometers, gyroscopes, and magnetometers, leverage the SPI interface. This allows for fast and efficient data acquisition from various sensor types. Be sure to check the datasheet for your chosen sensor to confirm its SPI configuration.
Selecting the ideal SPI device depends on your project’s specific needs. Consider these factors:
Connecting an SD card module involves connecting the relevant pins (MOSI, MISO, SCK, SS) to the Arduino Mega 2560's SPI pins and providing power and ground connections. The specific pin assignments may vary slightly depending on the SD card reader module used. Numerous libraries, such as the SD library, simplify the process of interacting with the SD card. You can find detailed examples and tutorials online.
Mastering the SPI interface on the Arduino Mega 2560 unlocks a wealth of possibilities for your projects. By carefully considering the factors outlined above and choosing the appropriate SPI devices, you can create innovative and efficient applications. Remember to consult datasheets and utilize available libraries to ensure seamless integration and optimal performance.
| Device | Data Rate | Power Consumption | Advantages | Disadvantages |
|---|---|---|---|---|
| SD Card | Varies depending on card and reader | Low | High capacity, widely available | Speed limitations compared to other interfaces |
| DS3231 RTC | Relatively low | Very low | Accurate timekeeping, low power | Limited functionality |
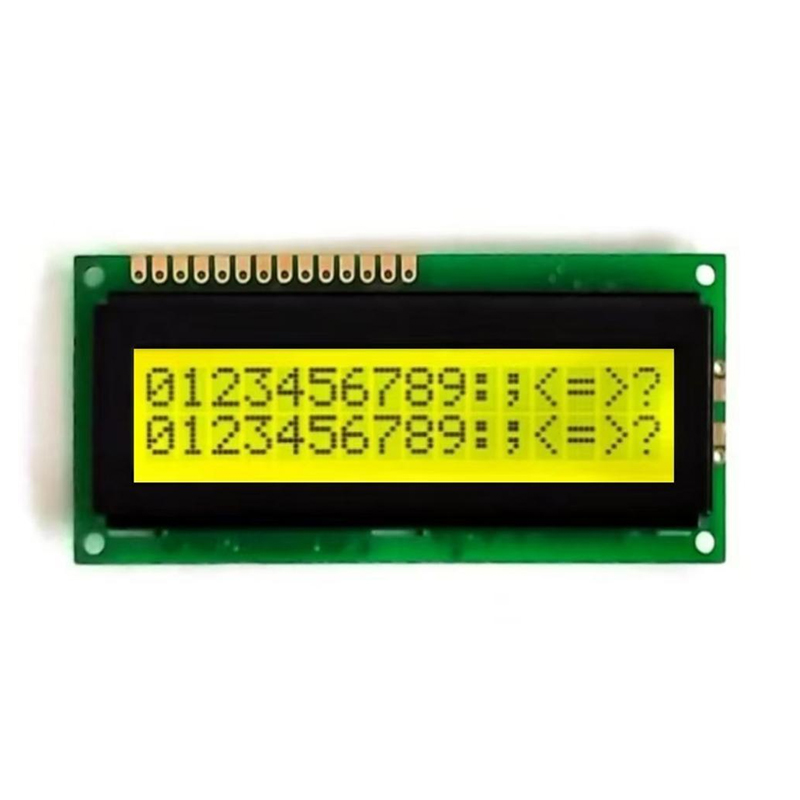
For high-quality LCD displays to complement your Arduino projects, consider exploring the extensive selection offered by Dalian Eastern Display Co., Ltd. They provide a wide range of options for various applications.