Dalian Eastern Display Co., Ltd.
Dalian Eastern Display Co., Ltd.


Best SPI TFT Display for Arduino: A Comprehensive GuideThis guide provides a detailed overview of selecting the best SPI TFT display for your Arduino projects, covering key features, specifications, and considerations for successful integration. We'll explore popular choices, highlight their strengths and weaknesses, and offer practical tips for seamless implementation.
Choosing the right SPI TFT display is crucial for creating compelling and interactive Arduino projects. This comprehensive guide will walk you through the process of selecting a display that meets your specific needs, offering insights into technical specifications, integration considerations, and practical examples. We'll explore different display sizes, resolutions, and features to help you make an informed decision.
An SPI TFT (Thin Film Transistor) display is a type of liquid crystal display (LCD) that uses the Serial Peripheral Interface (SPI) communication protocol to interface with a microcontroller, such as an Arduino. SPI is a synchronous, full-duplex communication bus that offers high speed and efficiency, making it ideal for transferring large amounts of data required for displaying images and text on a TFT screen. The advantages of using SPI over other communication protocols like I2C include higher data transfer rates and simplified wiring. Choosing the right display for your project depends on factors like resolution, size, color depth, and power consumption.
The Arduino platform supports SPI communication natively, simplifying the integration process. Most Arduino boards have dedicated SPI pins that can be easily configured to communicate with an SPI TFT display. The library support for various displays is extensive, providing functions for initialization, data transfer, and drawing primitives.
Selecting the optimal Best spi tft display arduino exit involves careful consideration of several factors. The right display depends significantly on the project's specific requirements. Let's explore these crucial aspects.
The size and resolution of the display are fundamental considerations. Larger displays offer more visual real estate but consume more power and may require more complex driving circuitry. Higher resolutions provide sharper images and more detail but also demand higher data transfer rates. Consider the project's needs—a small, low-resolution display might suffice for a simple data logger, while a large, high-resolution display would be preferable for a sophisticated graphical user interface.
Color depth determines the number of colors the display can show (e.g., 16-bit for 65,536 colors, 18-bit for even more). Consider the level of color fidelity required for your application. The display type also matters; some common types include ST7735, ILI9341, and ILI9488. Each has unique characteristics and associated libraries.
Power consumption is a critical factor, particularly in battery-powered applications. Lower power consumption translates to longer battery life. Check the datasheet for the display's typical power consumption under various operating conditions. Some displays offer power-saving modes that can further reduce power consumption.
While we focus on SPI, ensure the chosen display is compatible with the Arduino board's SPI interface. Check for readily available libraries, making integration and programming easier. Libraries like Adafruit_GFX and dedicated libraries for specific display controllers significantly simplify the development process.
Several excellent SPI TFT displays are readily available and compatible with Arduino. We will examine a few examples below. Please note that specific models and availability may change, so always verify with your supplier.
| Display Model | Resolution | Controller | Size (inches) | Notes |
|---|---|---|---|---|
| ILI9341 Based Displays | 320x240, 480x320 (common) | ILI9341 | 2.4 - 5 | Widely available and well-supported. |
| ST7735 Based Displays | 128x160, 160x128, 240x240 | ST7735 | 1.44 - 3.5 | Smaller displays, generally low power. |
| Other Controllers (e.g., ILI9488, SSD1351) | Various | ILI9488, SSD1351, etc. | Various | Offer features like higher resolution or different color depths. |
Once you've selected your display, the integration process typically involves connecting the display to the Arduino board using the SPI pins and power supply. Refer to the display's datasheet for the pinout and connection details. Ensure you install the appropriate libraries for your chosen display controller in your Arduino IDE. Many examples and tutorials are available online to guide you through the programming process. Remember to correctly configure the SPI pins and settings in your Arduino code.
Selecting the best spi tft display arduino exit requires careful consideration of several factors. By understanding display specifications, power consumption, and library support, you can make an informed choice to create successful and visually appealing Arduino projects. Remember to consult the datasheets of specific displays for detailed information and integration instructions. Happy creating!
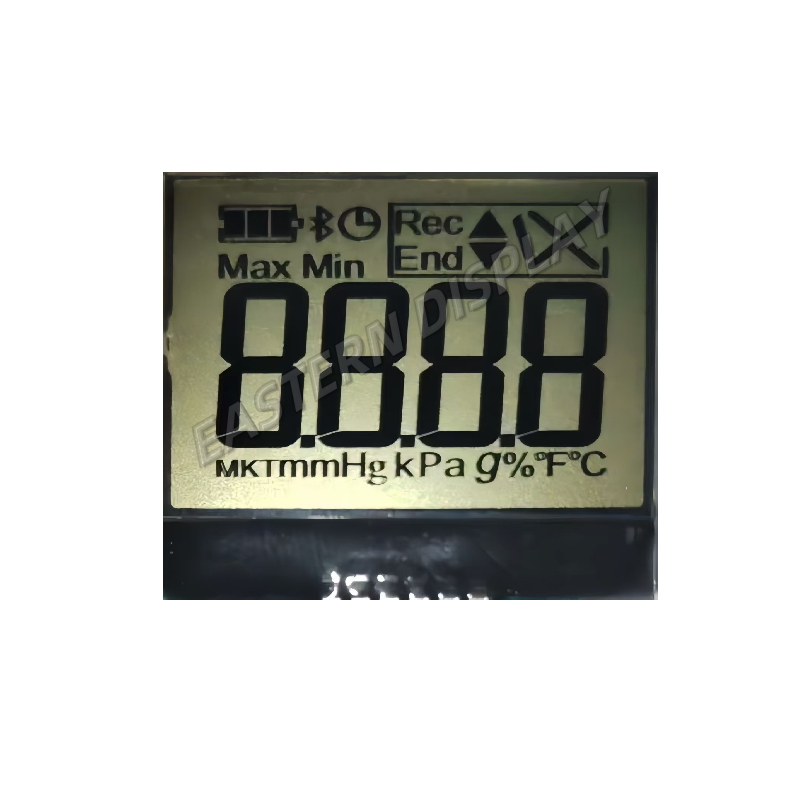
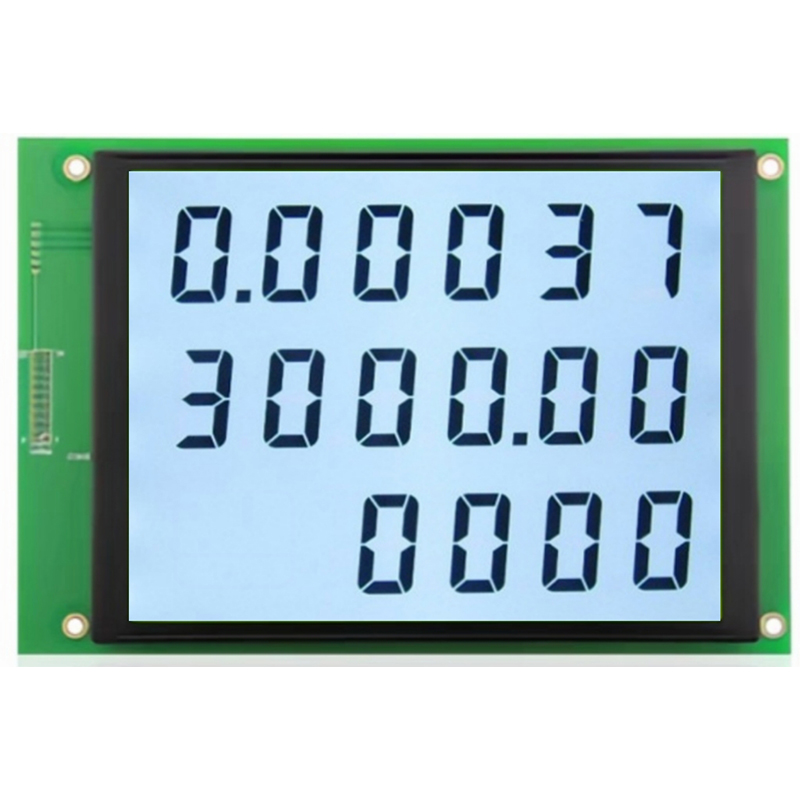
For a wide selection of high-quality LCD displays, consider exploring the offerings of Dalian Eastern Display Co., Ltd.. They offer a diverse range of displays suitable for various applications, including Arduino projects.