Best SPI TFT Displays for Arduino ProjectsThis guide explores the top SPI TFT displays compatible with Arduino, detailing their features, specifications, and ideal applications. We'll examine various display sizes, resolutions, and functionalities to help you select the perfect display for your project. We'll also discuss crucial factors like driver chips and ease of integration with Arduino.
Choosing the Right SPI TFT Display for Your Arduino Project
Selecting the ideal
Best spi tft display arduino product hinges on several key considerations. Understanding your project's specific requirements will guide you toward the perfect match. Let's break down the critical factors:
Display Size and Resolution
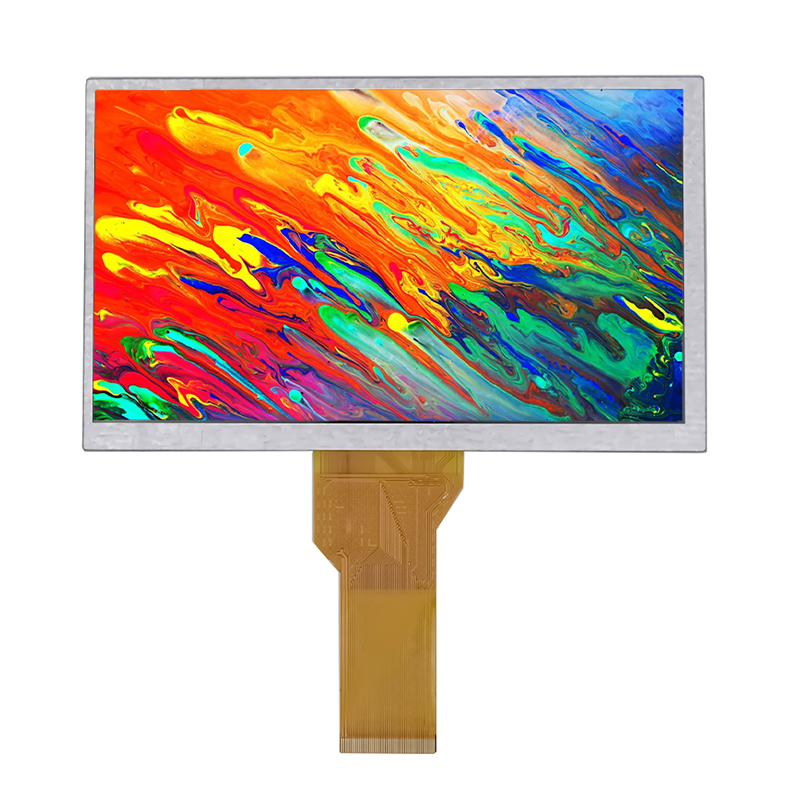
The size and resolution of your display directly impact the visual appeal and information density of your project. Smaller displays (e.g., 1.8-inch) are suitable for compact projects, while larger displays (e.g., 3.5-inch or even 5-inch) offer more screen real estate for complex interfaces. Resolution impacts the sharpness and detail of the displayed content. Higher resolution translates to crisper images and text, though it typically comes with a higher price tag.
Driver Chip Compatibility
The driver chip is a crucial component that dictates how your Arduino communicates with the display. Popular driver chips include ST7735, ILI9341, and ILI9488. Ensure that your chosen display's driver chip is supported by your Arduino's libraries. Many libraries are readily available online, simplifying the integration process. For example, the Adafruit GFX library is broadly compatible with numerous SPI TFT displays.
Touchscreen Functionality
Some
Best spi tft display arduino products incorporate touchscreen capabilities, adding an interactive dimension to your projects. If your project requires user input beyond buttons, a touchscreen is a valuable addition. However, bear in mind that touchscreens often increase the cost and complexity of the project.
Power Consumption
Consider the power consumption of the display, especially if your project is battery-powered. Low power consumption displays can significantly extend the battery life of portable devices.
Interface and Communication Protocol
Most
Best spi tft display arduino products utilize the SPI (Serial Peripheral Interface) protocol, which allows for high-speed communication between the Arduino and the display. However, verify the communication protocol before purchasing to ensure compatibility.
Top SPI TFT Display Options for Arduino
Here are a few examples of popular and reliable SPI TFT displays compatible with Arduino:
| Display | Size | Resolution | Driver Chip | Touchscreen |
| Adafruit 2.8 TFT Touch Screen | 2.8 | 320x240 | ILI9341 | Yes |
| Waveshare 3.5 TFT Display | 3.5 | 480x320 | ILI9488 | No |
| Goodis 1.8 TFT Display | 1.8 | 128x160 | ST7735 | No |
Note: Specific features and availability may vary. Always consult the manufacturer's specifications for the most accurate information.
Integrating Your Chosen SPI TFT Display with Arduino
Once you've selected your
Best spi tft display arduino product, integrating it with your Arduino involves several steps:1. Wiring: Carefully connect the display to your Arduino board according to the manufacturer's wiring diagram. This typically involves connecting the display's data lines, clock line, chip select line, and power lines to the appropriate pins on your Arduino.2. Installing Libraries: Install the necessary libraries for your display's driver chip. The Arduino IDE's library manager makes this process straightforward.3. Programming: Write your Arduino code to control the display. Numerous example codes are available online, providing a starting point for your project.Remember to consult the documentation provided with your chosen display for detailed wiring diagrams and programming instructions. For a wide variety of display options, consider exploring
Dalian Eastern Display Co., Ltd. for high-quality displays suitable for diverse projects.
Conclusion
Selecting the perfect
Best spi tft display arduino product depends on your project's specific requirements. By carefully considering factors like display size, resolution, driver chip, and touchscreen functionality, you can choose a display that seamlessly integrates with your Arduino project, bringing your creative vision to life. Remember to always refer to the manufacturer's specifications for the most accurate and up-to-date information.