Best Transparent OLED Display for Arduino ProjectsThis guide explores the best transparent OLED displays compatible with Arduino, detailing selection criteria, setup, and project ideas. We'll cover specifications, code examples, and troubleshooting tips to help you successfully integrate these displays into your creations.
Choosing the Right Transparent OLED Display
Selecting the perfect
transparent OLED display for your Arduino project hinges on several key factors. Display size, resolution, and power consumption are crucial considerations. Smaller displays might suffice for compact projects, while larger ones offer more visual real estate. Higher resolutions provide sharper images and text, though they might demand more processing power. Power efficiency is critical for battery-powered applications. Always check the datasheet for detailed specifications.
Key Specifications to Consider
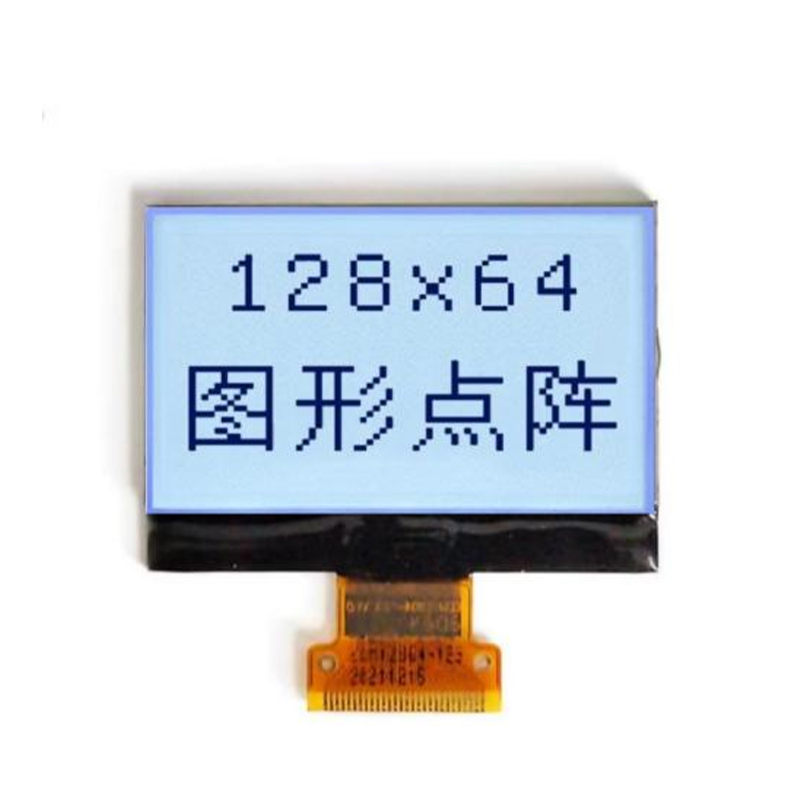
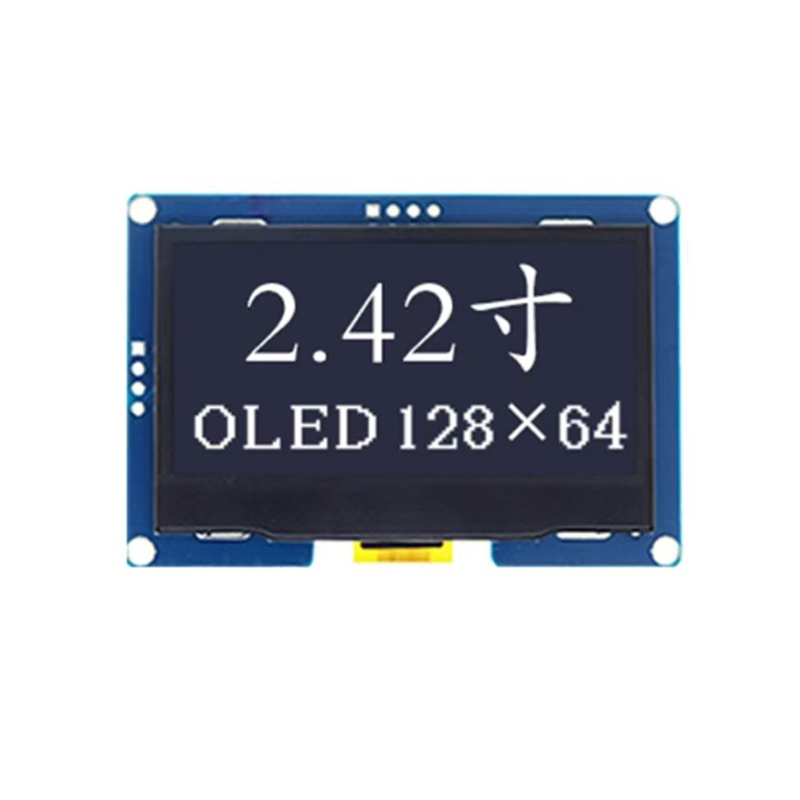
Size: Available in various sizes, from small modules suitable for wearables to larger displays for more ambitious projects. Resolution: Determines the clarity and detail of the displayed image. Higher resolution means sharper visuals but potentially higher power consumption. Interface: Ensure compatibility with your Arduino board. Most transparent OLED displays use I2C or SPI communication protocols. Brightness: Transparency affects brightness, so ensure sufficient luminance for visibility in various lighting conditions. Consider the environment where your project will be deployed. Power Consumption: A crucial factor for battery-powered applications. Lower power consumption extends battery life.
Connecting a Transparent OLED Display to Arduino
Once you've selected your
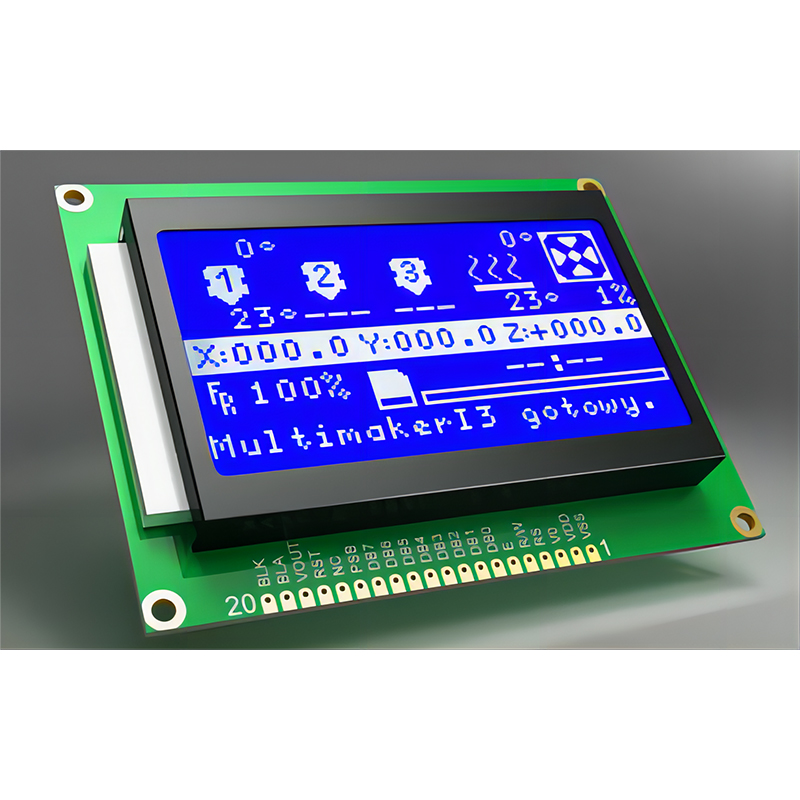
transparent OLED display, connecting it to your Arduino board is straightforward. Most displays use a simple I2C or SPI interface. Begin by referring to the specific datasheet for your chosen display. It will contain pinouts and wiring diagrams. Carefully connect the display's power, ground, data, and clock lines according to the instructions provided. Incorrect wiring can damage the display or your Arduino board.
Wiring and Libraries
You'll need the appropriate Arduino library for your
transparent OLED display. The Adafruit_SSD1306 library is widely used and compatible with many displays, but you might need a different one depending on your specific model. Install the library through the Arduino IDE Library Manager. This library provides functions for sending commands and data to the display to control its appearance.
Example Code
Here's a basic example demonstrating how to display text on a common
transparent OLED display using the Adafruit_SSD1306 library. Remember to adjust the pin numbers according to your wiring.cpp#include
#define OLED_RESET 4Adafruit_SSD1306 display(OLED_RESET);void setup() { display.begin(SSD1306_SWITCHCAPVCC, 0x3C); // Address might vary, check your display's datasheet display.clearDisplay(); display.setTextSize(2); display.setTextColor(WHITE);}void loop() { display.setCursor(0, 0); display.println(Hello, world!); display.display(); delay(2000); display.clearDisplay();}Project Ideas with Transparent OLED Displays
Transparent OLED displays open a world of creative possibilities. Their unique properties enable applications where traditional displays fall short.Smart Home Integration
Imagine a transparent display embedded in a smart mirror, displaying the weather or calendar information without obstructing the reflection. This adds a stylish and functional element to a modern smart home setup.Wearable Technology
Their small form factor and low power consumption make them ideal for integration into wearable devices like smartwatches or glasses. They can be used to present critical information without overshadowing the wearer's visual experience.Interactive Art Installations
The transparency enables innovative visual effects. A transparent display overlayed on a physical object can create captivating interactive art installations, allowing users to interact with augmented-reality style interfaces.Troubleshooting
If your transparent OLED display isn't working, check the following: Power Supply: Ensure the display is receiving sufficient and stable power. Wiring: Verify all connections are secure and correct. Library: Confirm you've installed the correct Arduino library. Address: Double-check the I2C address of your display; it might be different from the default. DataSheet: Consult the datasheet for detailed troubleshooting information specific to your display model.For further assistance with specific transparent OLED display models and more advanced project implementations, consider checking out resources like the Adafruit Learning System https://learn.adafruit.com/. Remember to always consult the datasheet provided by the manufacturer for accurate specifications and support. High-quality displays, like those from Dalian Eastern Display Co., Ltd., are essential for a successful project.