Dalian Eastern Display Co., Ltd.
Dalian Eastern Display Co., Ltd.


This comprehensive guide helps you select the ideal 1.3 inch OLED display for your Arduino project, covering key specifications, integration tips, and troubleshooting common issues. We'll explore different display options, examine their pros and cons, and provide practical advice to ensure successful implementation. Learn how to choose the right display, connect it to your Arduino, and write code for stunning visual output.
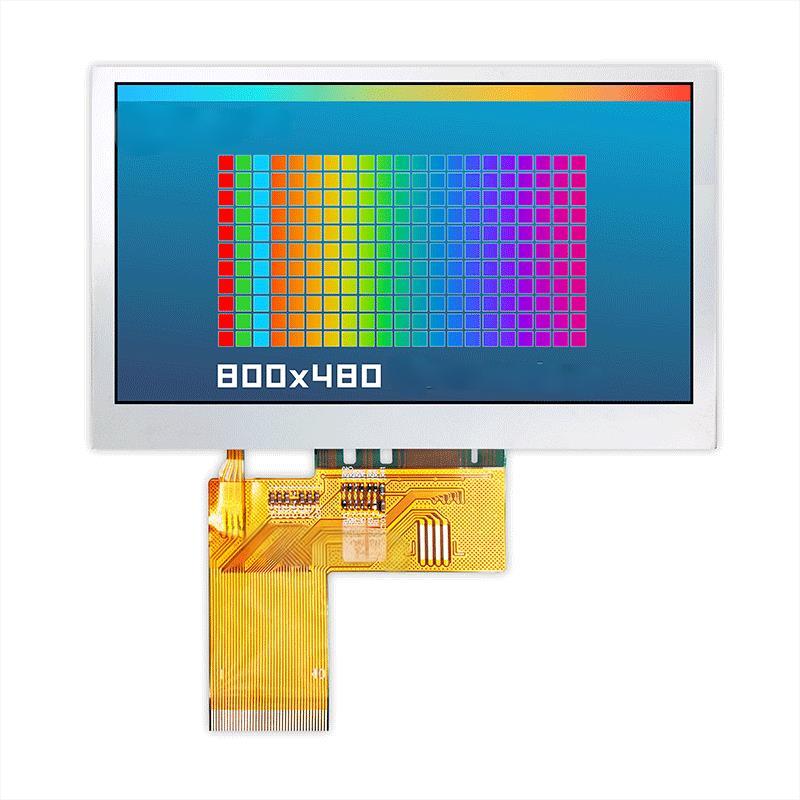
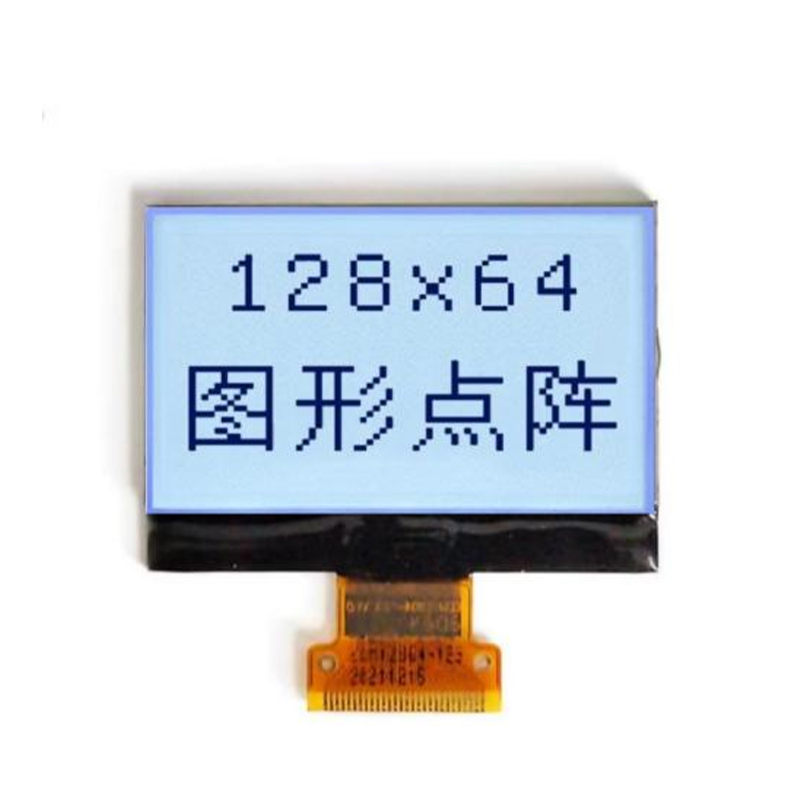
Before purchasing a 1.3 inch OLED display, several crucial specifications need careful consideration. These include resolution (e.g., 128x64 pixels or higher), color depth (grayscale or color), interface type (I2C, SPI), and power consumption. Higher resolution offers sharper images, while color depth impacts the richness of the display. The interface type determines how the display communicates with your Arduino. Power consumption is important for portable projects.
The market offers various 1.3 inch OLED displays from different manufacturers. Some may offer better brightness, while others prioritize lower power consumption. Researching available options and comparing their specifications is crucial for finding the perfect fit. Consider factors like viewing angle, contrast ratio, and the availability of supporting libraries for your Arduino IDE.
Most 1.3 inch OLED displays utilize either I2C or SPI communication protocols. I2C is generally simpler to implement, requiring fewer pins, while SPI offers higher data transfer speeds. Selecting the appropriate library within the Arduino IDE is crucial for seamless integration. Popular libraries include Adafruit_SSD1306 and U8g2, offering various functions and customization options. Ensure compatibility between your chosen display and the library you select.
Correct wiring is essential. Refer to the display's datasheet for precise pin assignments. Common connection issues include incorrect wiring, power supply problems, or library incompatibility. Troubleshooting steps usually involve checking connections, verifying power supply voltage, and ensuring the correct library is installed and configured. If problems persist, consult the display's documentation or online forums for solutions.
Once connected, programming your 1.3 inch OLED display involves sending commands to control what's displayed. Basic commands include setting the display's contrast, clearing the screen, drawing shapes (lines, rectangles, circles), and displaying text. Many libraries provide simple functions to accomplish these tasks.
Beyond basic commands, you can explore advanced techniques like creating custom characters, using bitmaps for images, and implementing animations. This adds a high level of personalization to your Arduino projects. Explore the chosen library's documentation for a deeper understanding of these capabilities.
For high-quality 1.3 inch OLED displays and other components, consider exploring reputable online retailers or electronics distributors. You can also check out specialized stores catering to Arduino enthusiasts. Remember to carefully examine specifications and reviews before making a purchase.
For a wide selection of LCD and OLED displays, including potential 1.3 inch OLED display options, you might want to check out Dalian Eastern Display Co., Ltd. They offer a diverse range of display solutions for various applications.
| Feature | Display A | Display B |
|---|---|---|
| Resolution | 128x64 | 128x128 |
| Interface | I2C | SPI |
| Power Consumption | 10mA | 15mA |
Disclaimer: Specific product availability and pricing may vary. Always refer to the manufacturer's website for the most up-to-date information.