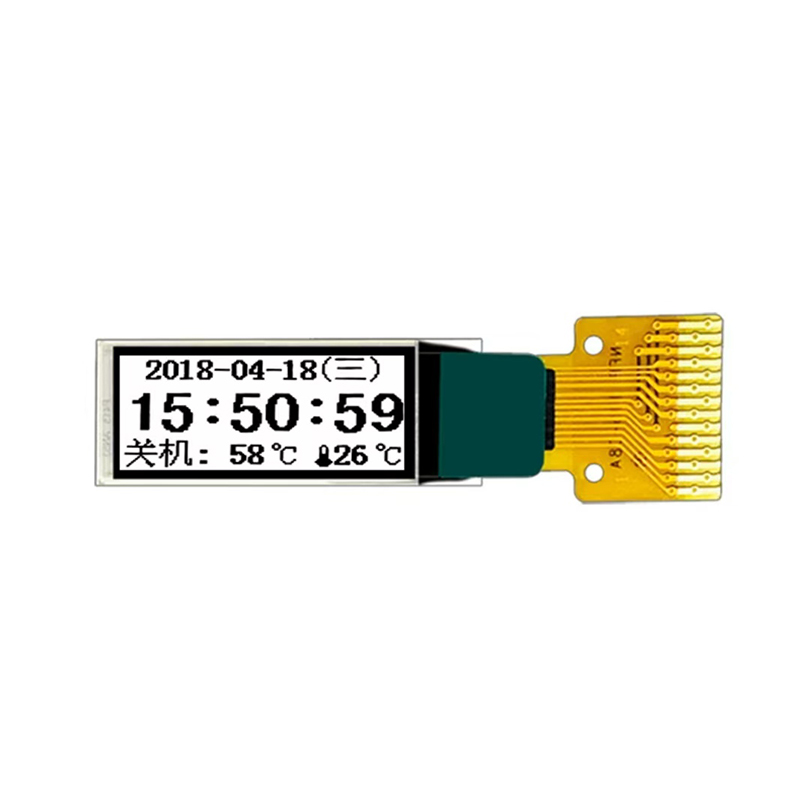
This comprehensive guide explores the exciting world of integrating color OLED displays with Arduino, covering everything from choosing the right display to implementing complex projects. We'll delve into the technical specifications, coding examples, and troubleshooting tips to help you create vibrant and engaging displays. Learn how to select appropriate hardware, write efficient code, and overcome common challenges in your projects. This guide is perfect for makers, hobbyists, and developers looking to enhance their Arduino projects with captivating visuals.
Organic Light-Emitting Diodes (OLEDs) offer superior image quality compared to traditional LCDs. They boast deeper blacks, wider viewing angles, and faster response times, making them ideal for dynamic visuals. When choosing a color OLED display for your Arduino project, consider factors like resolution (e.g., 128x64, 128x128, 240x240 pixels), color depth (e.g., 16-bit, 24-bit), and interface type (e.g., I2C, SPI). Higher resolutions offer sharper images, while higher color depths provide richer colors. I2C simplifies wiring, while SPI offers faster data transfer rates.
Several manufacturers offer color OLED displays perfectly compatible with Arduino. These displays come with varying specifications and price points. Research and select the one that best matches your project's requirements. Before purchasing, double-check its supported interface (I2C or SPI) to ensure seamless integration with your Arduino board.
OLEDs generally consume less power than LCDs, particularly when displaying static images. However, power consumption can vary between models and display brightness levels. Check the datasheet for the specific power consumption figures to ensure it fits within your project's energy budget. For battery-powered projects, low power consumption is crucial for maximizing battery life.
Once you've selected your color OLED display, the next step involves connecting it to your Arduino board. This typically involves connecting the display's VCC, GND, SDA/SCL (for I2C), or MOSI, MISO, SCK, CS (for SPI) pins to the corresponding pins on your Arduino. Refer to the display's datasheet for precise pin assignments. Ensure correct wiring to avoid damage to your hardware.
Several Arduino libraries simplify integrating color OLED displays. Popular libraries include Adafruit_GFX and Adafruit_SSD1351 (for specific display models). Install these libraries via the Arduino IDE Library Manager. These libraries provide functions for controlling various aspects of the display, such as setting brightness, displaying text, and drawing shapes. Many examples are provided to help you get started quickly.
The following code snippet demonstrates how to display text on a 128x128 pixel color OLED display using the Adafruit_SSD1351 library:
#include#include #include #define OLED_CS 10#define OLED_DC 9#define OLED_RST 8Adafruit_SSD1351 display(OLED_CS, OLED_DC, OLED_RST);void setup() { display.begin(); display.fillScreen(BLACK); display.setTextColor(WHITE); display.setTextSize(2); display.setCursor(0, 0); display.println(Hello, OLED!);}void loop() {}
If you encounter issues, ensure that the display is correctly wired, the appropriate libraries are installed, and the code is error-free. Check the display's power supply and verify the communication between the Arduino and the display using a logic analyzer if necessary. Consult online forums and communities for assistance with troubleshooting specific problems.
Beyond basic text and graphics, color OLED displays enable numerous advanced applications, such as creating custom dashboards, developing interactive interfaces, and building visually appealing data visualizations for your projects. Consider exploring advanced features offered by the libraries, and research different display technologies and their suitability for your specific needs.
For high-quality color OLED displays and other display solutions, explore the possibilities at Dalian Eastern Display Co., Ltd. They offer a wide range of options for diverse applications.
| Feature | OLED | LCD |
|---|---|---|
| Power Consumption | Lower | Higher |
| Response Time | Faster | Slower |
| Viewing Angle | Wider | Narrower |
| Black Levels | Deeper | Lighter |
Remember to always refer to the specific datasheets of your chosen color OLED display and Arduino board for detailed specifications and pinouts. Happy making!


