DIY OLED Display: A Comprehensive GuideBuilding your own DIY OLED display can be a rewarding project, offering a unique blend of electronics, programming, and creative expression. This guide provides a step-by-step walkthrough, covering everything from selecting the right components to troubleshooting common issues. We'll explore different approaches, suitable for various skill levels, and highlight resources to help you succeed.
Choosing Your OLED Display
The first step in your
DIY OLED display journey is selecting the right display. Several factors influence this choice:
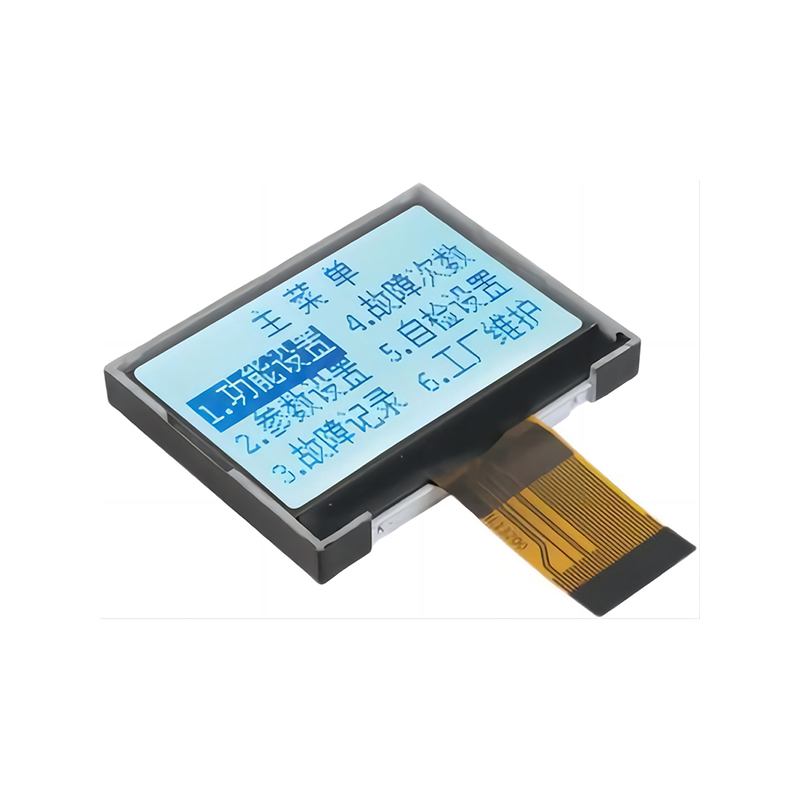
Size and Resolution
OLED displays are available in a wide range of sizes and resolutions. Consider the size and resolution needed for your project. Smaller displays are often simpler to work with, while larger displays offer more visual real estate but require more careful handling. High-resolution displays provide sharper images but may require more processing power.
Interface
OLED displays use various interfaces, such as SPI, I2C, or parallel interfaces. The interface determines how your microcontroller communicates with the display. SPI is commonly preferred due to its high speed and flexibility, but I2C offers simplicity for smaller projects. Choose an interface compatible with your chosen microcontroller.
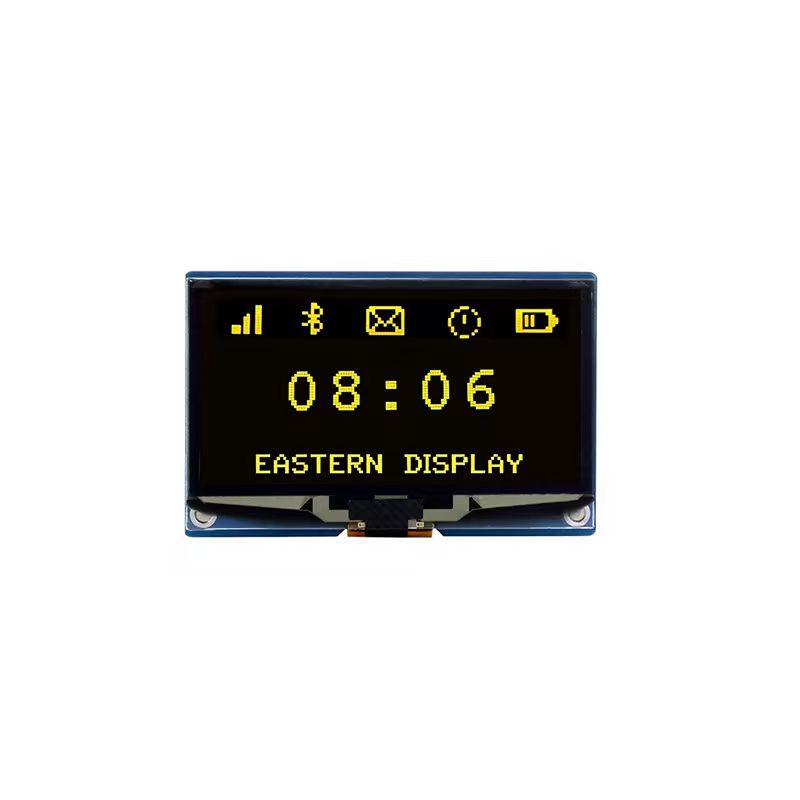
Color and Brightness
OLED displays can be monochrome or full-color. Monochrome displays are simpler and often cheaper, while full-color displays offer richer visuals. Brightness is another critical factor; consider the ambient light conditions where your display will be used.
Selecting Microcontrollers and Drivers
The heart of your
DIY OLED display project lies in the microcontroller and display driver. The microcontroller acts as the brain, controlling the data sent to the display. The driver IC handles the complex task of refreshing and controlling the individual pixels on the OLED screen.
Popular Microcontrollers
Popular choices for microcontroller include Arduino, ESP32, and Raspberry Pi Pico. Each offers a different balance of processing power, memory, and ease of use. Arduino is great for beginners, while ESP32 provides Wi-Fi connectivity for internet-enabled projects. Raspberry Pi Pico offers a powerful and cost-effective option.
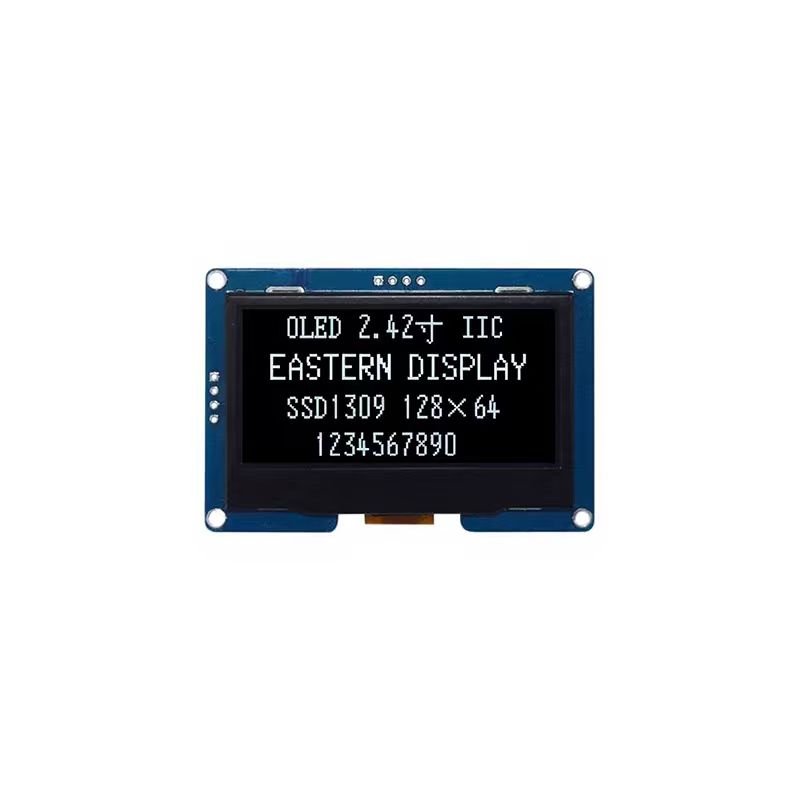
Display Driver ICs
The display driver IC is essential for managing the OLED display. Many different drivers exist, each compatible with specific OLED displays. Make sure to choose a driver that’s compatible with your chosen OLED display and microcontroller. The datasheet for your display will specify the required driver IC.
Software and Libraries
Once the hardware is assembled, you'll need appropriate software and libraries to drive your
DIY OLED display.
Programming Languages
Arduino IDE, PlatformIO, and Thonny are among the commonly used programming environments for driving OLED displays. The choice depends on your microcontroller and comfort level with different programming languages (C++, MicroPython, etc.).
Libraries
Many libraries simplify the process of interacting with OLED displays. These libraries abstract away the low-level details of communication, allowing you to focus on the application logic. Popular libraries include Adafruit_SSD1306, U8g2, and others, depending on the specific display and microcontroller.
Assembling Your DIY OLED Display
This section outlines the process of assembling your
DIY OLED display. Remember to carefully follow the instructions provided with your components. Safety precautions are crucial – always disconnect power before handling components.
| Step | Action |
| 1 | Connect the display to the microcontroller. |
| 2 | Upload the code to the microcontroller. |
| 3 | Power on the display. |
Table 1: Assembling your DIY OLED Display
For detailed tutorials and specific wiring diagrams, refer to the documentation accompanying your chosen display and microcontroller. Remember, careful soldering and proper handling of components are crucial for a successful build. For high-quality OLED displays and related components, consider checking out
Dalian Eastern Display Co., Ltd. They offer a wide selection of displays and components for your
DIY OLED display projects.
Troubleshooting
Common issues encountered during the building process include incorrect wiring, software errors, and power supply problems. Always double-check your connections and ensure that you’re using the correct libraries and code. If you’re having trouble, refer to online forums and communities for support. Many helpful resources and tutorials are available online.This guide provides a foundational understanding of creating a
DIY OLED display. Experiment, learn, and enjoy the creative process! Remember, thorough planning and careful execution are keys to success in this exciting project.