Dalian Eastern Display Co., Ltd.
Dalian Eastern Display Co., Ltd.


This comprehensive guide provides a step-by-step walkthrough on how to interface a dot matrix display with your Raspberry Pi, covering hardware selection, software configuration, and troubleshooting tips. Learn how to choose the right display, connect it correctly, and program it to show custom text and graphics. We'll explore various libraries and techniques to maximize your dot matrix display's potential.
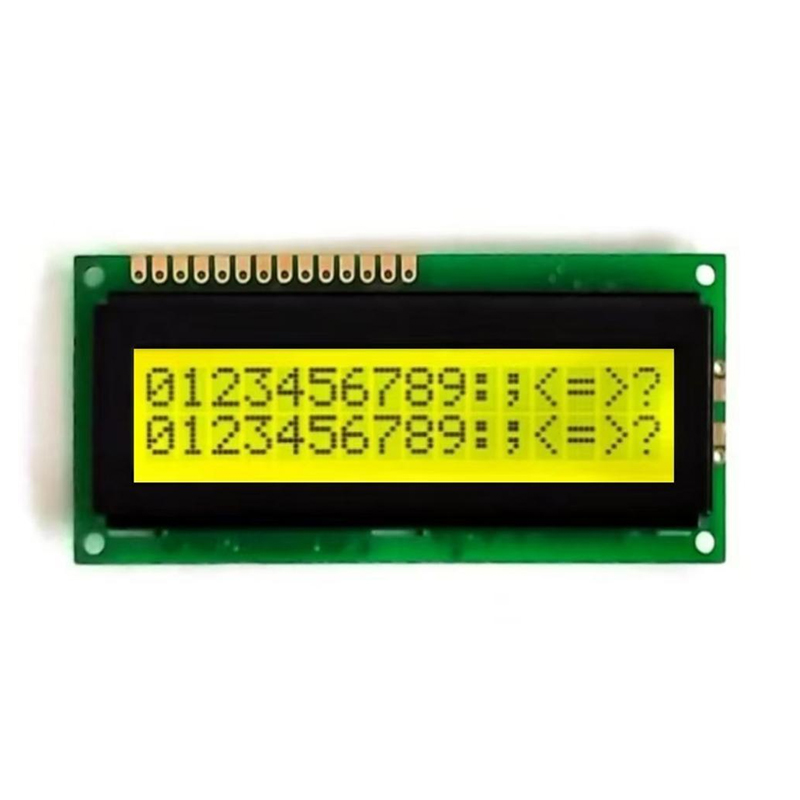
Several types of dot matrix displays are compatible with the Raspberry Pi. Common options include LED displays (common anode, common cathode), and those using different controllers like the MAX7219. The MAX7219, for example, is popular due to its ease of use and readily available libraries. Consider factors like size (number of segments), resolution, and brightness when selecting your display. The right choice depends entirely on your project's requirements.
Before purchasing, ensure you have the necessary components: the dot matrix display itself, connecting wires (preferably jumper wires), and potentially a level shifter if the display's voltage requirements differ significantly from the Raspberry Pi's 3.3V output. Always check the display's specifications to avoid damaging your hardware.
Once you have your dot matrix display and all necessary components, carefully refer to your display's wiring diagram. This diagram will show you which pins on the display connect to which GPIO pins on your Raspberry Pi. Be meticulous in your connections; incorrect wiring can lead to malfunctions or damage. Take your time, double-check your work before powering on.
Ensure your dot matrix display receives the correct voltage. Most commonly, this will be 5V, though some may require 3.3V. Using an incorrect voltage can permanently damage your display. Use a power supply that can handle the display's current draw.
Several Python libraries simplify interacting with dot matrix displays. Popular choices include `rpi_ws281x` (for WS281x-based displays) and libraries specifically designed for controllers like the MAX7219. You'll need to install these libraries using `pip`, your Raspberry Pi's package manager. The exact commands will vary depending on the library you choose.
Let's illustrate with a simple example using a MAX7219-controlled dot matrix display. This code snippet shows how to display “Hello, World!”:
# Example code (requires installation of appropriate MAX7219 library)import max7219display = max7219.Matrix8x8()display.show_message(Hello, World!)Remember to adapt this code to your specific display and library. Extensive documentation and examples are typically available for popular libraries.
If your dot matrix display isn't working, consider these troubleshooting steps:
Integrating a dot matrix display with your Raspberry Pi opens up exciting possibilities for creating unique projects. With careful planning, proper wiring, and the right software, you can bring your creative ideas to life. Remember to always consult the specific documentation for your chosen dot matrix display and libraries.
| Display Type | Resolution | Controller | Advantages | Disadvantages |
|---|---|---|---|---|
| LED (MAX7219) | 8x8 | MAX7219 | Easy to use, many libraries available | Relatively low resolution |
| LED (Other controllers) | Variable | Various | Higher resolution options available | May require more complex drivers |
For a wide selection of high-quality LCD displays and related components, check out Dalian Eastern Display Co., Ltd.