Dalian Eastern Display Co., Ltd.
Dalian Eastern Display Co., Ltd.


The combination of Arduino microcontrollers and dot matrix displays offers incredible possibilities for creating dynamic and engaging projects. Whether you're a beginner or an experienced maker, this comprehensive guide will empower you to harness the potential of this powerful pairing. We'll cover everything from selecting the right hardware to writing the code to bring your creations to life. From simple scrolling text to complex animations, the possibilities are truly limitless.
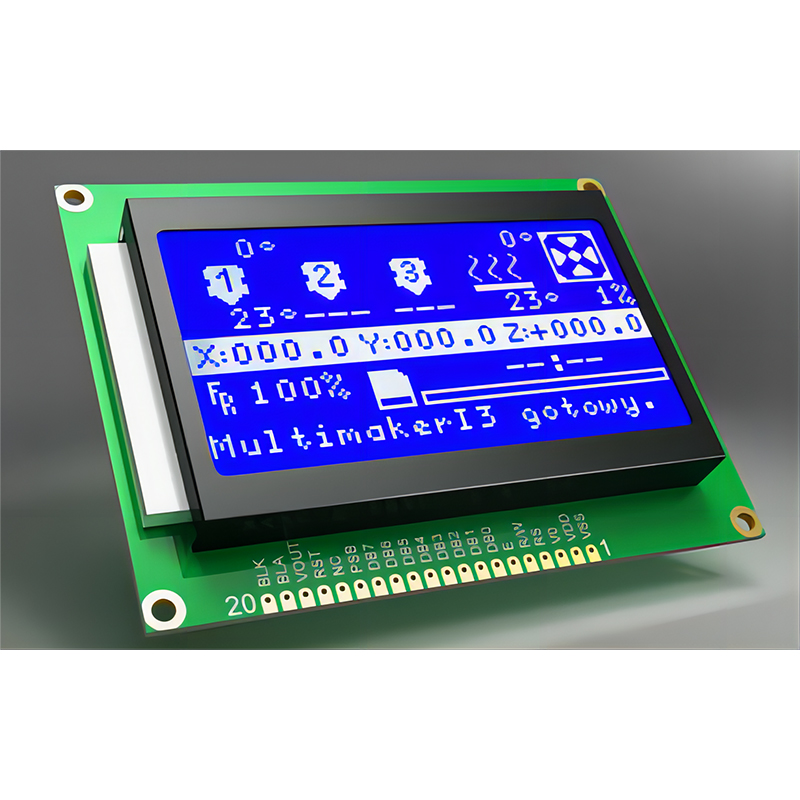
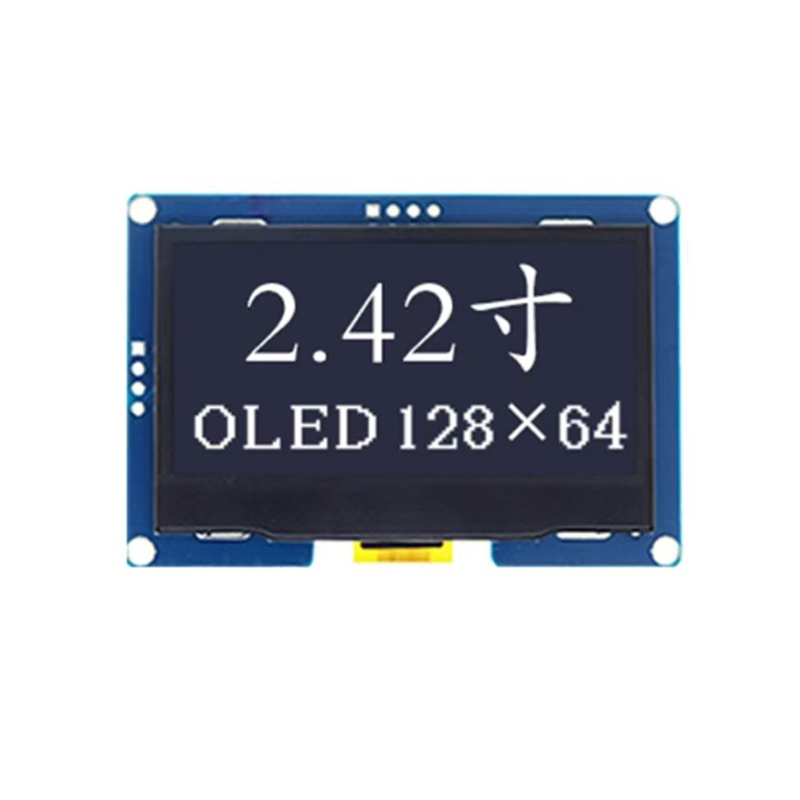
The first step in any project is selecting the appropriate hardware. Several types of dot matrix displays are compatible with Arduino, each with its own set of advantages and disadvantages. Common choices include:
The wiring process varies depending on the specific dot matrix display you've chosen. However, common connections include VCC (power), GND (ground), DIN (data input), CLK (clock), and CS (chip select) pins. Consult the datasheet of your display for precise pin assignments. Always double-check your wiring before powering on your circuit to avoid damaging components. Detailed diagrams are available online for specific display models.
Arduino's programming environment provides a simple and intuitive way to control your dot matrix display. Several libraries simplify the process, including the well-regarded `LedControl` library. This library abstracts away much of the low-level details, allowing you to focus on creating your visual displays. Many examples are readily available online to help you get started. You can create simple scrolling text, display images, or even create custom animations.
#include LedControl.hLedControl lc = LedControl(12, 11, 10, 1); // DIN, CLK, CS, Number of Displaysvoid setup() { lc.shutdown(0, false); // The MAX72XX is in power-saving mode on startup lc.setIntensity(0, 15); // Set the brightness to maximum value lc.clearDisplay(0);}void loop() { // Your display code here lc.setLed(0, 0, 0, true); //Example: Turn on LED at row 0, column 0, display 0 delay(500); lc.setLed(0, 0, 0, false); delay(500);}Occasionally, you may encounter issues such as flickering displays, incorrect data display, or unresponsive components. Common causes include incorrect wiring, power supply problems, or issues with the Arduino code. Systematic troubleshooting, using a multimeter to check voltage and continuity, can help you identify and resolve these problems.
Once you've mastered the basics, you can explore more advanced techniques. Integrating sensors, buttons, or other input devices adds interactivity to your displays. Creating animations and custom characters expands the possibilities even further. The Internet is a treasure trove of project ideas and resources to inspire your next creation.
For a wide selection of high-quality LCD displays and other electronic components, consider visiting Dalian Eastern Display Co., Ltd. They offer a diverse range of options for your electronics projects.