Dalian Eastern Display Co., Ltd.
Dalian Eastern Display Co., Ltd.


This guide provides a step-by-step tutorial on connecting an ESP32 microcontroller to a 1602 LCD display using the I2C protocol. We'll cover wiring, code examples, troubleshooting, and explore various applications for this popular combination. Learn how to display text, numbers, and even custom characters on your ESP32 1602 LCD setup.
The ESP32 is a powerful and versatile microcontroller known for its Wi-Fi and Bluetooth capabilities, low power consumption, and rich set of peripherals. Its affordability and ease of use make it ideal for a wide range of IoT projects. For this project, we'll leverage its I2C communication capabilities.
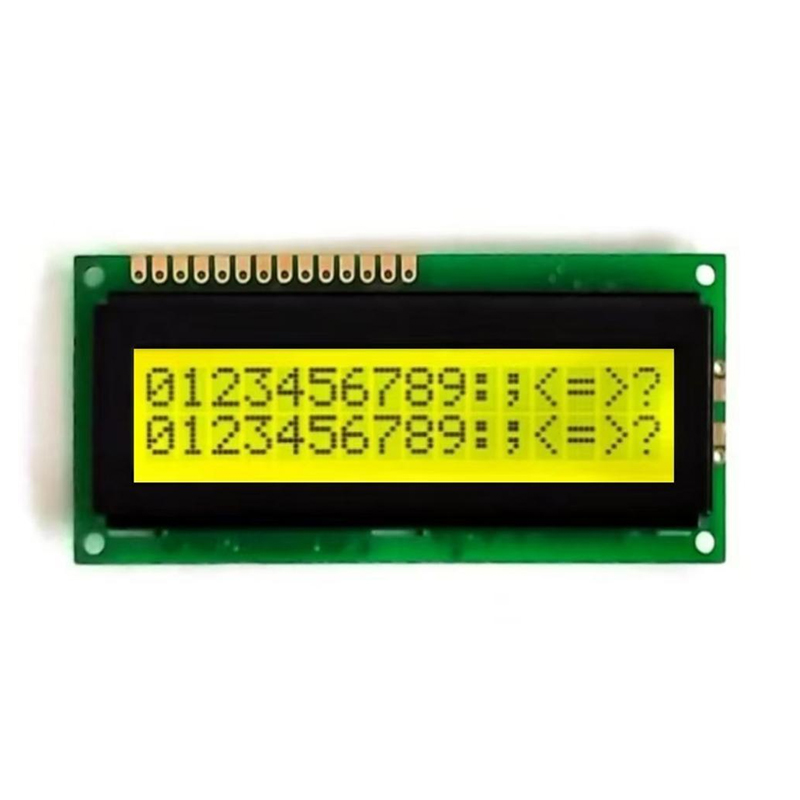
The 1602 LCD is a common and inexpensive alphanumeric LCD display with a 16-character by 2-line screen. It's a straightforward way to add a visual interface to your projects. This guide focuses on using the I2C version of the 1602 LCD, simplifying the wiring process. You can find various versions of this display; consider factors such as backlight color and contrast adjustment when selecting one. For high-quality LCD modules and displays, explore options from reputable manufacturers like Dalian Eastern Display Co., Ltd.
The I2C protocol simplifies wiring, requiring only four connections between the ESP32 and the 1602 LCD:
Remember to double-check your wiring before powering on your circuit to prevent damage to the components. Properly connecting the ground is crucial.
We'll use the Arduino IDE for programming the ESP32. You'll need to install the LiquidCrystal_I2C library. This library provides functions for easy control of the LCD.
#include #include LiquidCrystal_I2C lcd(0x27, 16, 2); // Set the LCD address to 0x27 for a 16 chars and 2 line displayvoid setup() { lcd.init(); lcd.backlight(); lcd.print(Hello, World!);}void loop() { // Add your display logic here} This basic example prints Hello, World! to the LCD. You can expand this code to display various data, create custom characters, and interact with other components in your project.
If your ESP32 1602 LCD isn't working, here are some common issues and solutions:
Once you've mastered the basics, you can explore advanced features like:
The ESP32 1602 LCD combination offers a simple yet effective way to add a visual element to your projects. With this guide, you're well-equipped to begin building your own creative applications.