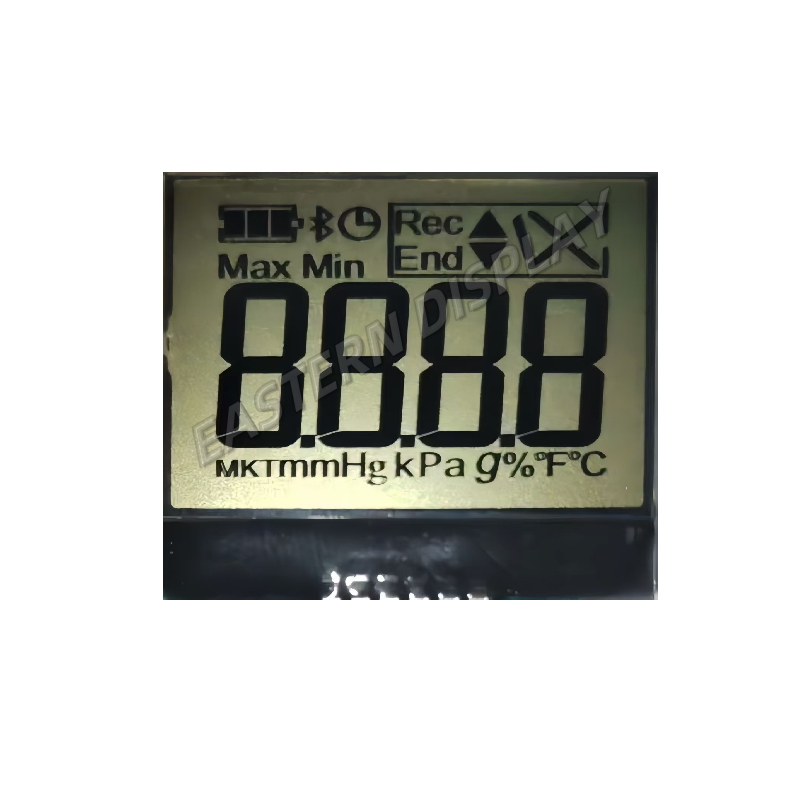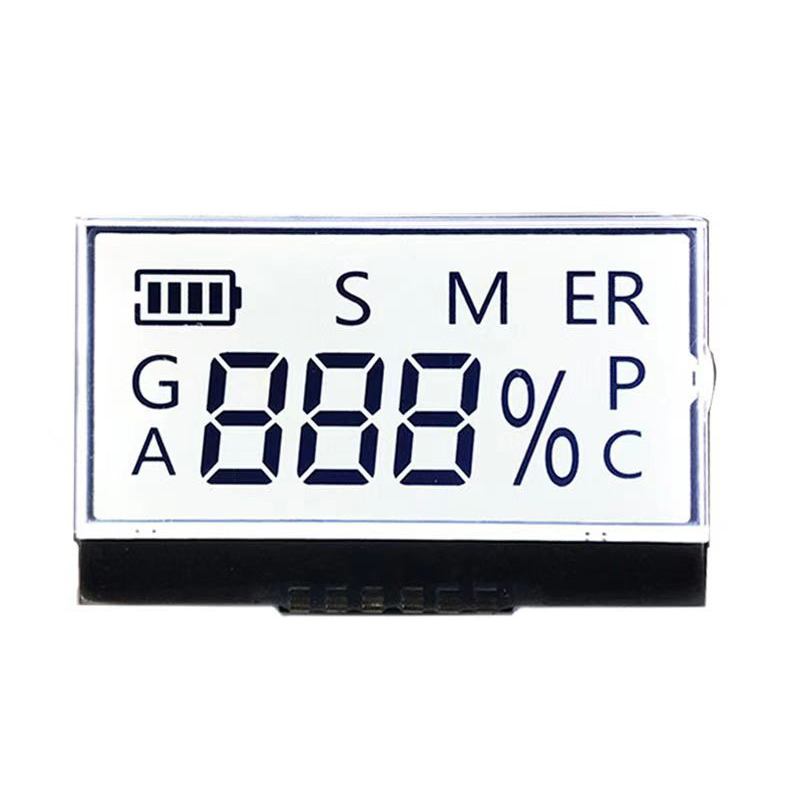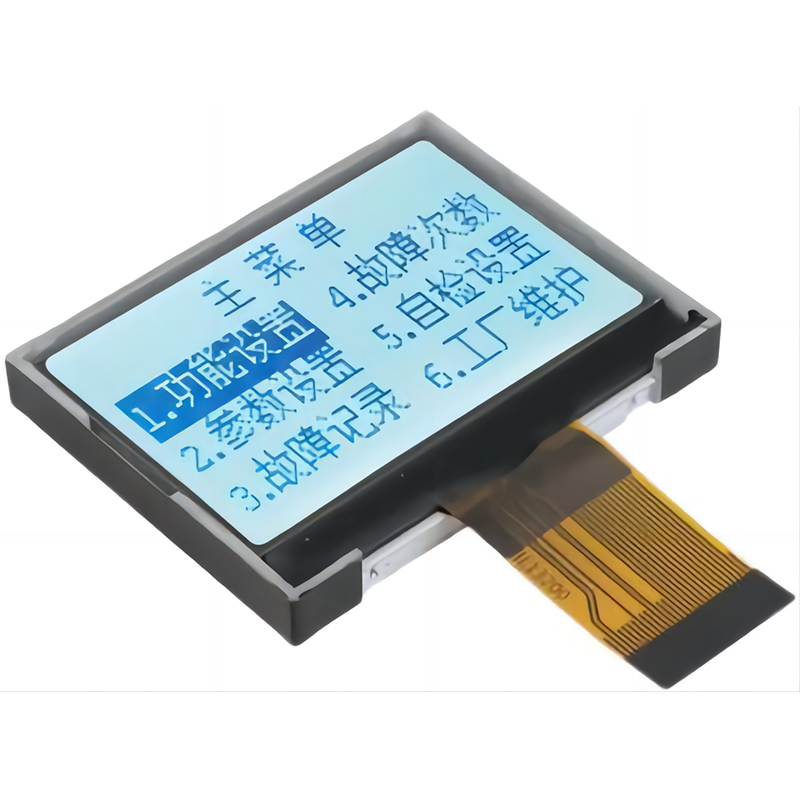
Combining the ESP8266's Wi-Fi capabilities with the sharp visuals of an OLED display opens up a world of possibilities for embedded projects. This guide will walk you through the process of connecting and controlling an OLED display with your ESP8266, from setting up the hardware to writing the necessary code. Whether you're a seasoned developer or just starting out, this guide provides the information you need to succeed. We'll explore various libraries, common issues, and practical examples to help you get your ESP8266 OLED display project up and running.
The first step is selecting the right components. You'll need an ESP8266 development board (like the NodeMCU or Wemos D1 Mini) and an OLED display module. OLED displays come in various sizes and resolutions; common choices include 0.96-inch and 1.3-inch displays. Make sure your chosen display is compatible with the I2C or SPI communication protocol. Many modules are readily available online. For detailed specifications, refer to the datasheets provided by the manufacturer.
The connection process depends on the communication protocol used by your ESP8266 OLED display. Most commonly, I2C is used for its simplicity. You will need to connect the following pins (adjust these according to your specific module's pinout):
Double-check the pin assignments on both your ESP8266 and your ESP8266 OLED display module before connecting.
You'll need the Arduino IDE to program the ESP8266. Install the ESP8266 board support package through the Board Manager. Several libraries simplify the interaction with OLED displays. The Adafruit GFX library and the Adafruit SSD1306 library are popular choices. These libraries provide functions for drawing text, shapes, and images on the display.
Here's a basic example using the Adafruit SSD1306 library to display Hello, World! on your ESP8266 OLED display:
#include #include #include #include #define SCREEN_WIDTH 128 // OLED display width, in pixels#define SCREEN_HEIGHT 64 // OLED display height, in pixels#define OLED_RESET -1 // Reset pin # (or -1 if sharing Arduino reset pin)Adafruit_SSD1306 display(SCREEN_WIDTH, SCREEN_HEIGHT, &Wire, OLED_RESET);void setup() { Serial.begin(115200); display.begin(SSD1306_SWITCHCAPVCC, 0x3C); // Address 0x3C for 128x64 display.clearDisplay(); display.setTextSize(2); display.setTextColor(WHITE); display.setCursor(0, 0); display.println(Hello, World!); display.display();}void loop() { // Add your code here to update the display} Remember to install the required libraries before uploading the code.
If your ESP8266 OLED display isn't working, check the following:
Beyond displaying simple text, your ESP8266 OLED display can be used for a wide range of applications, including:
The possibilities are limited only by your imagination.
Integrating an OLED display with an ESP8266 opens up countless opportunities for creative projects. By following the steps outlined in this guide, you can easily incorporate this powerful combination into your next embedded system. Remember to consult the datasheets for your specific hardware components for detailed information. For high-quality LCD and OLED displays, consider exploring options from Dalian Eastern Display Co., Ltd. They offer a wide range of displays suitable for various applications.


