ESP8266 SPI Interface: A Comprehensive GuideESP8266 SPI Interface: A Deep Dive into Setup, Configuration, and TroubleshootingThis guide provides a comprehensive overview of the ESP8266 SPI interface, covering its setup, configuration, and common troubleshooting issues. We will explore practical examples and best practices to help you effectively utilize this crucial communication protocol. Learn how to seamlessly integrate peripherals and maximize the potential of your ESP8266 projects.
Understanding the ESP8266 SPI Interface
The
ESP8266 microcontroller features a robust SPI (Serial Peripheral Interface) bus, allowing for high-speed communication with various peripherals. Understanding its functionality is essential for building sophisticated IoT projects. SPI is a synchronous, full-duplex communication protocol, meaning data can be sent and received simultaneously. Key features include:
SPI Communication Basics
MOSI (Master Out Slave In): The data line used by the master (
ESP8266) to send data to the slave device. MISO (Master In Slave Out): The data line used by the slave device to send data back to the master (
ESP2866). SCLK (Serial Clock): The clock signal that synchronizes data transfer between the master and slave. SS (Slave Select): A control line used to select a specific slave device on the SPI bus. Multiple slave devices can be connected to the same SPI bus, each with its own unique SS line.
ESP8266 SPI Pins
The
ESP8266 typically offers several GPIO pins that can be configured for SPI communication. The specific pins may vary depending on the development board you're using. Refer to your board's datasheet for accurate pin assignments. Commonly used pins include:
| Pin | Function |
| GPIO12 | MOSI |
| GPIO13 | MISO |
| GPIO14 | SCLK |
| GPIO15 | SS |
Configuring the ESP8266 SPI Interface
Proper configuration is vital for successful
ESP8266 SPI interface communication. This involves setting the SPI mode, clock speed, and data order. Different peripherals may require different configurations. The Arduino IDE provides a straightforward way to configure the SPI settings:
Example Code (Arduino IDE)
cpp#include
void setup() { Serial.begin(115200); SPI.begin(); // Initialize SPI bus SPI.beginTransaction(SPISettings(1000000, MSBFIRST, SPI_MODE0)); // Set SPI settings: speed, bit order, mode // ... your code to interact with SPI devices ... SPI.endTransaction();}void loop() { // ... your main loop code ...}Remember to replace the SPI settings with the values appropriate for your specific peripheral. Consult the peripheral's datasheet for the correct settings.Connecting Peripherals via SPI
The ESP8266 SPI interface enables communication with a wide range of peripherals, including: SD Card: For data storage and retrieval. External Flash Memory: To expand the ESP8266's memory capacity. Displays (e.g., TFT LCDs): To output graphical information. Sensors (e.g., accelerometers, gyroscopes): For data acquisition.Example: Connecting an SD Card
Connecting an SD card to your ESP8266 requires careful wiring and appropriate library usage. The specific wiring will depend on your SD card module. Many libraries are available to simplify SD card interaction.Troubleshooting Common Issues
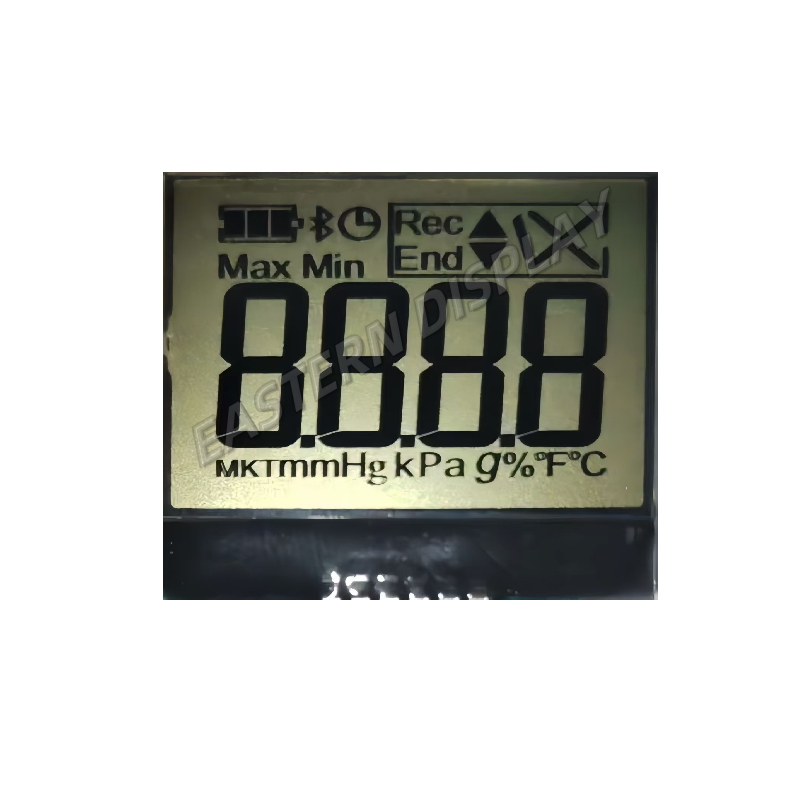
Despite its robustness, issues can arise when working with the ESP8266 SPI interface. Common problems include: Incorrect Wiring: Double-check your wiring connections for any errors. Incorrect SPI Settings: Ensure the SPI mode, clock speed, and data order are correctly configured. Software Errors: Review your code for any logical errors or bugs. Peripheral Malfunctions: Verify the functionality of the connected peripheral.Careful consideration of these potential issues can significantly improve the success rate of your projects.For high-quality LCD screens and displays to enhance your projects, consider exploring the range offered by Dalian Eastern Display Co., Ltd. at [https://www.ed-lcd.com/](https://www.ed-lcd.com/) rel=nofollow. Their displays are known for their reliability and are compatible with various microcontrollers, including the ESP8266.