Dalian Eastern Display Co., Ltd.
Dalian Eastern Display Co., Ltd.


This comprehensive guide provides a detailed explanation of how to use the I2C interface on your Raspberry Pi, covering everything from basic setup to advanced techniques. We'll walk you through the necessary steps, providing practical examples and troubleshooting tips to help you successfully integrate I2C devices into your projects. Learn how to configure the I2C bus, identify devices, and write code to interact with sensors and actuators using Python. Whether you're a beginner or an experienced maker, this guide will equip you with the knowledge you need to harness the power of the I2C interface on your Raspberry Pi.
Before you can use the I2C interface, you need to enable it in your Raspberry Pi's configuration. This typically involves editing the `/etc/rc.local` file (though methods vary across Raspberry Pi OS versions). After enabling I2C, you'll need to reboot your Raspberry Pi for the changes to take effect. The specific commands will depend on your Raspberry Pi OS version; consult the official Raspberry Pi documentation for the most up-to-date instructions. Remember to always back up your configuration files before making any changes.
Once the I2C bus is enabled, you can use the `i2cdetect` command to identify which I2C devices are connected to your Raspberry Pi. This command will scan the I2C bus and display a table showing the addresses of the detected devices. This is crucial for ensuring your code is targeting the correct device. For example, to scan the I2C bus on address 1, you would use `i2cdetect -y 1`.
To interact with I2C devices using Python, you'll need to install the `smbus` library. This library provides the necessary functions for communicating over the I2C bus. You can install it using `pip install smbus2`. Remember to check for the latest version and potential dependencies.
Here's a basic Python example demonstrating how to read data from an I2C device. This example assumes you have a device connected at address 0x3c. Remember to replace this address with the correct address of your device, as identified using `i2cdetect`. This example reads a single byte from the device's register at address 0x00. More complex interactions might involve multiple reads and writes to different registers, based on your device's datasheet.
import smbus2# I2C bus number (usually 1 on Raspberry Pi)bus_number = 1# I2C device addressi2c_address = 0x3c# Create I2C bus objectbus = smbus2.SMBus(bus_number)try: # Read a byte from register 0x00 data = bus.read_byte_data(i2c_address, 0x00) print(Data read from I2C device:, data)except IOError as e: print(Error reading from I2C device:, e)finally: bus.close()Troubleshooting I2C issues often involves checking the wiring, ensuring the device is powered correctly, verifying the I2C address, and confirming the library installation. Incorrect wiring is a common source of problems. Carefully double-check all connections to avoid shorts or open circuits. Refer to your device's datasheet for correct wiring diagrams and power requirements. The Raspberry Pi community forums and online documentation can be excellent resources for finding solutions to specific problems.
Beyond basic read/write operations, you can explore more advanced techniques such as interrupt handling and DMA transfers for improved performance. These techniques can significantly optimize your I2C communication, particularly when dealing with high-frequency data acquisition from multiple devices. Understanding your device's data sheets and capabilities is paramount to properly utilize these advanced features.
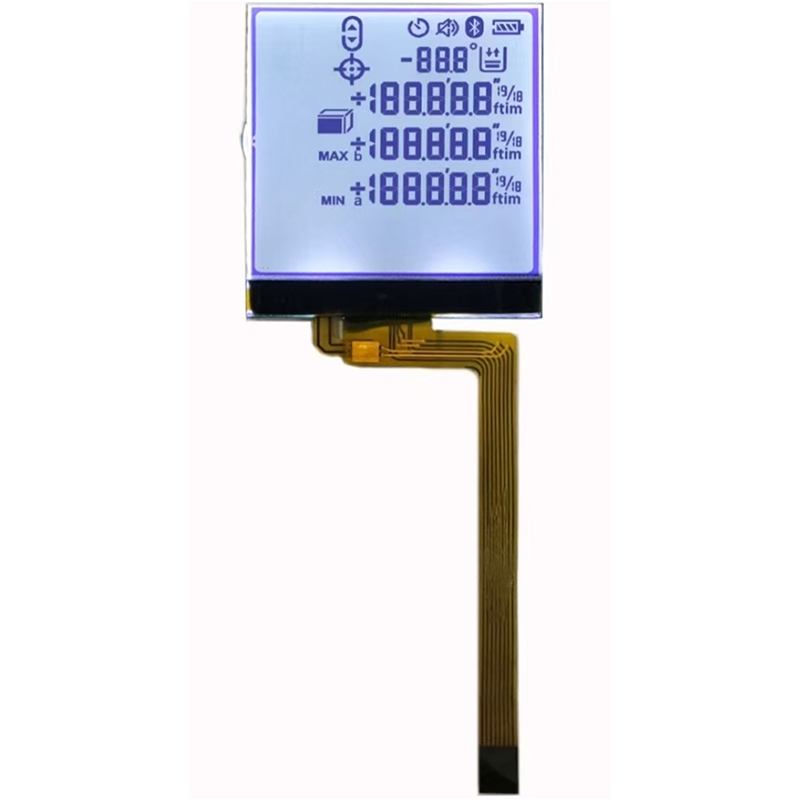
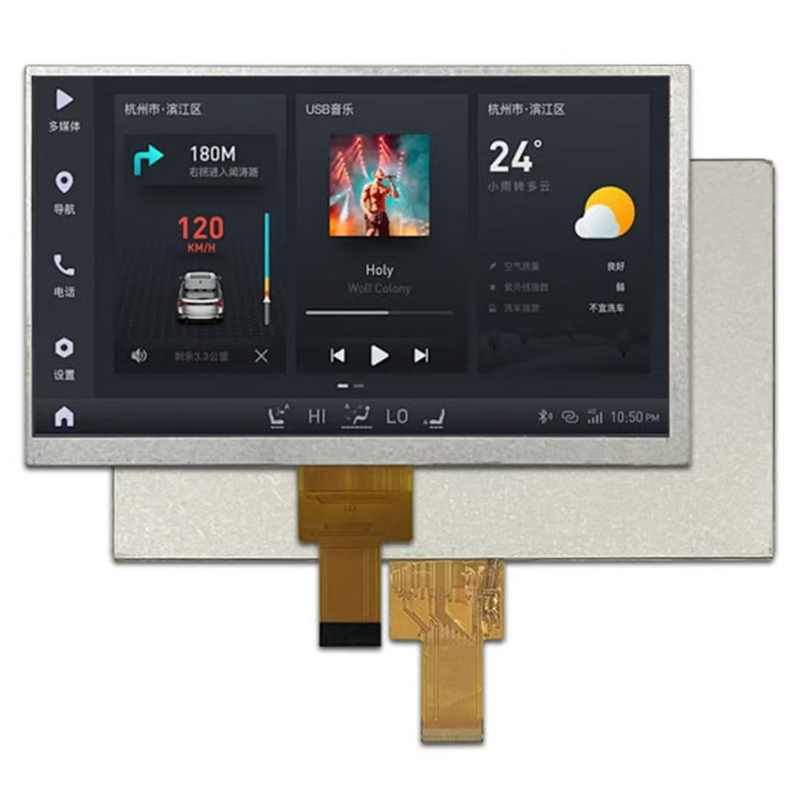
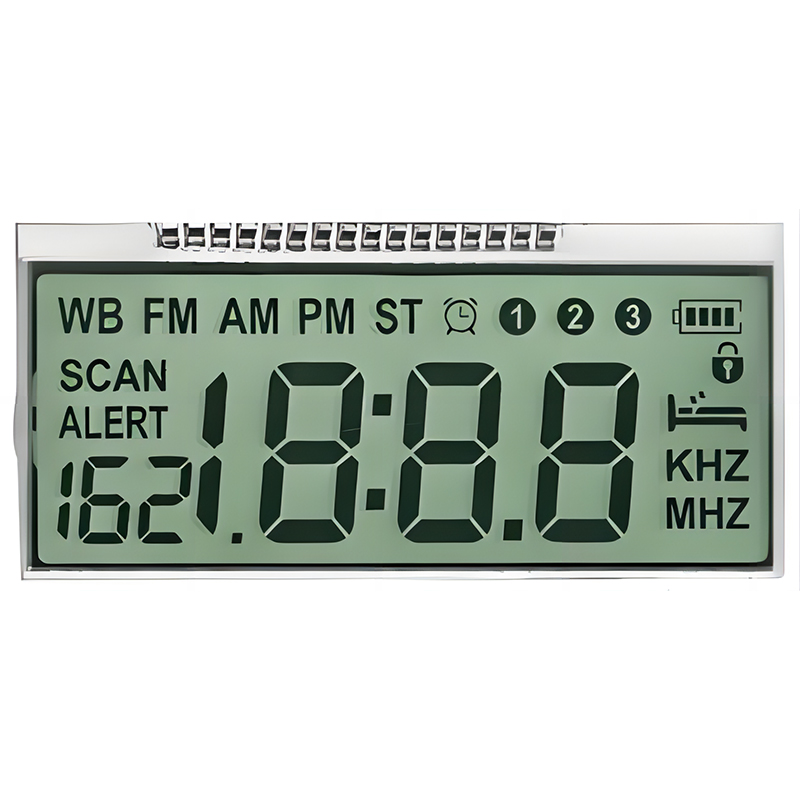
For high-quality LCD displays and other components suitable for your Raspberry Pi I2C projects, consider exploring the products available at Dalian Eastern Display Co., Ltd.. They offer a wide range of displays and components to help bring your projects to life.
References:
Raspberry Pi Documentation: https://www.raspberrypi.org/
smbus2 Python Library: https://pypi.org/project/smbus2/