Dalian Eastern Display Co., Ltd.
Dalian Eastern Display Co., Ltd.


This comprehensive guide explores the world of I2C OLED display modules, covering their functionalities, applications, selection criteria, and integration process. Learn how to choose the right module for your project and master the techniques for successful implementation. We'll delve into technical specifications, troubleshooting common issues, and provide valuable insights to elevate your embedded systems development.
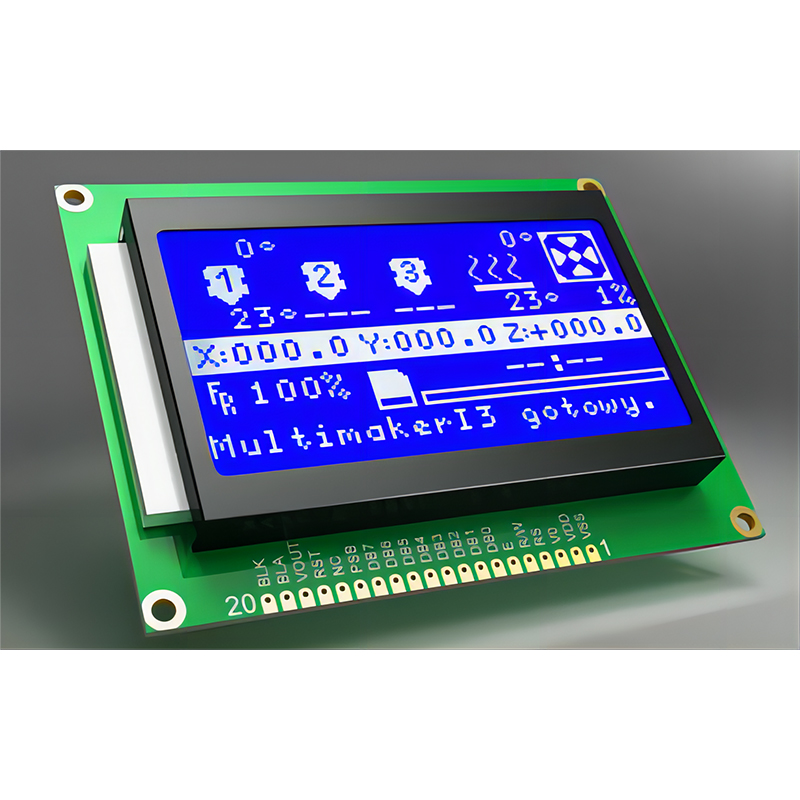
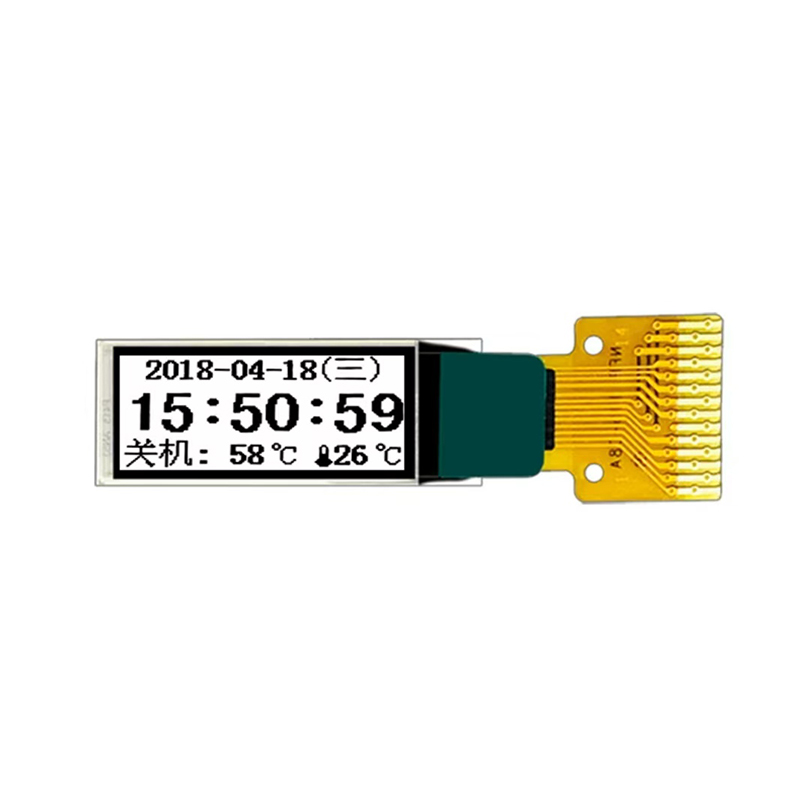
I2C OLED display modules are compact, energy-efficient displays utilizing Organic Light-Emitting Diodes (OLEDs) and communicating via the I2C protocol. This communication protocol simplifies integration with microcontrollers, making them ideal for various embedded systems applications. OLED technology offers superior contrast and viewing angles compared to traditional LCDs, resulting in vibrant and clear displays even in direct sunlight. The I2C interface requires fewer GPIO pins on your microcontroller compared to other interfaces like SPI, saving valuable resources. The small size and low power consumption of these modules are key benefits for portable and battery-powered devices.
Choosing the right I2C OLED display module depends on several key specifications. Consider the following factors:
When selecting a module for your project, factors such as size constraints, power budget, desired resolution, and color depth are crucial. Consider the application. A low-power monochrome display may suffice for simple data logging, while a high-resolution color display is ideal for sophisticated graphical user interfaces (GUIs). Researching different manufacturers and comparing specifications helps find the best fit.
Many reputable manufacturers offer various I2C OLED display modules. For example, you can explore offerings from Adafruit, SparkFun, and Newhaven Display International. These modules are commonly used in IoT devices, portable instrumentation, robotics, and wearables, allowing for real-time data visualization and user interaction.
Connecting an I2C OLED display module is relatively straightforward. Typically, you'll need to connect the module's VCC (power), GND (ground), SDA (data), and SCL (clock) pins to your microcontroller's corresponding pins. Refer to the module's datasheet for detailed pin assignments and wiring diagrams. Remember to use appropriate voltage levels to prevent damage.
Software integration involves utilizing a suitable library or driver for your chosen microcontroller and programming language (e.g., Arduino IDE with its various libraries, or libraries for other platforms such as Raspberry Pi). These libraries abstract away the low-level I2C communication details, providing simple functions to control the display, write text, and display images. Many example projects and tutorials are available online to guide you through the process.
Troubleshooting potential problems often involves verifying the hardware connections, confirming the correct I2C address, and ensuring proper library initialization within your code. Check for any loose connections or damaged components. Incorrect library usage or address mismatches can prevent successful communication. Always consult the datasheet and online resources for detailed troubleshooting information. Dalian Eastern Display Co., Ltd. (https://www.ed-lcd.com/) offers a range of high-quality display solutions.
I2C OLED display modules offer a versatile and effective solution for integrating displays into various embedded systems. Understanding their features, selecting the appropriate module, and mastering the integration process will significantly enhance your project's capabilities and user experience. By following the guidelines outlined in this guide and consulting the provided resources, you can successfully incorporate these powerful displays into your next project.