Dalian Eastern Display Co., Ltd.
Dalian Eastern Display Co., Ltd.


Learn how to seamlessly integrate a I2C 1602 LCD with your Arduino project. This guide covers everything from hardware setup and library installation to coding examples and troubleshooting tips, empowering you to display information clearly and efficiently.
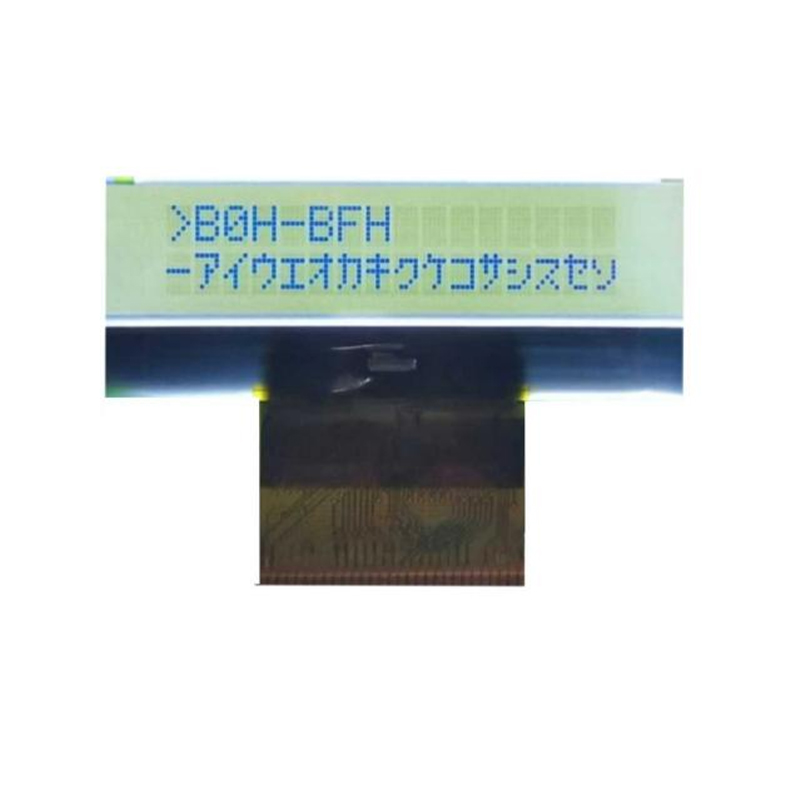
The I2C 1602 LCD is a popular choice for displaying text on Arduino projects due to its compact size, ease of use, and support for the I2C communication protocol. This protocol requires only two data lines (SDA and SCL) for communication, simplifying wiring compared to the traditional 4-bit or 8-bit interfaces. The Arduino, a versatile microcontroller board, provides the processing power to control the LCD and display data received from various sensors or user inputs. Choosing the right LCD for your project is key, and exploring options from suppliers like Dalian Eastern Display Co., Ltd. can help you find the perfect fit. Their expertise in LCD technology ensures high-quality components for your projects.
The connection process is straightforward. Typically, you'll need to connect the following pins:
Note: Some I2C 1602 LCD modules might have slightly different pinouts. Always refer to the specific datasheet provided with your module.
Before you can write code to control the I2C 1602 LCD, you'll need to install the LiquidCrystal_I2C library in the Arduino IDE. This library simplifies the interaction with the LCD.
#include <Wire.h>#include <LiquidCrystal_I2C.h>// Set the LCD address to 0x27 for a 16 chars and 2 line displayLiquidCrystal_I2C lcd(0x27, 16, 2);void setup() { lcd.init(); // initialize the lcd lcd.backlight(); // turn on LCD-backlight (optional)}void loop() { lcd.setCursor(0, 0); // Set cursor to column 0, line 0 lcd.print(Hello, World!);}Check the wiring, power supply, and ensure the correct I2C address is specified in your code. Double-check that the LiquidCrystal_I2C library is correctly installed.
Confirm that the character set used by the LCD matches the encoding in your code. You might need to adjust the contrast potentiometer on the LCD module for optimal visibility.
Beyond displaying simple text, the I2C 1602 LCD and Arduino combination enables more complex applications. You can display sensor readings (temperature, humidity, etc.), create custom characters, and implement scrolling text effects.
Remember to consult the datasheets for both your Arduino board and your specific I2C 1602 LCD model for detailed information and pinouts. Experiment with different code examples and explore the capabilities of this versatile setup. You can find additional resources and tutorials online.
| Feature | I2C 1602 LCD |
|---|---|
| Communication Protocol | I2C |
| Display Size | 16 characters x 2 lines |
| Power Supply | 5V |
This guide provides a starting point for your project. Remember to always prioritize safety and consult the relevant datasheets for your specific hardware.