Dalian Eastern Display Co., Ltd.
Dalian Eastern Display Co., Ltd.


This guide provides a comprehensive overview of using mini OLED displays with Arduino, covering selection, wiring, coding, and troubleshooting. Learn how to choose the right display for your project, connect it to your Arduino, and program it to display text, images, and more. We'll explore various libraries and techniques to maximize your display's potential. Discover practical examples and solutions to common challenges encountered while working with mini OLED displays and Arduino.
The market offers a wide variety of mini OLED displays. Key factors to consider when selecting one for your Arduino project include:
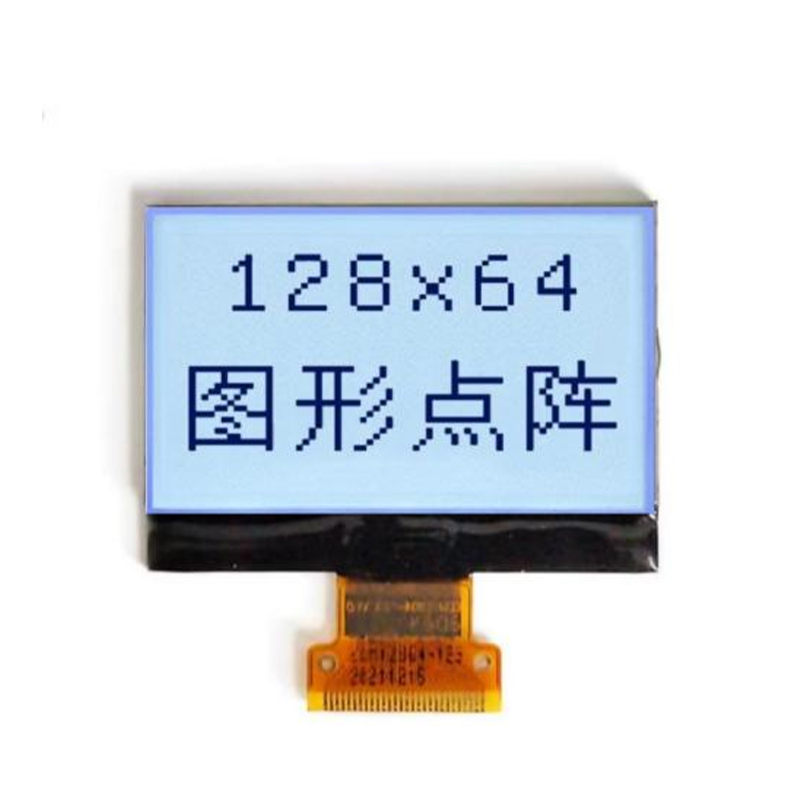
Displays range in size from tiny 0.91-inch panels to larger 2.7-inch models. Resolution varies considerably, impacting the detail you can display. Consider the space constraints of your project and the level of detail required. Higher resolutions allow for more intricate graphics, but they generally come at a higher cost.
Common interface types include I2C and SPI. I2C is simpler to use with fewer pins required, while SPI offers faster data transfer rates. Choose based on the complexity of your project and the capabilities of your Arduino board. For beginners, I2C is often recommended for its ease of use.
OLED displays are known for their relatively low power consumption. However, variations exist between models. If battery power is a concern, choose a display with low power consumption specifications. Check datasheets for exact power consumption figures.
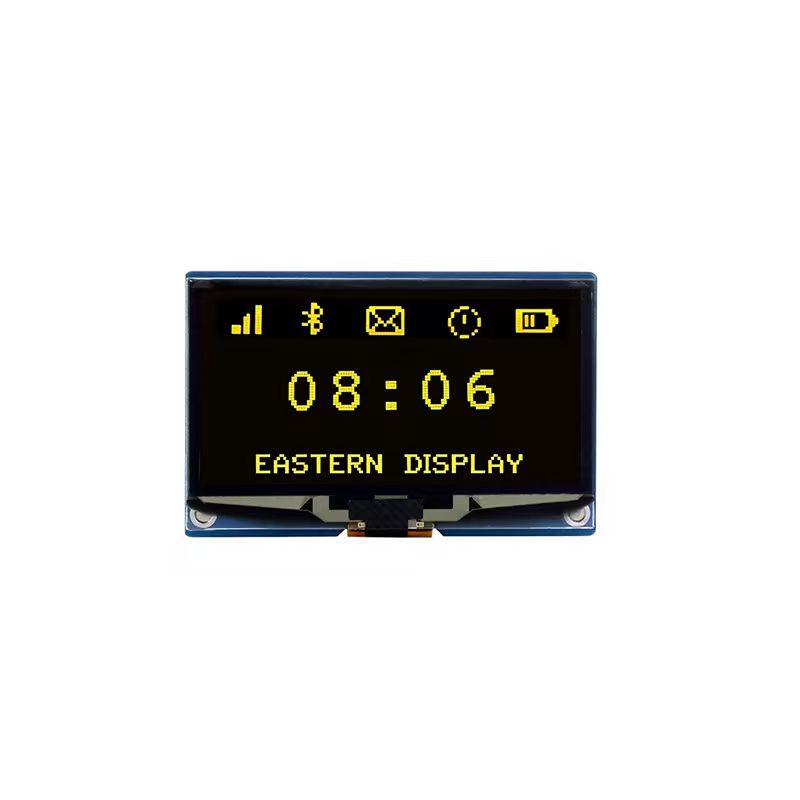
While many mini OLED displays are monochrome (typically white or blue on black), some color options are available. Color displays provide a richer visual experience, but they usually consume more power and are more expensive. Monochrome displays are generally preferred for their clarity, efficiency, and lower cost.
Once you've selected your mini OLED display, you'll need to connect it to your Arduino. The specific wiring will depend on the display's interface (I2C or SPI). Always refer to the display's datasheet for accurate pin assignments.
Typically, I2C displays require only two data lines (SDA and SCL) and power and ground connections. Many datasheets provide simple wiring diagrams.
| Arduino Pin | OLED Pin | Signal |
|---|---|---|
| GND | GND | Ground |
| 5V | VCC | Power |
| A4 | SDA | Data |
| A5 | SCL | Clock |
SPI wiring typically involves more pins, including MOSI, MISO, SCK, and CS (chip select).
You'll need an appropriate Arduino library to control your mini OLED display. Popular libraries include Adafruit_SSD1306 and U8g2. These libraries provide functions to easily display text, graphics, and more.
This example demonstrates how to display Hello, World! on a mini OLED display using the Adafruit_SSD1306 library:
#include <SPI.h>#include <Wire.h>#include <Adafruit_SSD1306.h>#define SCREEN_WIDTH 128 // OLED display width, in pixels#define SCREEN_HEIGHT 64 // OLED display height, in pixels#define OLED_RESET 4 // Reset pin # (or -1 if sharing Arduino reset pin)Adafruit_SSD1306 display(SCREEN_WIDTH, SCREEN_HEIGHT, &Wire, OLED_RESET);void setup() { display.begin(SSD1306_SWITCHCAPVCC, 0x3C); // Initialize display display.clearDisplay(); display.setTextSize(2); // Set text size display.setTextColor(WHITE); // Set text color display.setCursor(0,0); // Set cursor position display.println(Hello, World!); // Print text display.display(); // Show display}void loop() { // Your code here}Remember to install the Adafruit_SSD1306 library through the Arduino IDE Library Manager. Replace the pin numbers with the actual pins connected to your mini OLED display. Consult the library documentation for further details and advanced functionalities. Adafruit's guide offers a wealth of information.
If your mini OLED display isn't working, check these common causes:
If you encounter further problems, consult the datasheet for your specific mini OLED display and search online forums for solutions.
For high-quality mini OLED displays and LCD screens, consider exploring the offerings from Dalian Eastern Display Co., Ltd.. They offer a wide selection of displays suitable for various applications.