Dalian Eastern Display Co., Ltd.
Dalian Eastern Display Co., Ltd.


The combination of Arduino's versatility and the vibrant visuals of OLED displays opens up a world of possibilities for makers, hobbyists, and professionals alike. This guide will walk you through the process of integrating these two powerful technologies, providing you with the knowledge and skills to create impressive projects. Whether you're building a custom dashboard, a smart home device, or an artistic installation, this guide provides the fundamental knowledge to get you started.
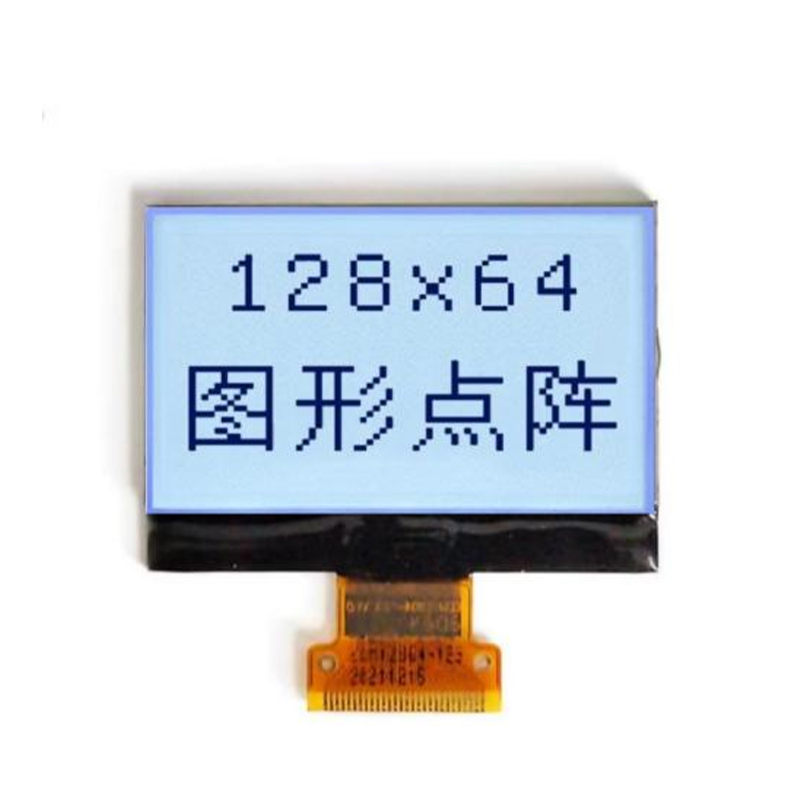
Selecting the appropriate OLED display for your Arduino project is crucial. Consider factors such as display size (measured in inches diagonally), resolution (pixels), and interface type (I2C or SPI). I2C is generally preferred for its simplicity and fewer required pins on your Arduino. Popular choices include displays from Adafruit, SparkFun, and other reputable manufacturers. Check their datasheets for detailed specifications like power consumption and operating voltage to ensure compatibility.
| Manufacturer | Model | Size (inches) | Resolution (pixels) | Interface |
|---|---|---|---|---|
| Adafruit | 1.28 128x64 | 1.28 | 128x64 | I2C |
| SparkFun | 0.96 128x64 | 0.96 | 128x64 | I2C |
| Various | Many other options available | Varies | Varies | I2C or SPI |
Remember to always consult the manufacturer's specifications before integrating any OLED display into your project. This ensures optimal performance and avoids compatibility issues.
Once you've chosen your OLED display, wiring it to your Arduino is straightforward. Most OLED displays use an I2C interface, simplifying the connection process. This usually involves connecting four wires: VCC (power), GND (ground), SDA (data), and SCL (clock). Refer to your OLED display's datasheet for the precise pin assignments. Incorrect wiring can damage your components, so double-check your connections before powering on.
Several Arduino libraries simplify interacting with OLED displays. The Adafruit GFX library is a widely used and versatile option that provides functions for drawing shapes, text, and images on the screen. After installing the necessary library, you can start writing code to display messages, images, and data visualizations on your OLED display.
#include <Wire.h>#include <Adafruit_GFX.h>#include <Adafruit_SSD1306.h>#define SCREEN_WIDTH 128 // OLED display width#define SCREEN_HEIGHT 64 // OLED display height#define OLED_RESET 4 // Reset pin (optional, can be left unconnected)Adafruit_SSD1306 display(SCREEN_WIDTH, SCREEN_HEIGHT, &Wire, OLED_RESET);void setup() { display.begin(SSD1306_SWITCHCAPVCC, 0x3C); // Initialize OLED display display.clearDisplay(); display.setTextSize(2); display.setTextColor(WHITE); display.setCursor(0, 0); display.println(Hello, OLED!); display.display();}void loop() { // Add your display update code here}This example displays Hello, OLED! on the screen. You can extend this code to create more complex visualizations and user interfaces.
If you encounter problems, ensure your wiring is correct, the OLED display is properly powered, and the correct libraries are installed. Consult the relevant datasheets and online forums for further assistance. Remember that even seemingly minor issues can impact the proper functionality of your system.
The applications are vast. Consider building a custom data logger, a real-time weather station, or a smart home control panel. The combination of Arduino's processing power and the OLED display's visual appeal makes for an exciting and effective toolset for many projects.
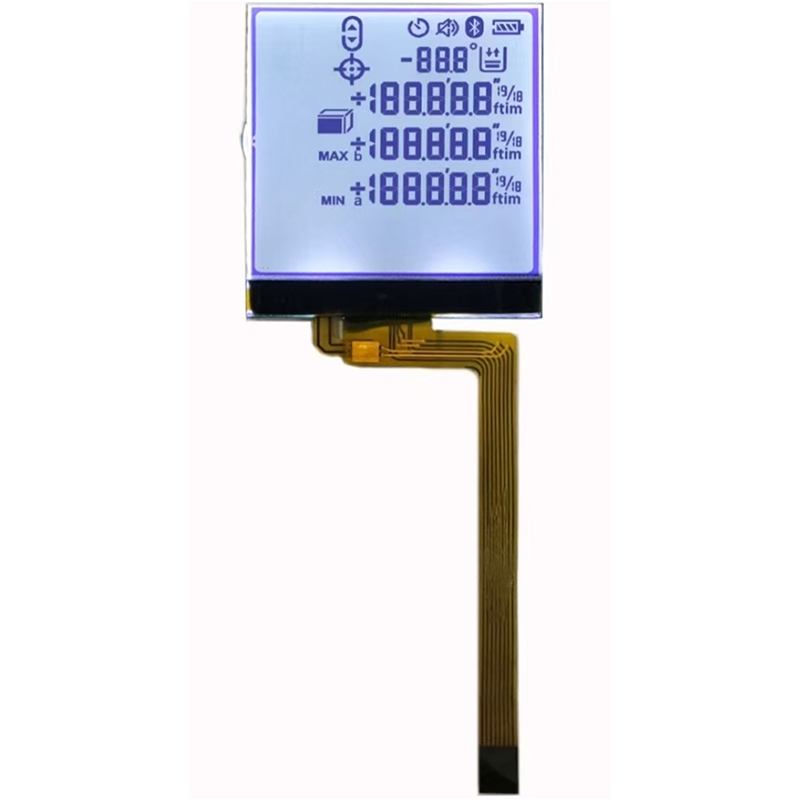
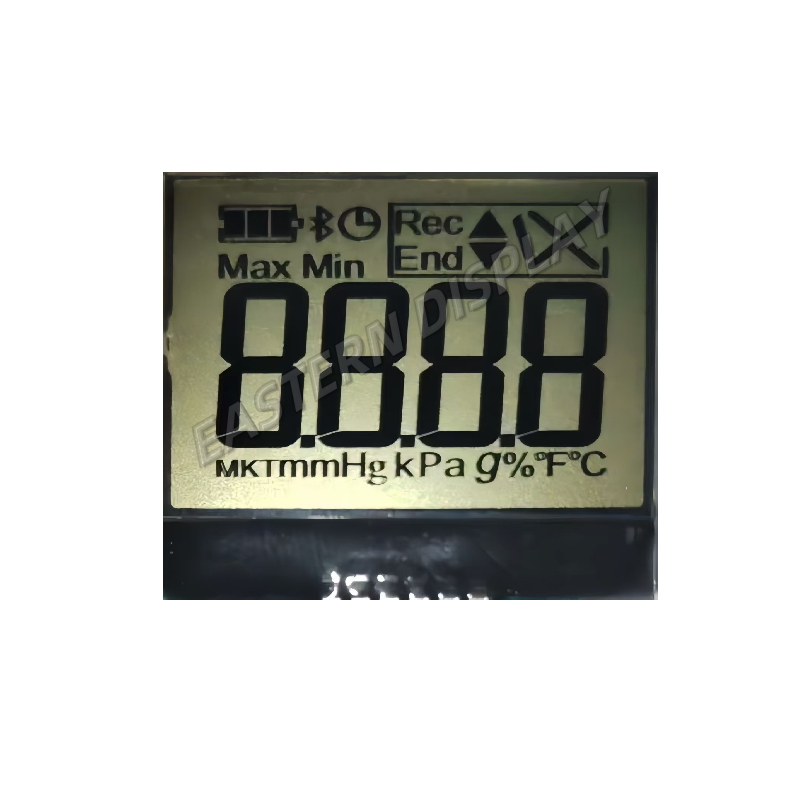
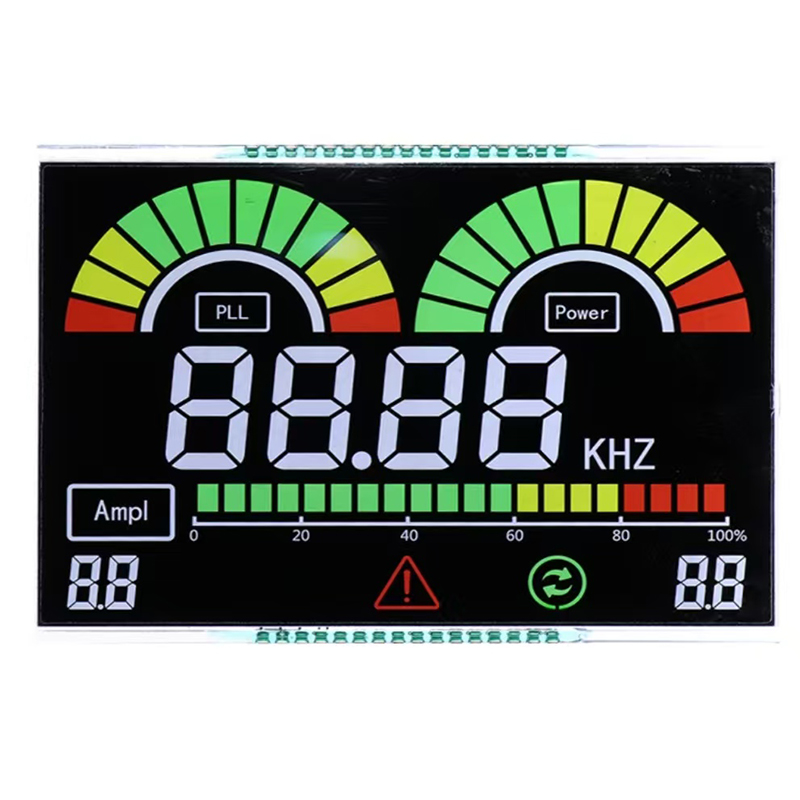
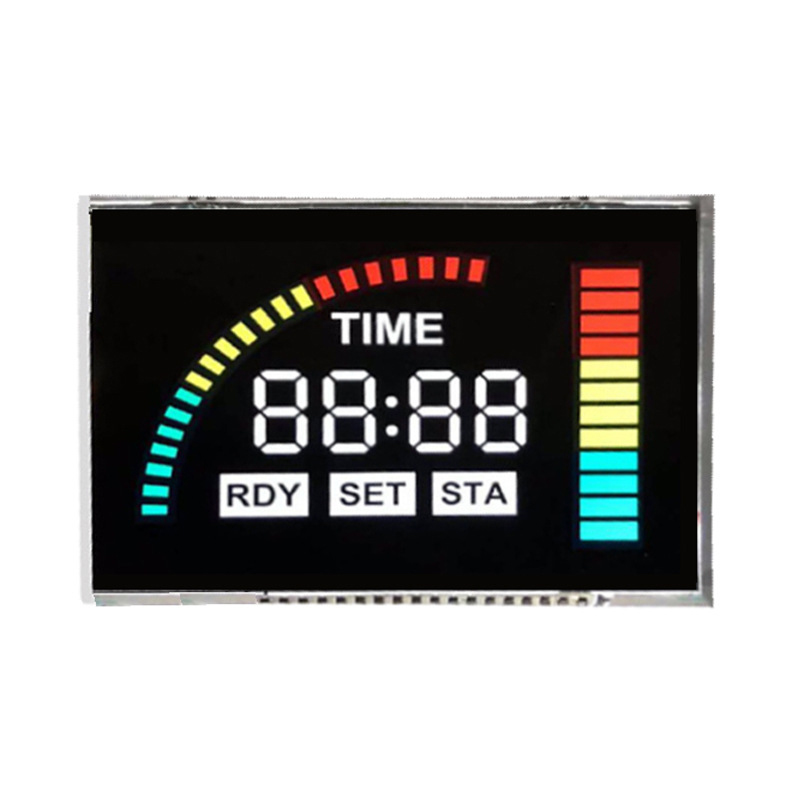
For high-quality LCD and OLED displays for your projects, consider exploring the wide range of options from Dalian Eastern Display Co., Ltd.. They offer a variety of sizes and specifications to suit your needs.
This guide provides a solid foundation for working with OLED displays and Arduino. Remember to consult the specific datasheets for your chosen components and experiment to unleash the full potential of this powerful combination.