Dalian Eastern Display Co., Ltd.
Dalian Eastern Display Co., Ltd.


The ESP32, known for its affordability and versatility, pairs exceptionally well with OLED displays to create a wide array of projects, from smart home devices to data visualization tools. This guide provides a practical, step-by-step approach for successfully integrating an OLED display with your ESP32. We'll address common challenges and offer resources to help you overcome them.
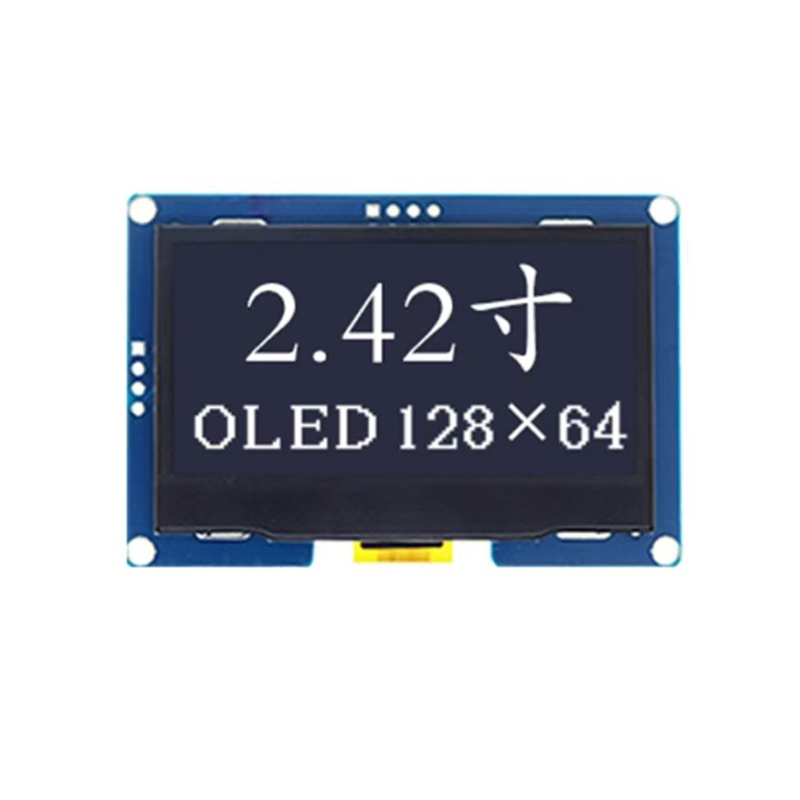
The market offers a variety of OLED displays, each with unique specifications. Consider factors such as size (common sizes include 0.96, 1.3, and 1.44), resolution, and interface (I2C or SPI) when making your selection. For beginners, I2C displays are often simpler to work with due to their reduced wiring complexity. Many OLED displays are readily available from online retailers. Remember to check the display's specifications to ensure compatibility with the ESP32's capabilities.
Numerous ESP32 development boards are available, offering varying features and form factors. The choice depends on your project's needs and personal preference. Popular choices include the ESP32-DevKitC V4 and the ESP32-WROOM-32. Ensure your chosen board has sufficient GPIO pins to accommodate the display's connections.
The connection process depends on the OLED display's interface (I2C or SPI). For an I2C display, you'll typically need to connect the SDA, SCL, VCC, and GND pins to the corresponding pins on the ESP32. Consult your OLED display's datasheet for the exact pin assignments. Always double-check your wiring before powering on the circuit to avoid damaging your components. A breadboard can greatly simplify this process. Improper wiring is a frequent cause of initial setup problems.
The Arduino IDE is a common environment for programming the ESP32. You'll need to install the appropriate library for your OLED display. Popular libraries include Adafruit_SSD1306 and U8g2. The specific library depends on your display's controller chip (e.g., SH1106, SSD1306). The library's documentation will provide detailed instructions on installation and usage.
#include <Wire.h>#include <Adafruit_SSD1306.h>#define SCREEN_WIDTH 128 // OLED display width, in pixels#define SCREEN_HEIGHT 64 // OLED display height, in pixels#define OLED_RESET -1 // Reset pin # (or -1 if sharing Arduino reset pin)Adafruit_SSD1306 display(SCREEN_WIDTH, SCREEN_HEIGHT, &Wire, OLED_RESET);void setup() { Serial.begin(115200); display.begin(SSD1306_SWITCHCAPVCC, 0x3C); // Address 0x3C for most displays display.clearDisplay(); display.setTextSize(2); display.setTextColor(WHITE); display.setCursor(0,0); display.println(Hello, OLED!); display.display();}void loop() { // Add your code here to update the display}Common issues include incorrect wiring, incorrect library selection, and addressing problems. Always double-check your connections and ensure the correct library is installed. Using a logic analyzer or multimeter can help diagnose hardware problems. If you encounter issues, consult online forums or the library's documentation for assistance.
Once you've mastered the basics, explore more advanced features such as displaying images, animations, and incorporating sensor data. Many online tutorials and examples demonstrate these techniques.
For further learning and support, consult the following resources:
Remember to always consult your specific OLED display and ESP32 board documentation for detailed instructions and specifications.
| Feature | I2C | SPI |
|---|---|---|
| Wiring Complexity | Lower | Higher |
| Speed | Slower | Faster |
| Data Lines | 2 | 4+ |
By following this guide, you'll be well-equipped to integrate OLED displays with your ESP32 projects, unlocking a world of creative possibilities. For high-quality LCD and OLED displays, consider exploring the offerings of Dalian Eastern Display Co., Ltd. They provide a wide range of display solutions for various applications.