Dalian Eastern Display Co., Ltd.
Dalian Eastern Display Co., Ltd.


This comprehensive guide explores the exciting world of connecting a Raspberry Pi Pico to a TFT display. We'll cover everything from choosing the right display to troubleshooting common issues, providing you with the knowledge and resources to successfully integrate these powerful components into your projects.
The first step in your journey is selecting a compatible Pi Pico TFT display. Several options are available, each with its own specifications and features. Factors to consider include screen size, resolution, color depth, and interface type (SPI or parallel). Popular choices often include displays using the ST7735, ILI9341, or SSD1306 controllers. Remember to check the datasheet for your chosen display to ensure compatibility with the Raspberry Pi Pico's capabilities.
Different displays utilize different controllers. Understanding the controller (e.g., ST7735, ILI9341, SSD1306) is crucial for selecting the correct library and configuring the connection. Each controller has its own set of commands and register addresses. Choosing a display with readily available libraries simplifies the programming process.
Once you've chosen your Pi Pico TFT display, connecting it involves wiring the display's pins to the corresponding GPIO pins on the Raspberry Pi Pico. This typically involves connecting power (VCC), ground (GND), data lines (MOSI, MISO, SCK), chip select (CS), data/command (DC), and reset (RST) pins. Consult your display's datasheet for the precise pin assignments. Incorrect wiring can lead to display malfunctions or even damage to your components.
With the hardware connected, it's time to write the code to control your Pi Pico TFT display. This involves using a suitable library tailored to your display's controller. Popular libraries include Adafruit_ILI9341 and ST7735 libraries for Arduino and MicroPython. These libraries simplify the process of sending commands to the display, allowing you to display text, images, and graphics.
Below is a simplified MicroPython example illustrating basic display initialization and text output (adapt this to your specific display and library):
# Example using a hypothetical libraryfrom machine import Pin, SPIimport st7735spi = SPI(0, baudrate=10000000, polarity=0, phase=0, sck=Pin(2), mosi=Pin(3))tft = st7735.ST7735(spi, 128, 160, reset=Pin(1, Pin.OUT), cs=Pin(0, Pin.OUT), dc=Pin(15, Pin.OUT))tft.init()tft.fill(st7735.color565(255, 0, 0)) #fill with redtft.text(0,0, Hello, World!, st7735.color565(0, 255, 0)) # display green textEven with careful planning, you may encounter issues. Common problems include no display, incorrect colors, or display artifacts. Check your wiring, verify the library compatibility, and review your code for any errors.
| Issue | Possible Cause | Solution |
|---|---|---|
| No Display | Incorrect wiring, power issues, code errors | Double-check connections, ensure proper power supply, debug code |
| Incorrect Colors | Incorrect color format, library incompatibility | Verify color format (e.g., RGB565), ensure library matches the display controller |
Once you've mastered the basics, explore advanced techniques like drawing graphics, animations, and integrating sensors for interactive displays. Libraries provide functions to simplify complex tasks.
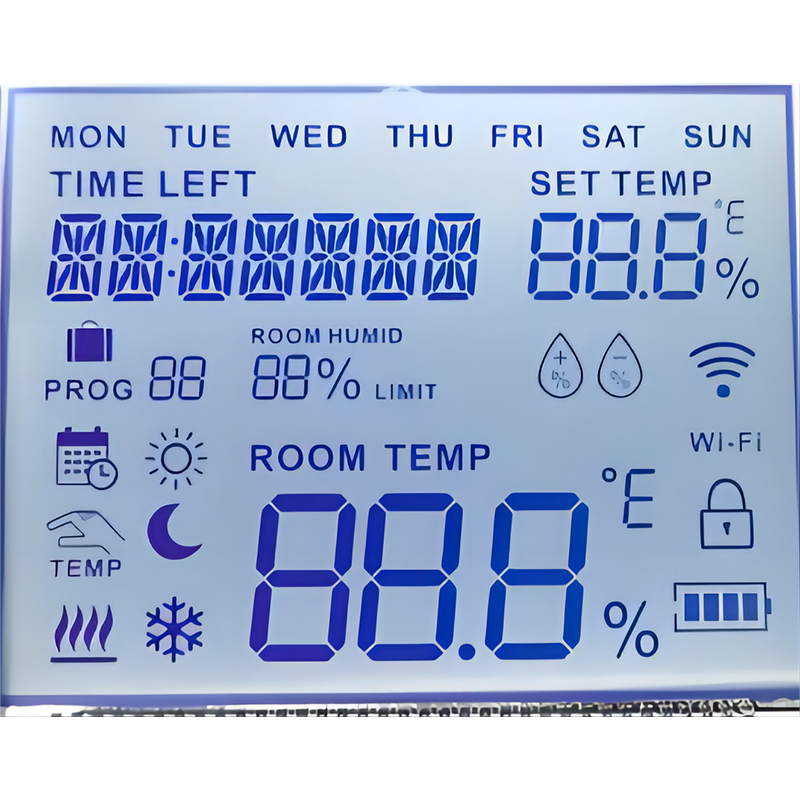
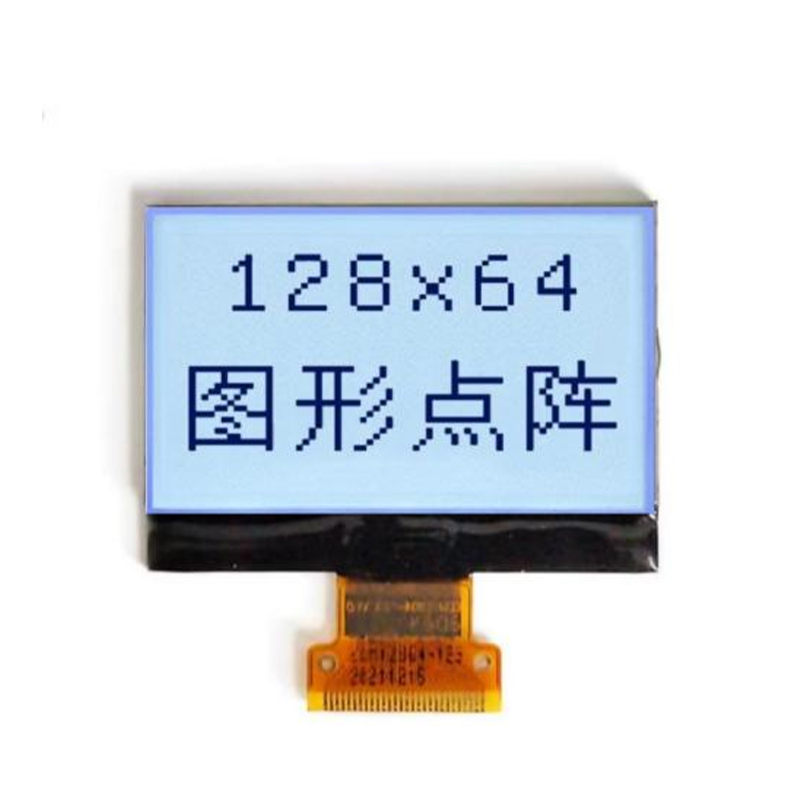
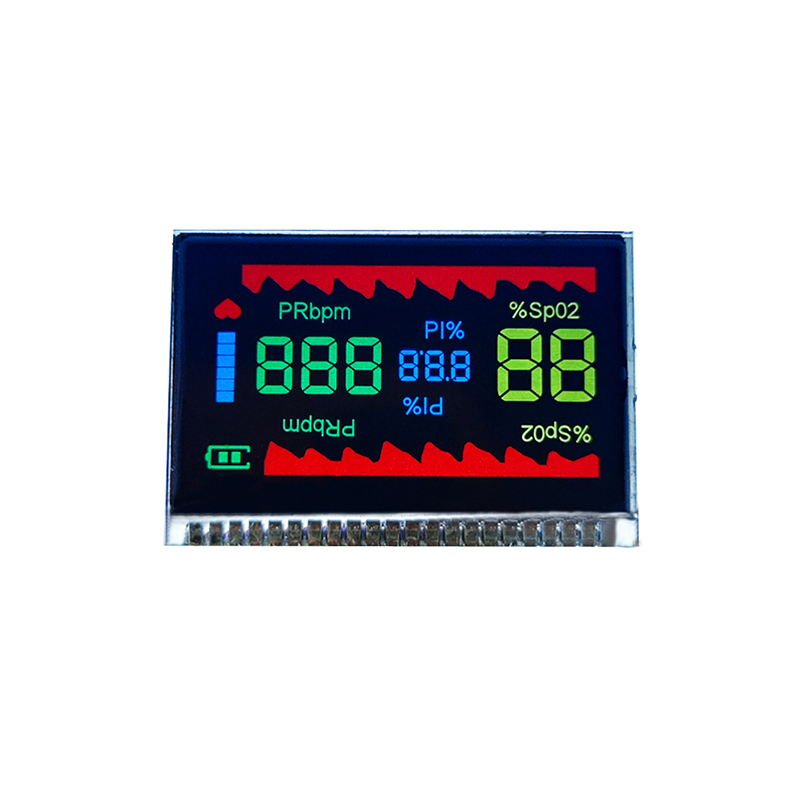
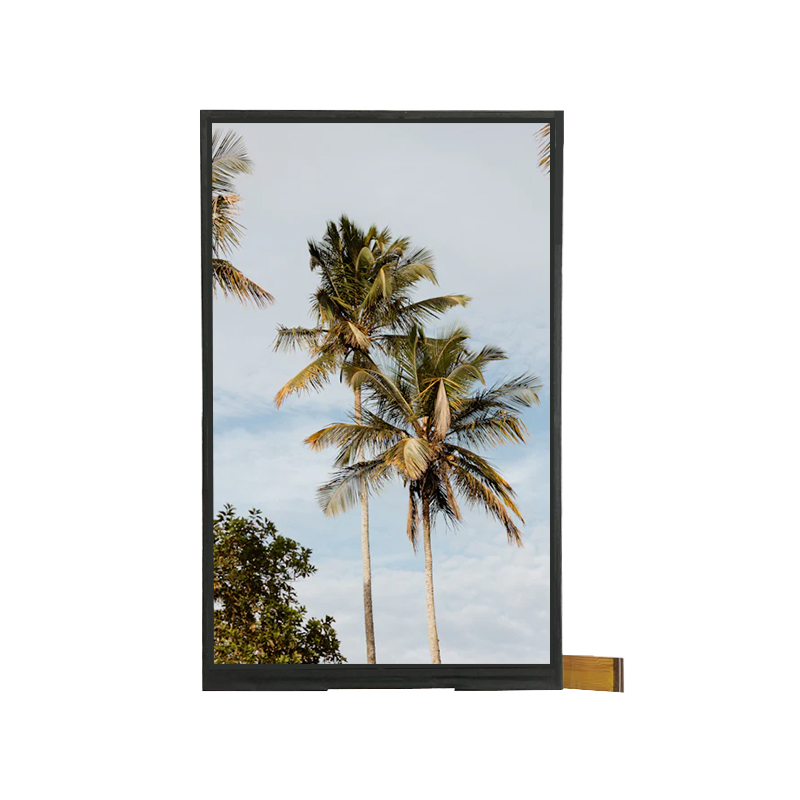
For high-quality, reliable Pi Pico TFT displays and other LCD solutions, consider exploring the offerings from Dalian Eastern Display Co., Ltd. They offer a wide range of displays suitable for various projects.
Remember to always refer to the datasheets of your chosen components for detailed specifications and instructions.